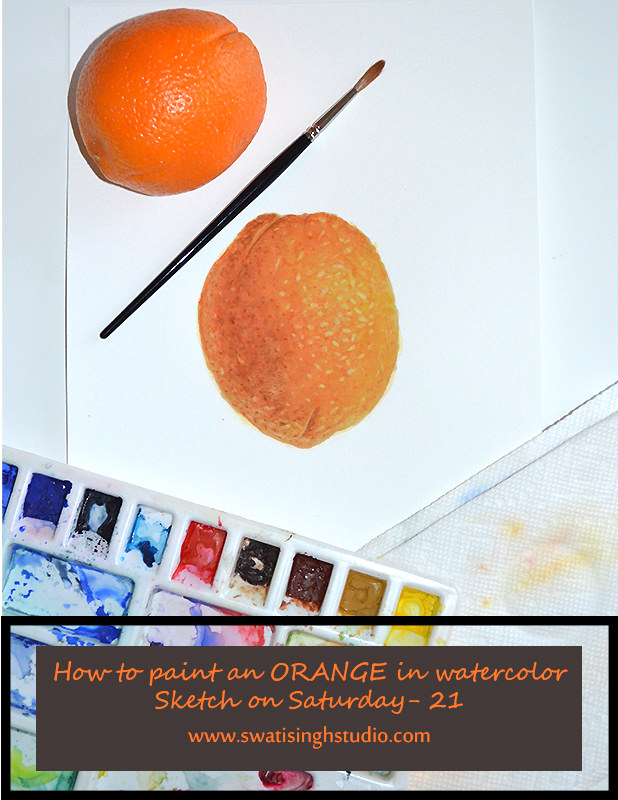
Because oranges do not spoil easily and are full of vitamin C, during the years of world exploration sailors planted orange and other citrus trees along trade routes to prevent scurvy which is a disease that develops from a deficiency of vitamin C.
Hello, all! Welcome to the new series in "Sketch on Saturday".
Today we are exploring orange in the “FRUITS” series.
Why did I choose this fruit as my first tutorial?
Because it is in monotone i.e. it is in just one color-orange.
It is a good subject to start understanding the tonal values in color. Also, it is interesting to produce texture in the same color as well.
I discussed with you the materials to be used in my last blog post! Kindly refer to the same.
Below are the colors I used in this sketch.
1. Cadmium red2. Lemon yellow
3. Burnt sienna
4. Burnt umber
Before we start, it is a good idea to understand the basic breakup of the reference photo I used. As you can see the light source is on the right side. Hence, the right side will be lighter than the left.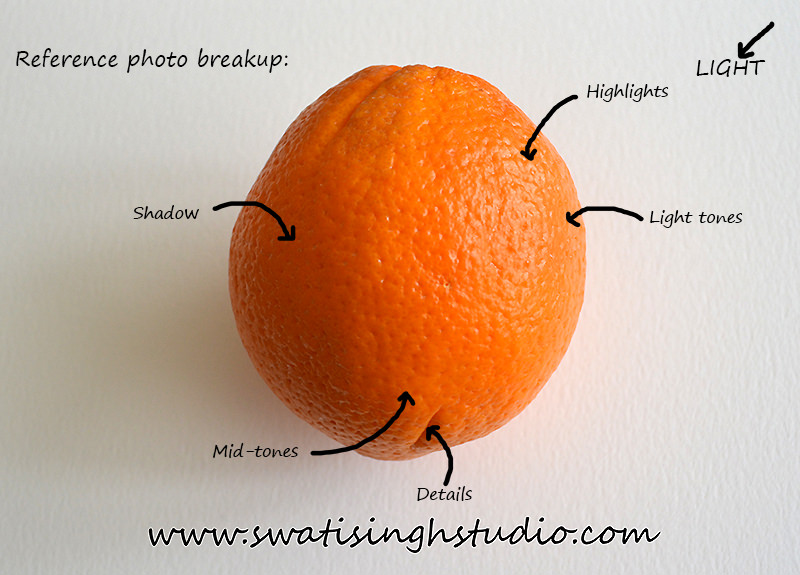
So let’s begin!
I drew the sketch with an HB pencil.
Step1: First prepare the sheet by applying a wash of clear water.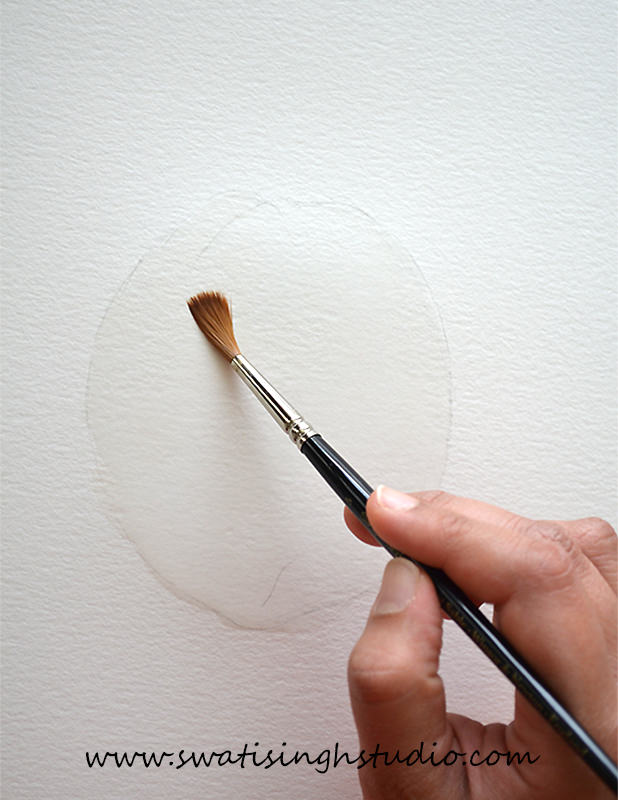
Step2: Now using a number 6 brush apply a very thin coat of lemon yellow all over the area. Keep the consistency watery at this stage.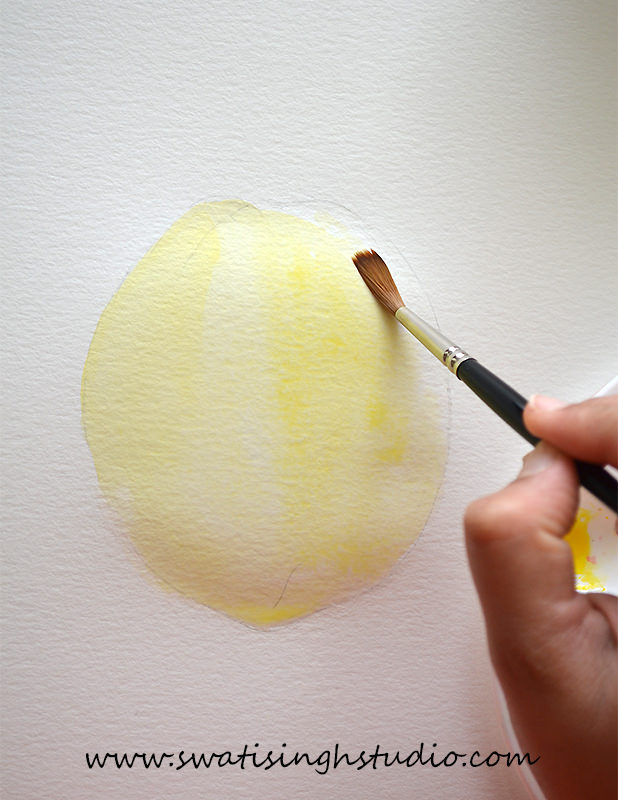
Step3: Make a shade of orange color using lemon yellow and a small amount of cadmium red.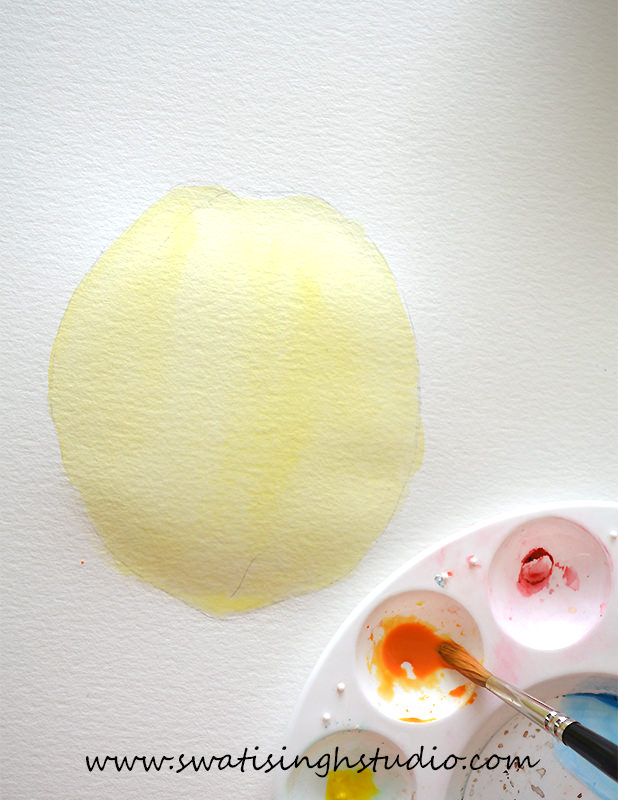
Now we will give gradation using this orange starting from the left.
Keep the right side light in tone.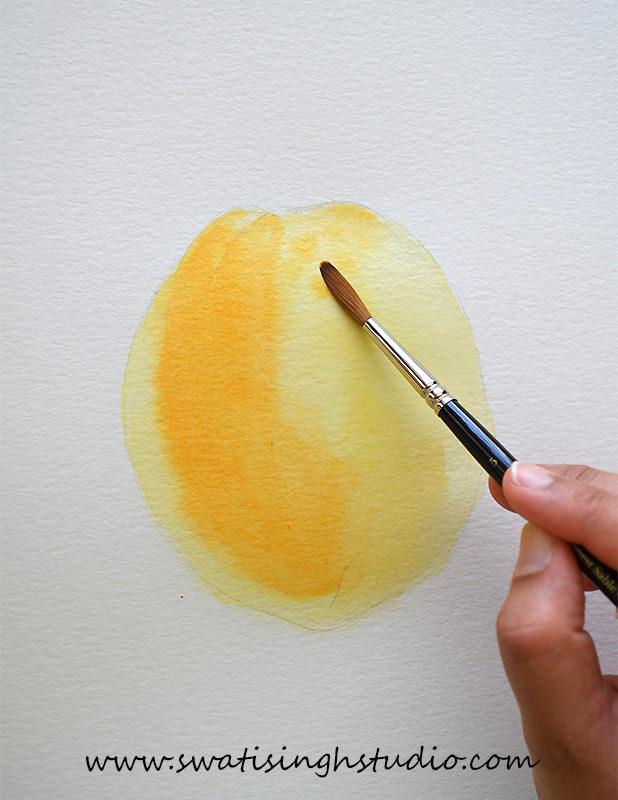
Important: Let it dry completely before moving to the next step.
Step4: Start adding texture using a darker shade of orange by mixing a little amount of burnt sienna to the orange we made earlier.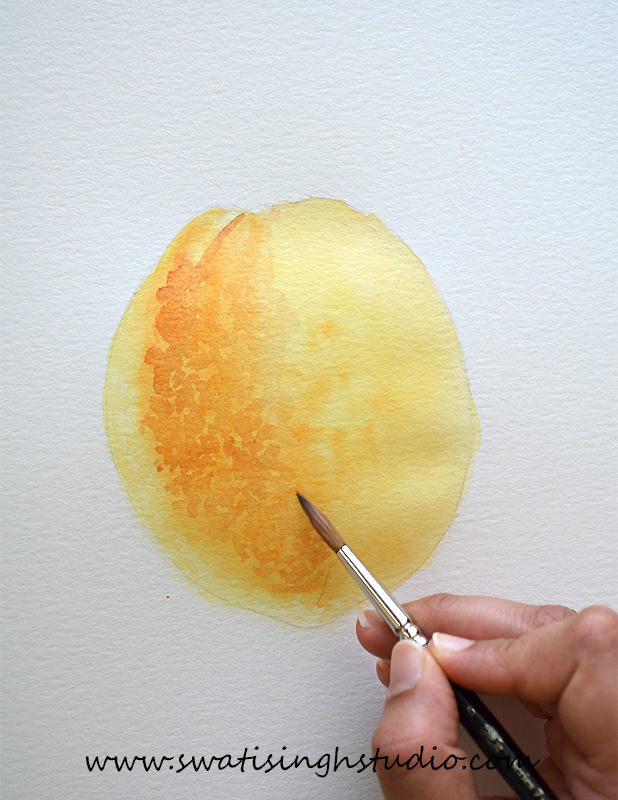
Observe the surface of orange in the reference photo and work your way from left to right.
Tip: Do not forget, since the right side is lighter in tone, the texture shade should also be lighter than the left side.
Step5: Time to add some details with a number 3 brush. Mix even a darker shade with a little amount of burnt umber in the orange we mixed in step 4.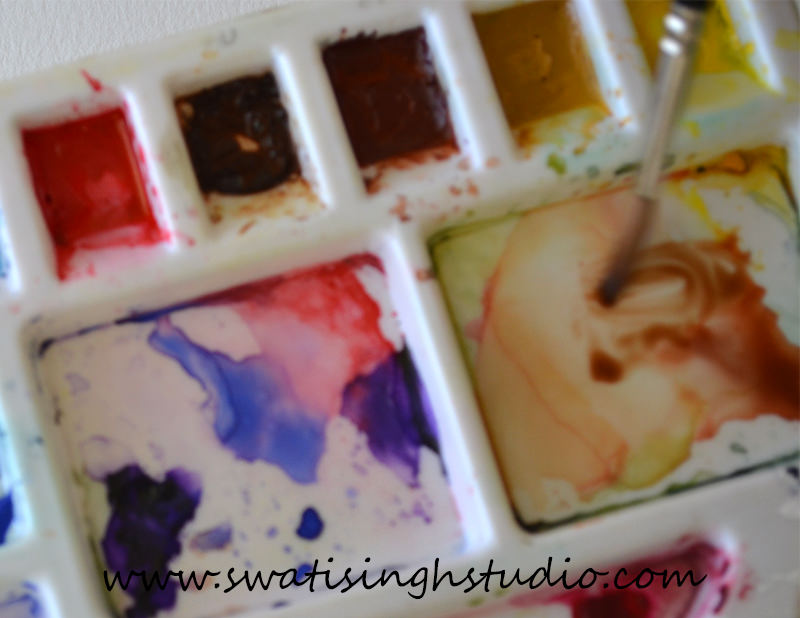
My brush keeps a good point, hence I am continuing with the same brush.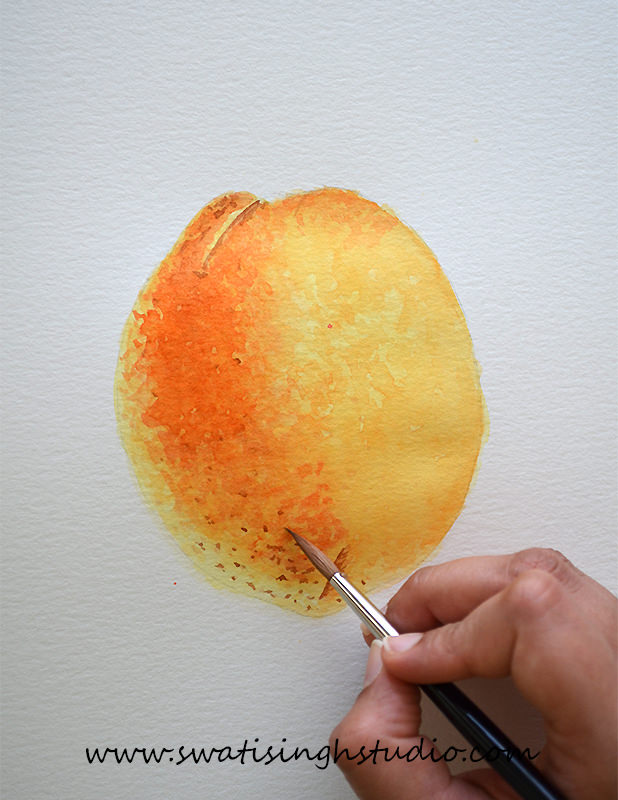
Step6: Now evaluate the overall value of the orange. Has it started taking form? Do you see the shadows easily? If not go ahead and give it a wash of orange on the left. This will build another layer of color.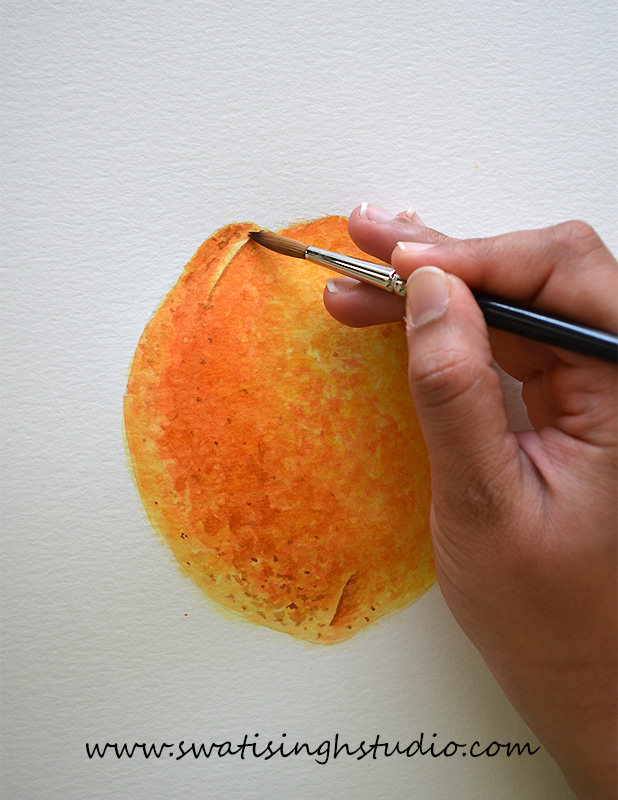
Important: Wait for this layer to completely dry before proceeding further.
Step7: Add some fine details using a number 0 brush. Keep the paint a bit thicker at this stage. Do not add a lot of water.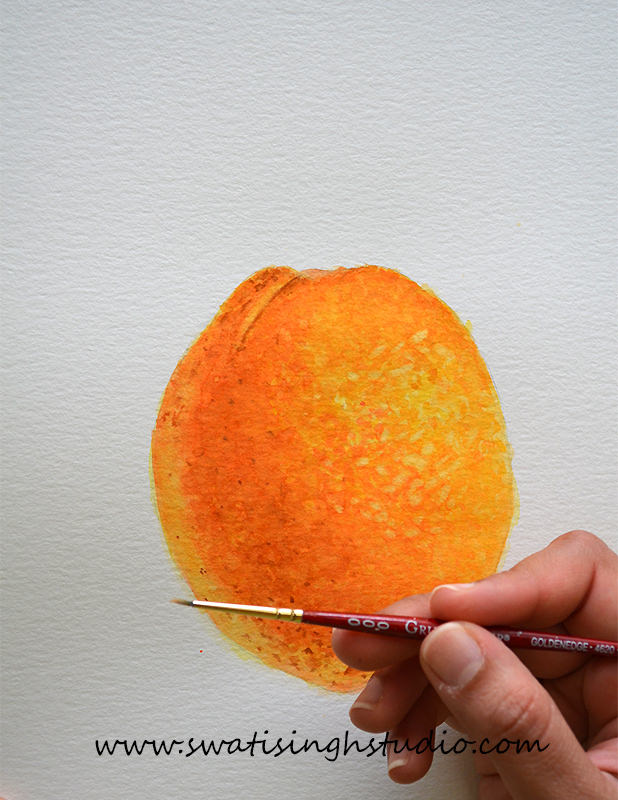
Tip: Keep a close eye on the details in the reference image. Paint as closely as you can!
Step8: Using a number 3 brush lift off some highlights on the right. Simply dip the brush in clear water, dabbing the excess water on a tissue paper and lifting the color wherever you see white areas in the reference photo.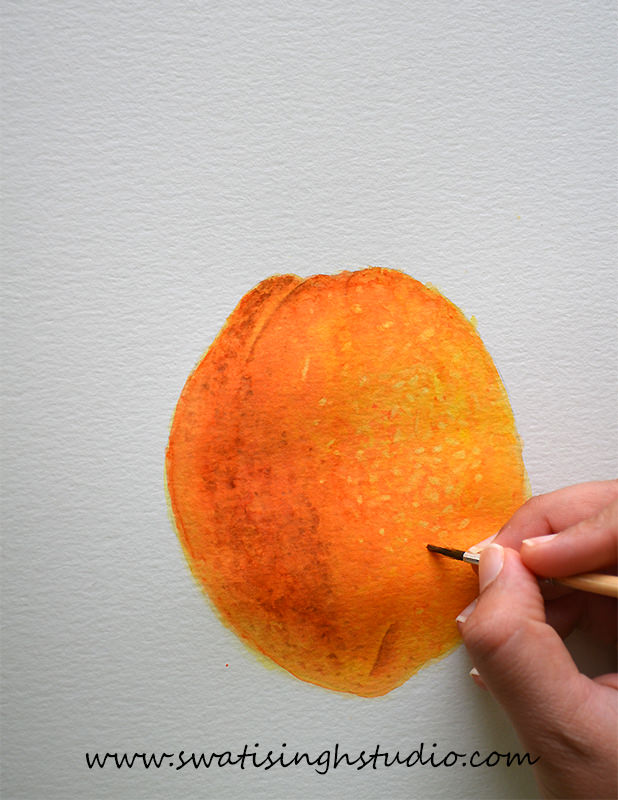
Step9: Repeat the process of building layers with washes and details until you reach the saturation required.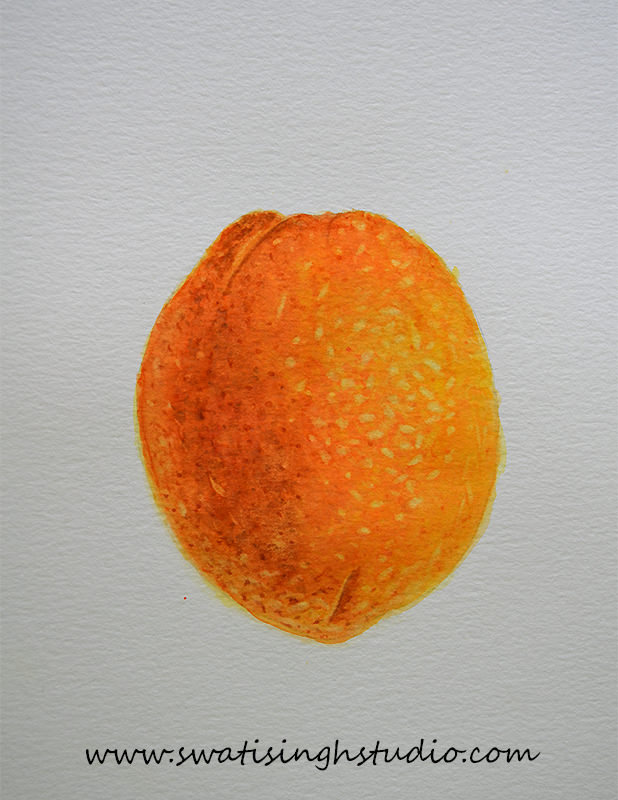
Simply put, the more layers you add, the more realistic your sketch will look.
I hope you liked this sketch! Please subscribe to my blog so that you do not miss any of the future tutorials.
I will be back with another fruit next Saturday. Till then enjoy this sketch and do try it at home. Let me know if you have any questions. I will be more than happy to answer.
Happy painting
Swati