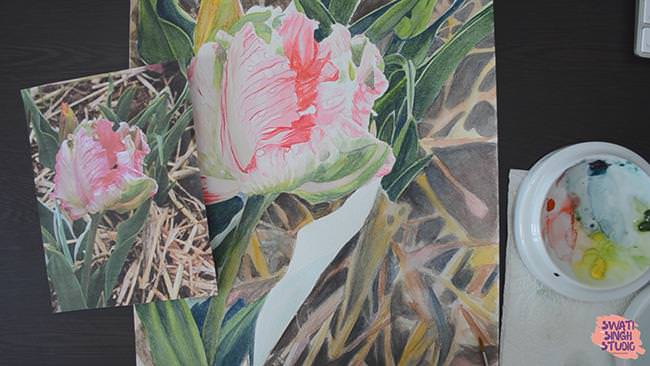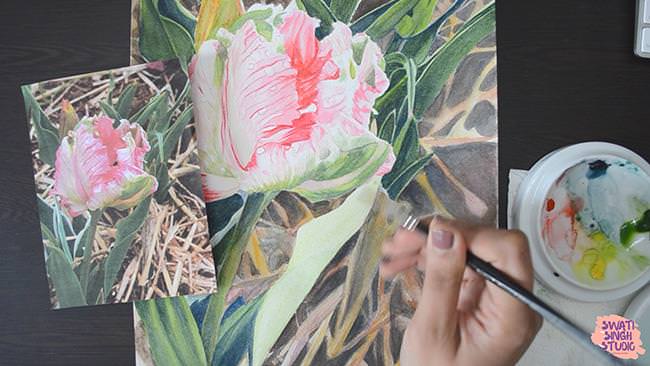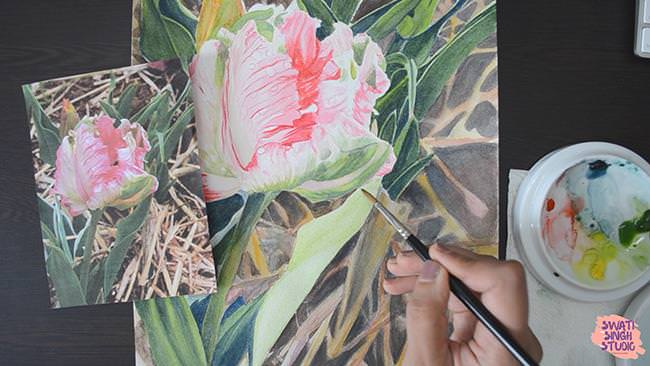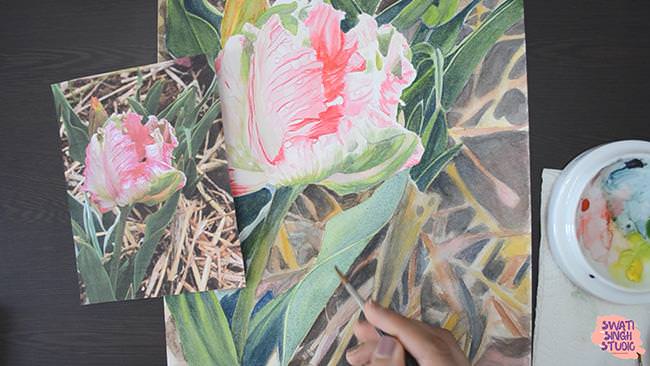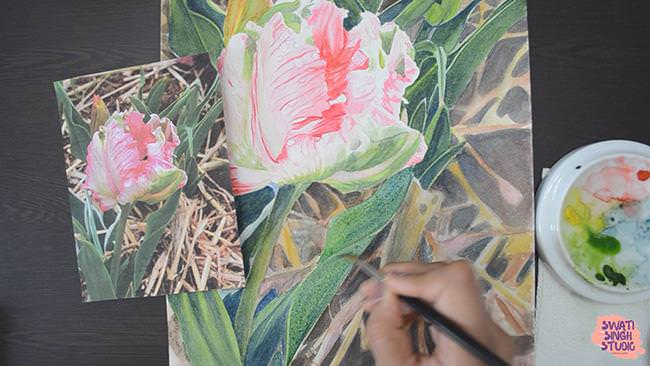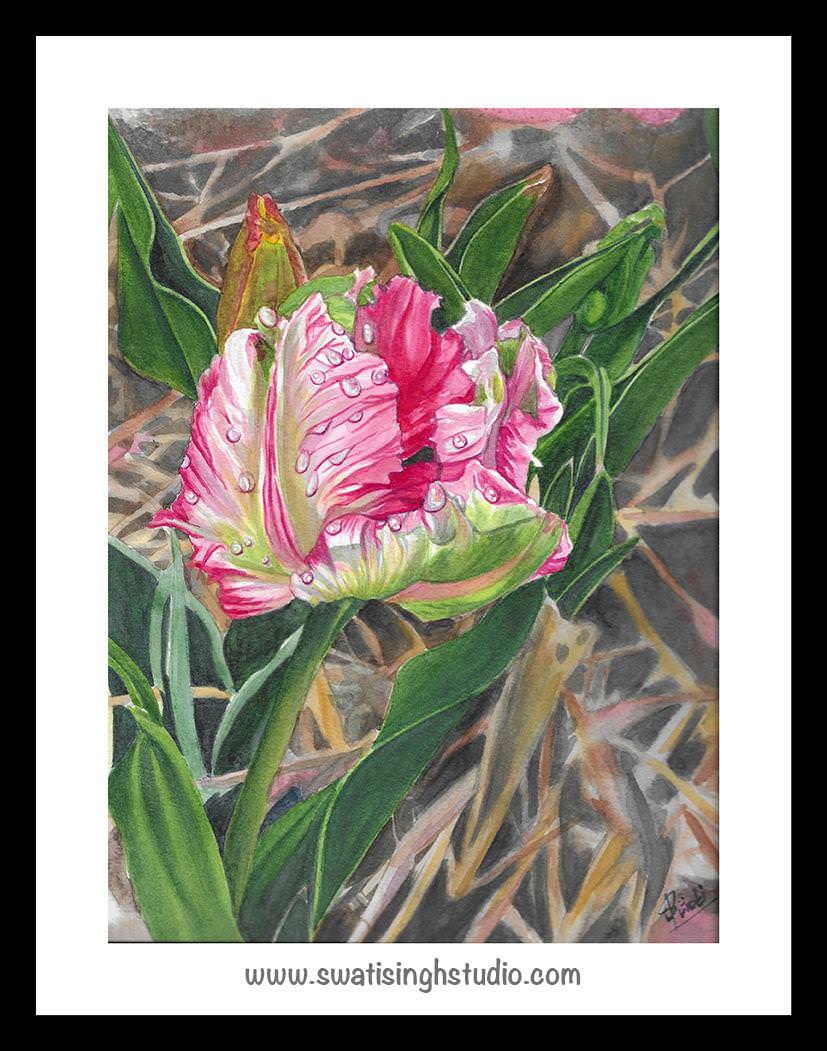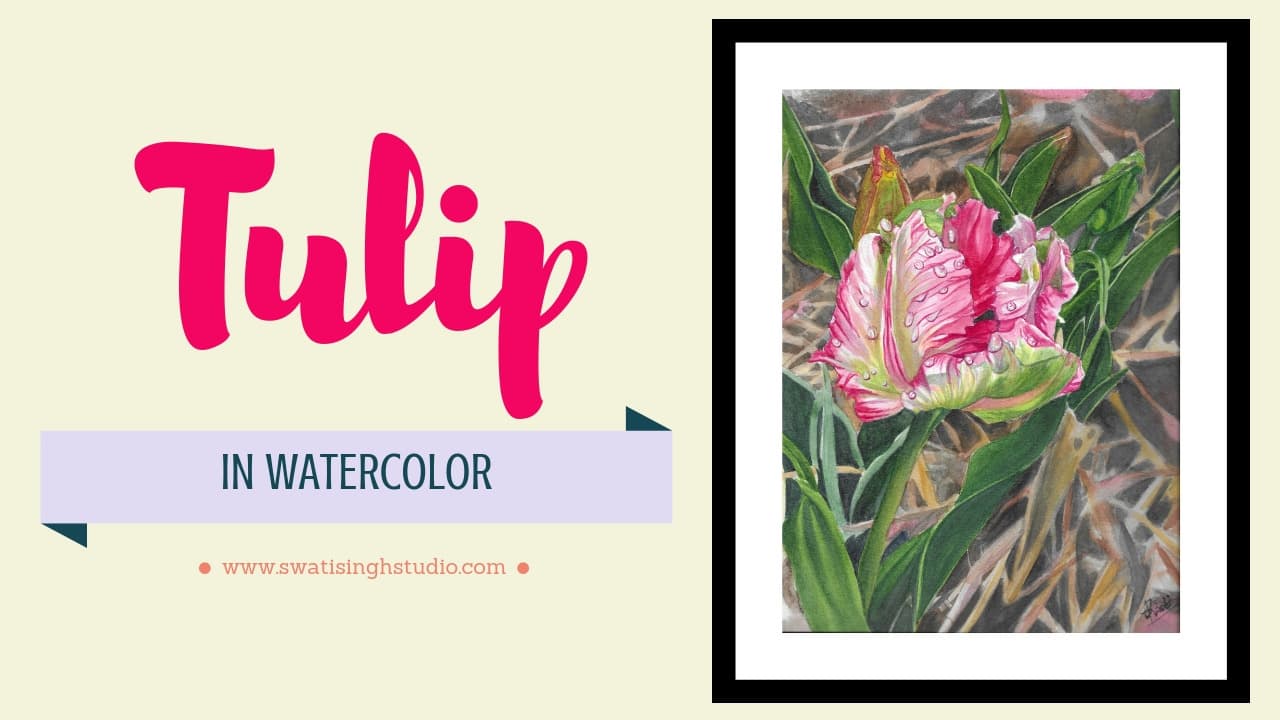
Hi all, fall season is here but I can’t help and share a tutorial of this beautiful tulip I captured during our visit to a Tulip Garden in Virginia.
What grabbed my attention about this tulip was the beautiful colours and patterns it showed on the body. I instantly decided to paint this beauty in watercolours.
I could imagine watercolours flowing on the petals!
I know artists tend to have a weird way of thinking about their surroundings.
Well, a few years later I have finally made it come to a reality.
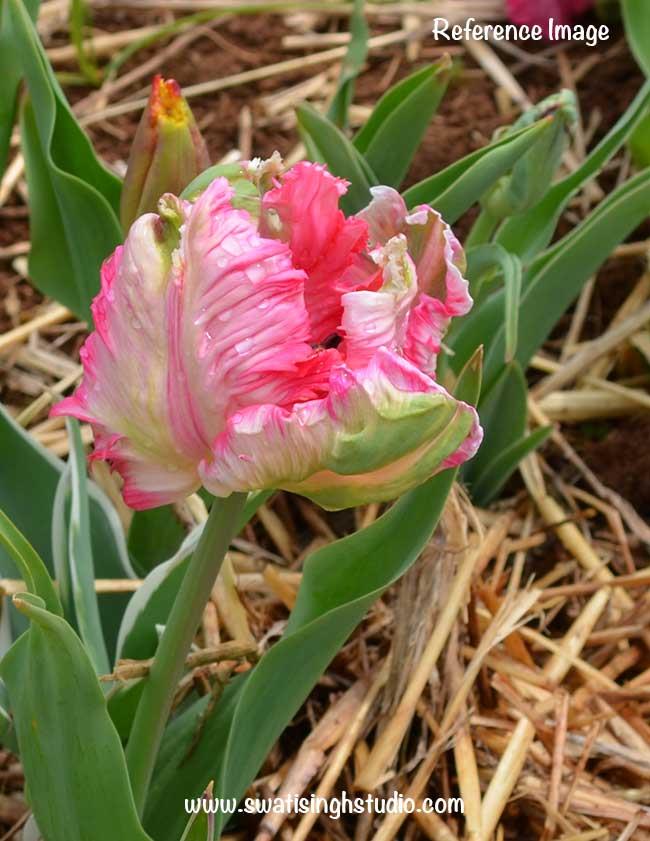
Parrot tulips are unusually colored and have fringed petals. The flowers are green as buds and as the flowers mature and open, the brilliant colors are revealed.
These are one of the most fabulous tulips with its over-sized pink petals flushed with green and yellow stripes, and wavy-edged and fringed like feathers.
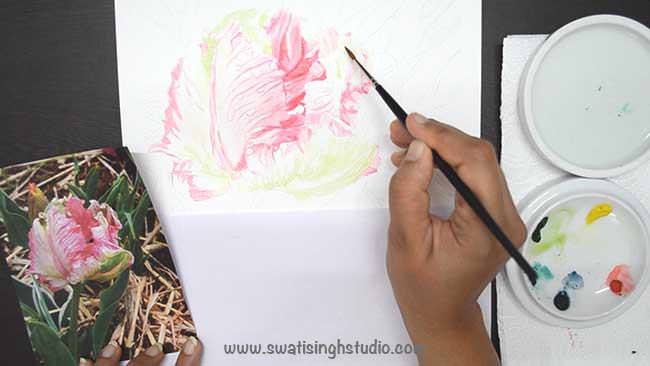
Because of this bicolor, these tulips will be painted in a two-step process.
First, we will finish the reds and pinks followed by the green areas in the later stage.
PART 1- TULIP REDS AND PINKS
Colours used
1. Permanent Rose
2. Cadmium Red
3. Cadmium orange
Brushes: Round #3 #1
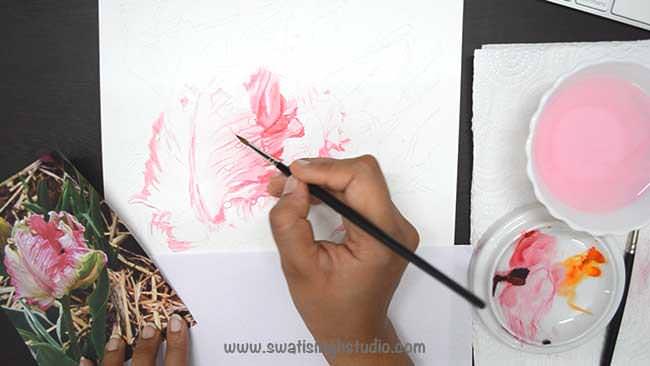
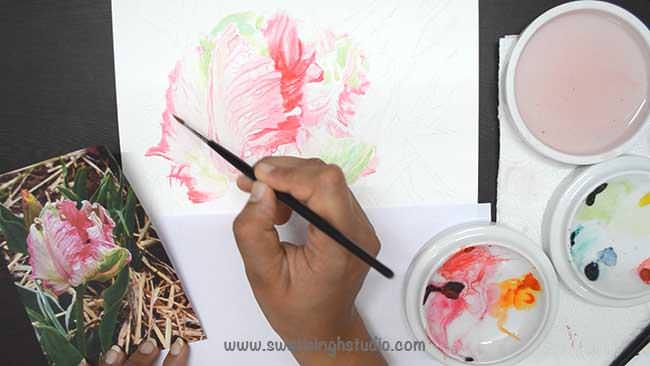
Step 1. Mix just a tiny amount of cadmium orange to permanent rose. And start making the pattern of the tulip petals with a thin brush such as #1 or #2.
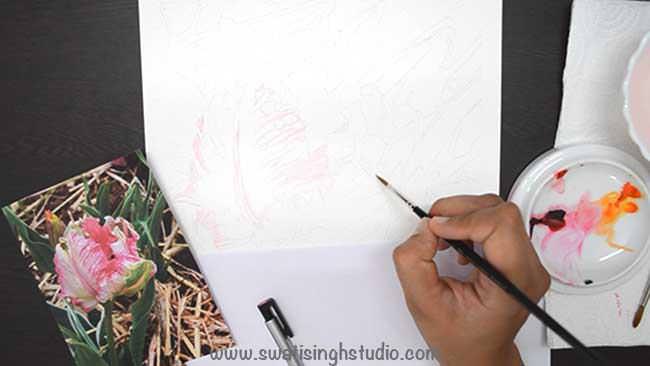
Important: Keep the mix diluted enough at this stage since we do not want very hard lines yet.
Step 2. For the dark inside of the tulip first add a wash of clear water, followed by a layer of the colour mixed in the palette. This gentle introduction of colour on wet surface will help get a smooth finish.
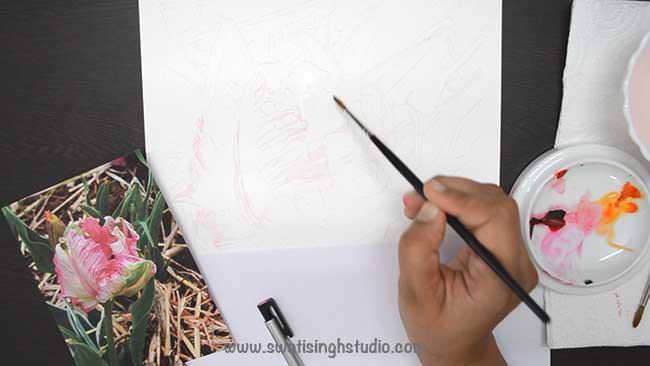
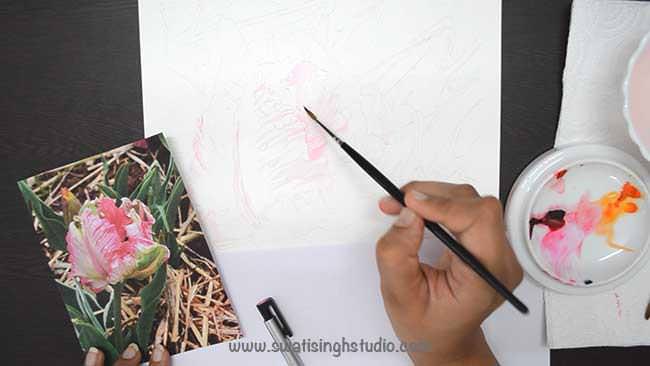
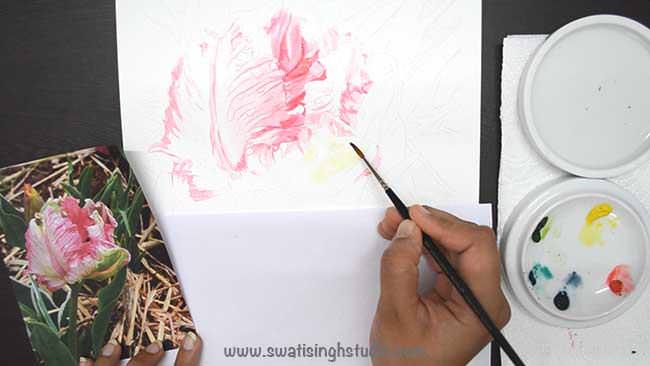
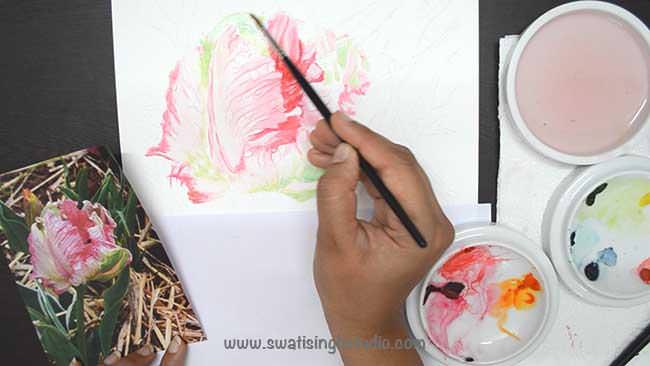
Step 3. Once the previous layer has dried completely go over with another layer of colour to intensify the darker pink areas.
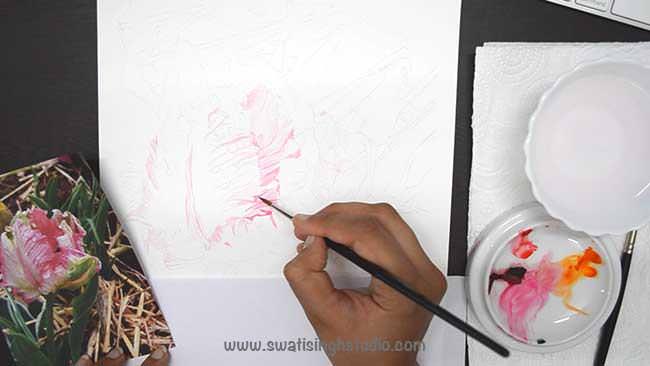
Step 4. Now mix some cadmium red with permanent rose to get a darker shade of pink. Apply this shade on the darkest areas of the tulip flower.
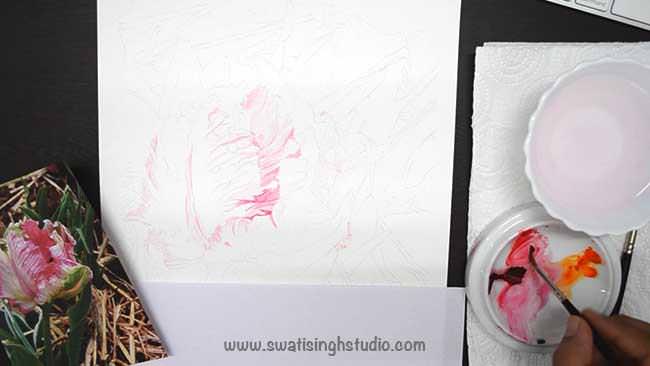
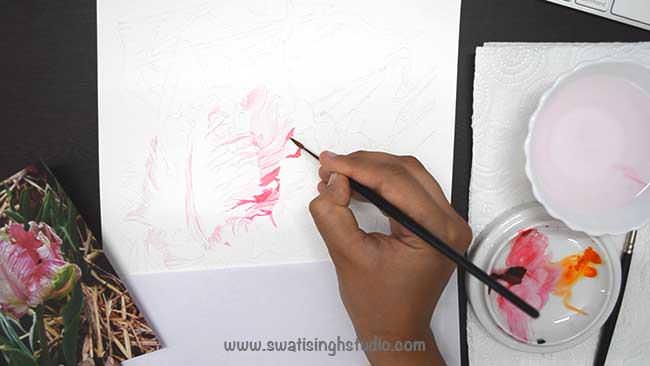
Step 5. Soften the hard edges of colour with a damp brush to get that softer look.
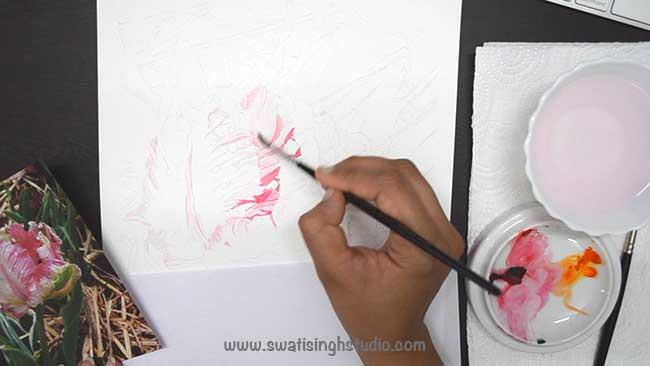
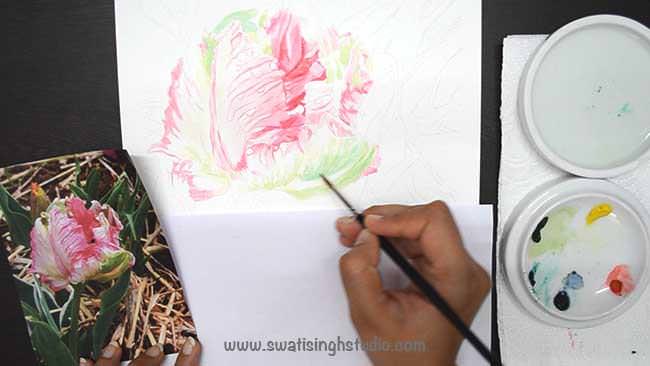
Step 6. Continue to darken until you get the right saturation of colour.
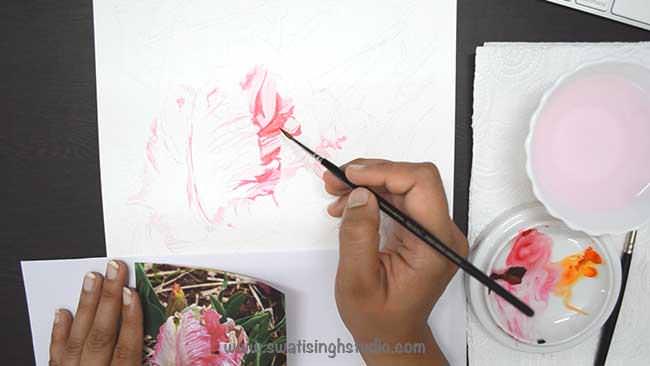
Step 7. For the softer pinks on the outside of the petals, apply a very pale wash of pink.
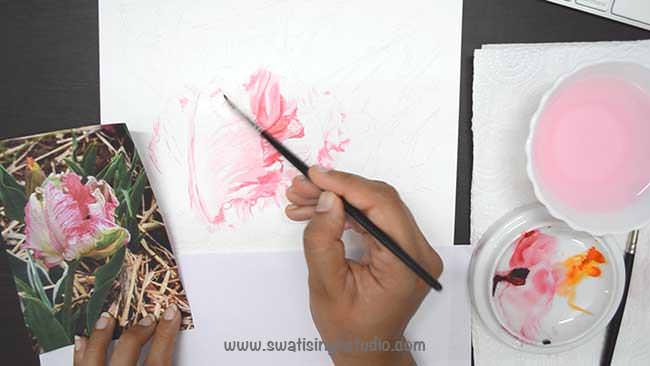
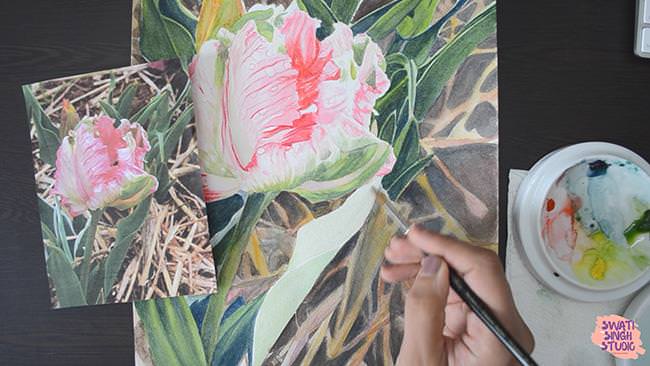
Step 8. Once the previous layers have dried completely go back to paint finer details with a #1 brush. To make strong marks take more colour and less water.