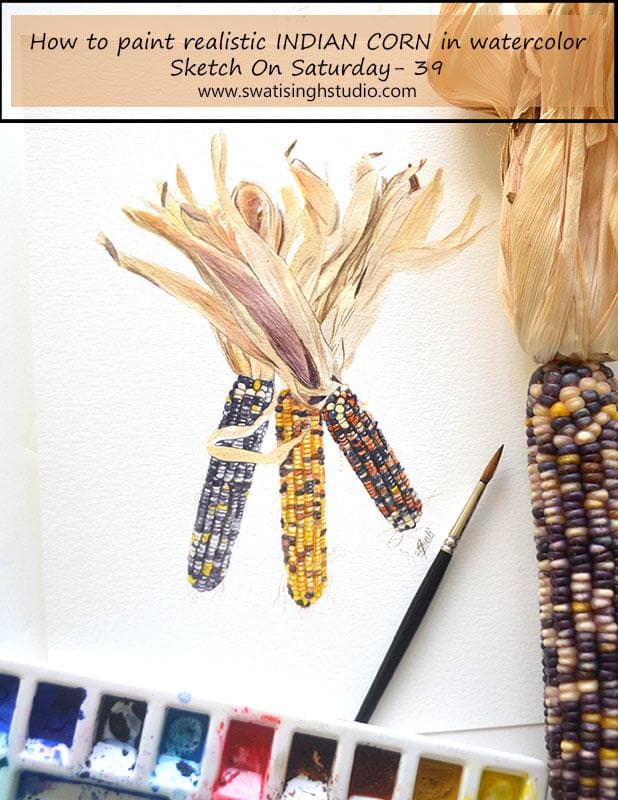
Hello, everyone! The fall season is in full swing and Halloween is around the corner. Recently I went to the market and came across these Indian corns! They were displayed as decorations for the season. They are so pretty. I have never seen such corn before. They are so unique to this place.
I know corn is a grain, but I am taking the liberty to include them in the Vegetable series, I hope you don’t mind! This is one of those things for an artist when they have to just follow their heart and paint. The kernels are so beautiful they appear like little gems such as obsidian and sapphires!
Below is a photograph of the ones I picked. The dried leaves add some character to the corns!
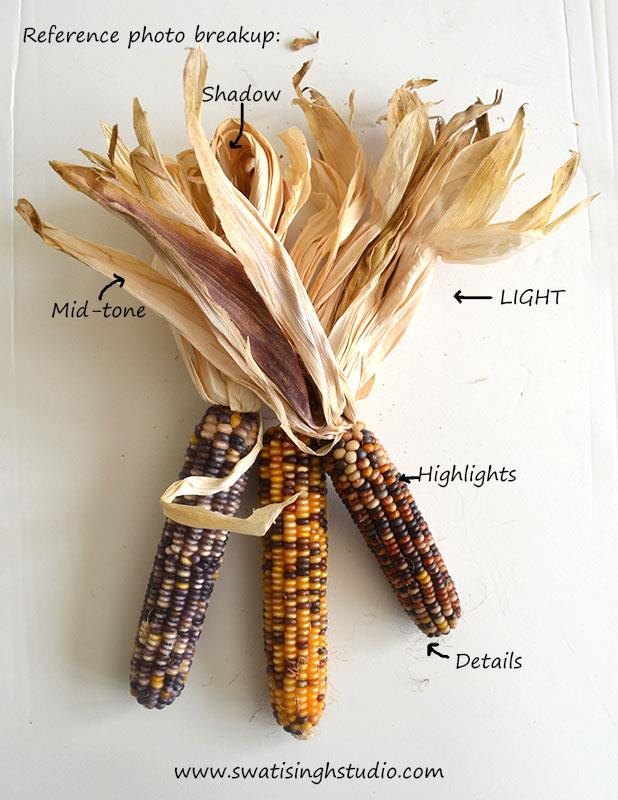
The watercolors I used are:
1. Yellow ochre
2. Burnt umber
3. Indigo blue
4. Cadmium red
5. Burnt sienna
If you are new to the series you may find this POST helpful!
So let us look at the steps!
Step 1. Give a very thin wash of yellow ochre to the dried leaves. Follow the contour of the leaves and apply only on the mid-tone and dark-tone areas. Go ahead and add to the yellow kernels as well.
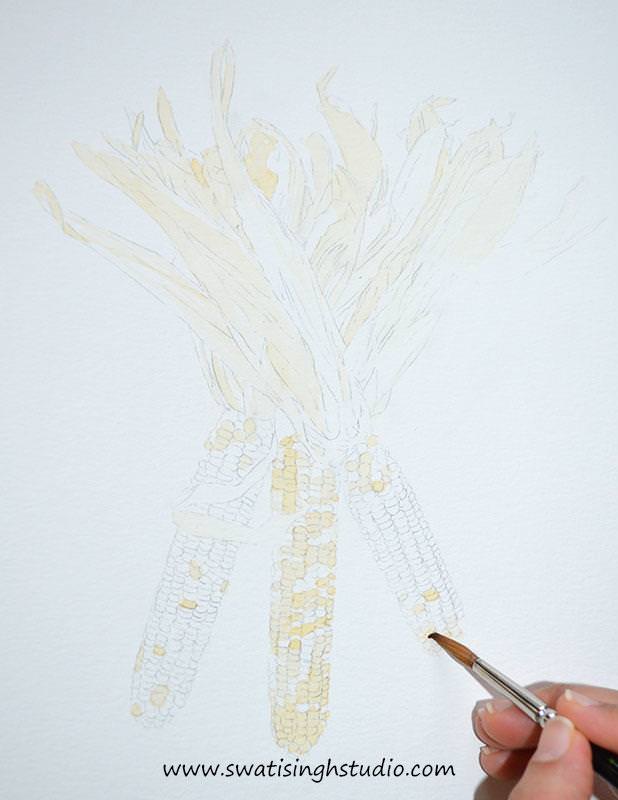
Important: Protect the white highlights on the kernels!
Painting process
Step 2. Now apply burnt umber to the darkest tones in the leaves as shown below.
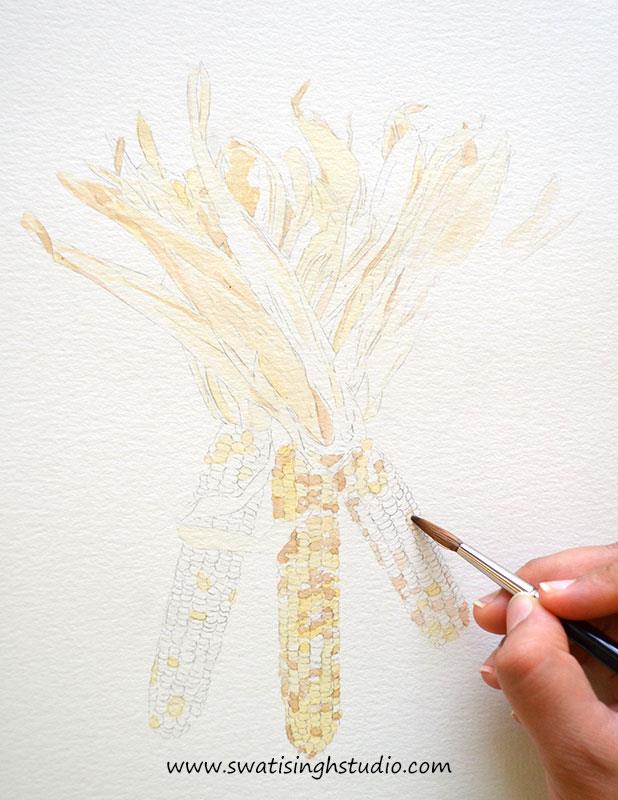
Also go ahead and apply to the brown kernels.
Step3. Prepare a mix of indigo blue and cadmium red to get an inky blue color.
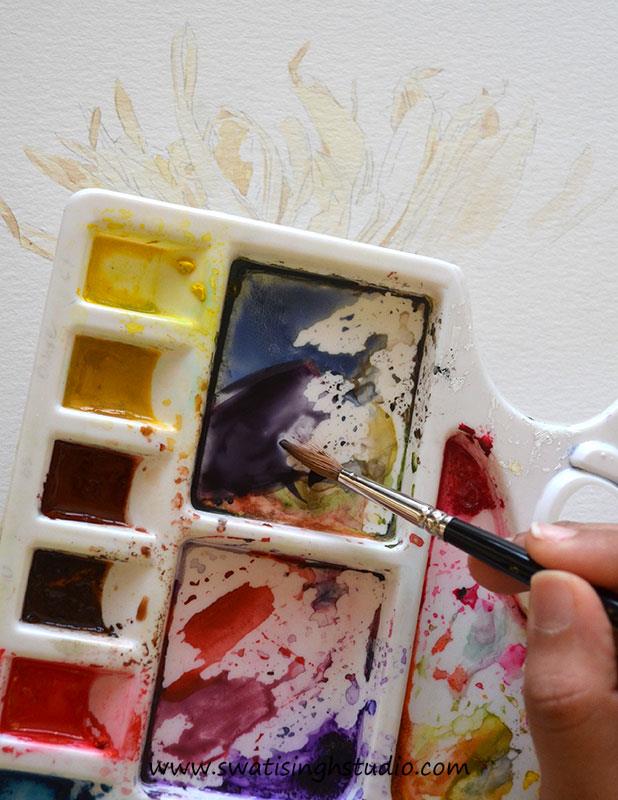
Apply this color to the blue kernels in a thin layer.
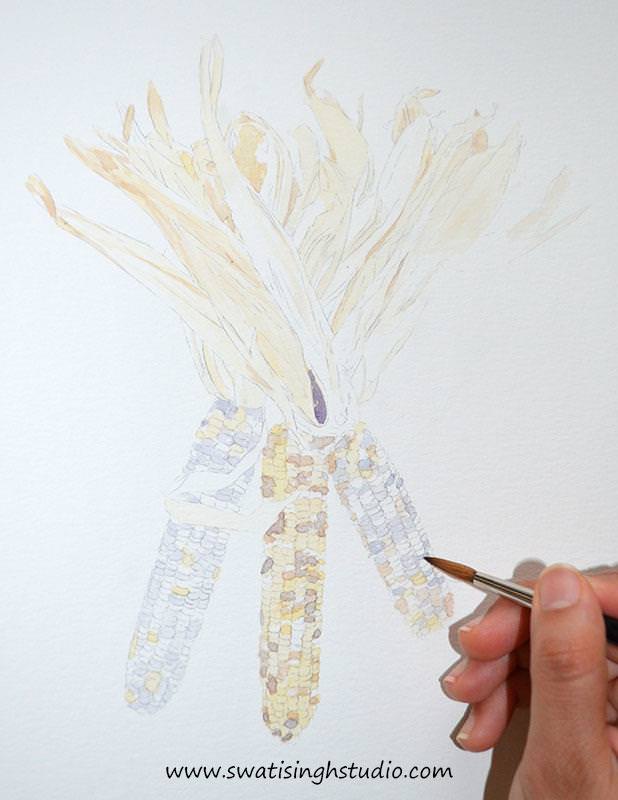
Step 4. Apply a thin layer of burnt sienna on the reddish kernels.
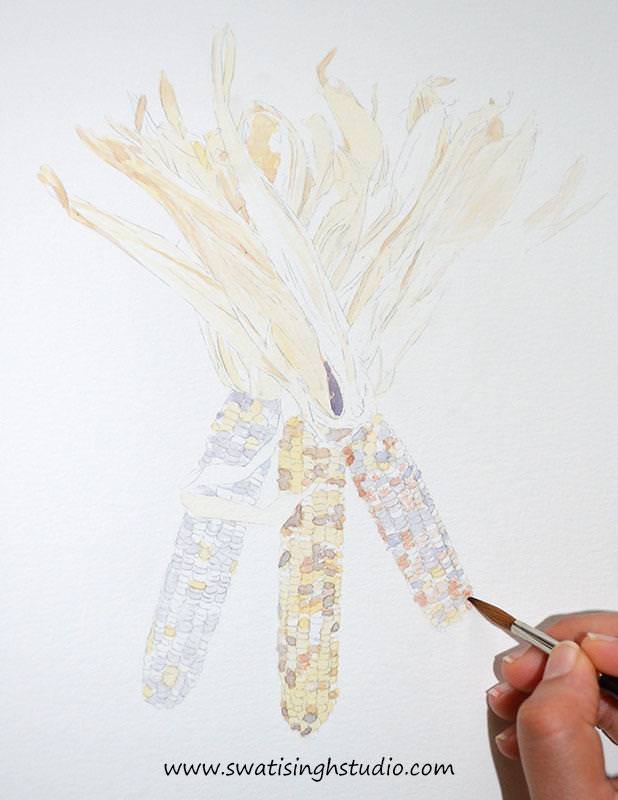
Step 5. Now with all the colors in place repeat with another layer of colors to make them look vibrant.
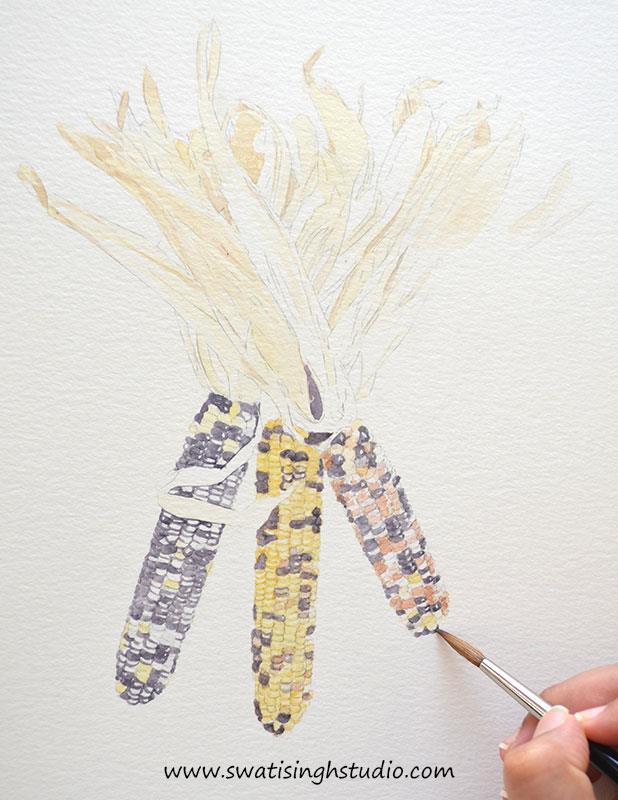
Step 6. With a few more added layers, the corns will be done in no time! I also added some hair like fine details to make them look realistic. Do not forget to sign off with your glorious signature!
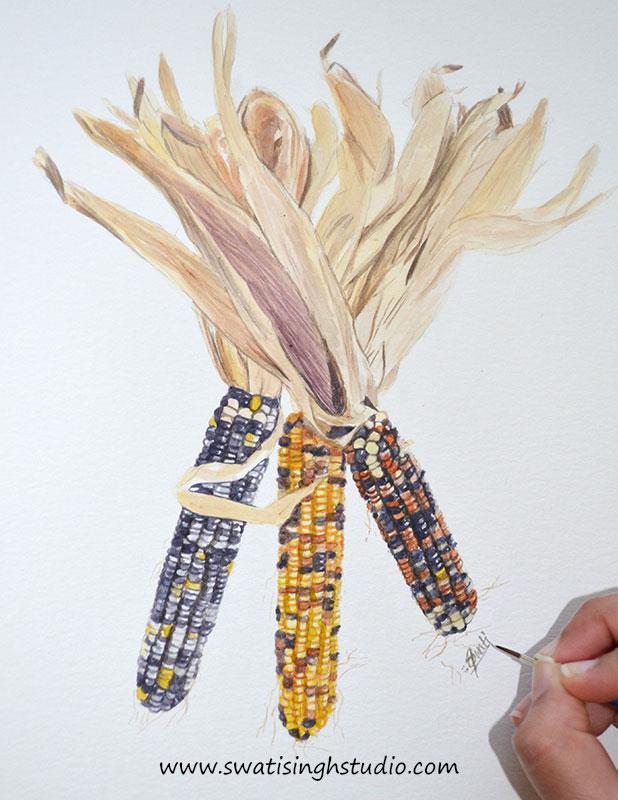
I hope you enjoy the fall season to the fullest. Explore these corns at home and let me know how they turned out. I will be back with the last sketch in the series next Saturday. Do not forget to SUBSCRIBE for all the future posts!
Till then keep painting!
Swati