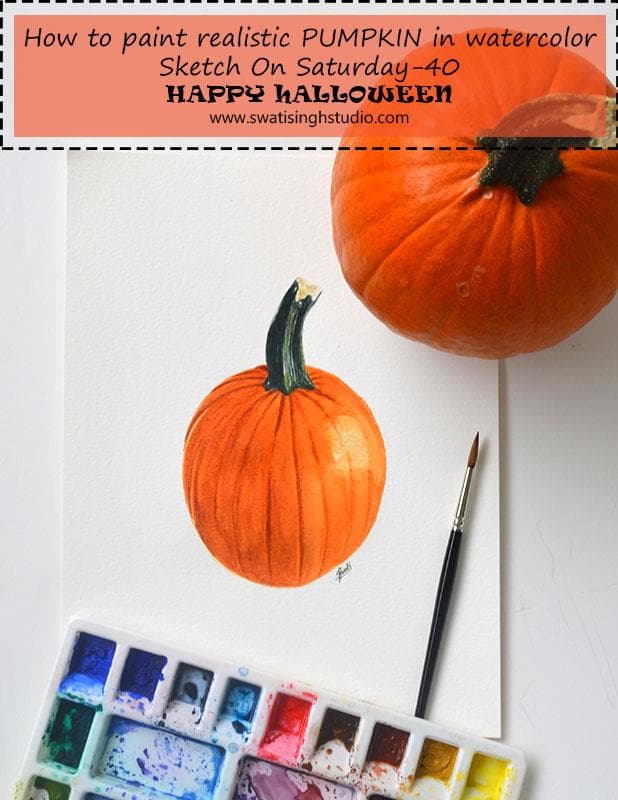
Happy Halloween everyone! Hope you all are having fun tonight. I have already put together a basket of candies for the children to come! Today I am concluding the Vegetable series on the same theme with pumpkin in watercolor!
Did you know? Carving pumpkins into jack-o’-lanterns is a popular Halloween tradition that originated hundreds of years ago in Ireland. Back then, however, jack-o’-lanterns were made out of turnips or potatoes; it wasn’t until Irish immigrants arrived in America and discovered the pumpkin that a new Halloween ritual was born.
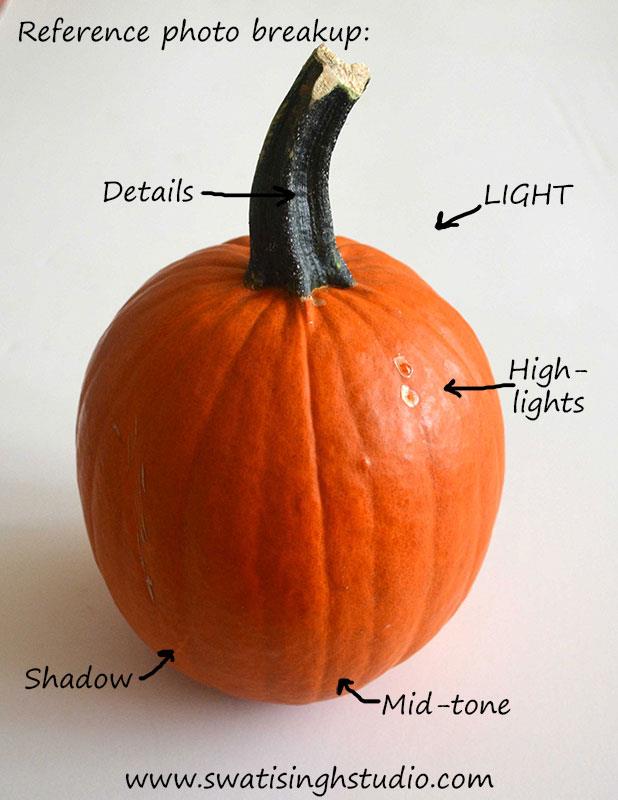
Below is the pumpkin I chose.
The watercolors I used are
1. Cadmium yellow
2. Cadmium red
3. Lemon yellow
4. Indigo blue
5. Thalo green
6. Burnt sienna
You may find this POST helpful for the additional materials required!
So let’s begin the fun!
Important: Keep separate bowls for the pumpkin and the stem as the green used in the stem is very staining.
Painting process
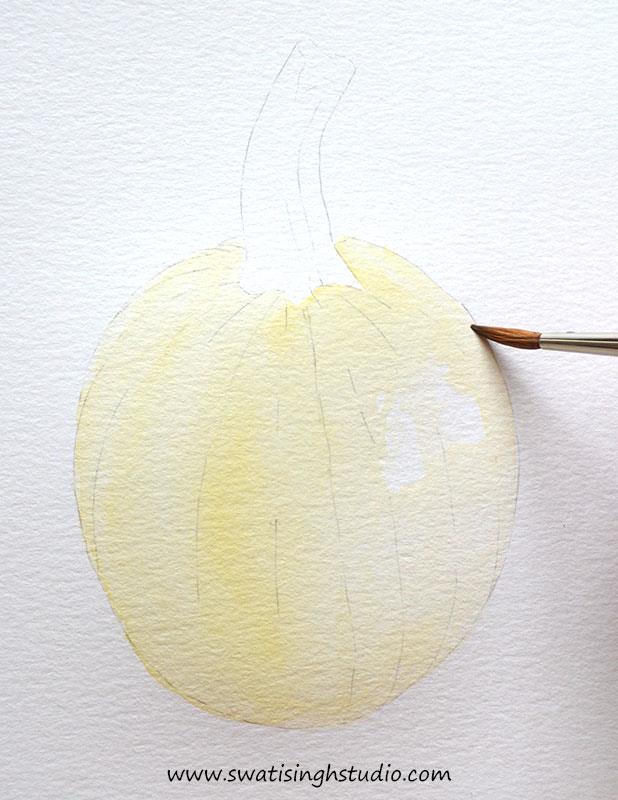
Step 1. Give a light wash of cadmium yellow to the pumpkin.
Step 2. Mix some indigo blue and thalo green.
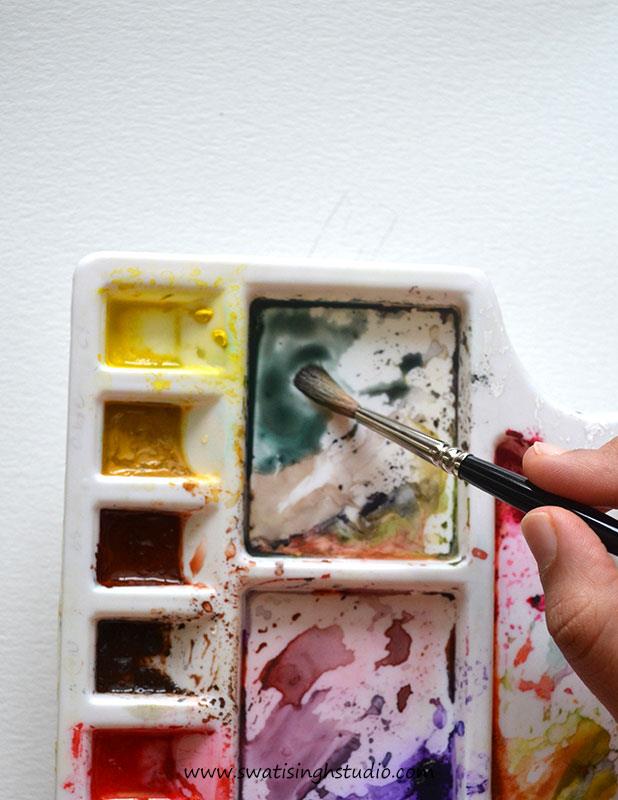
Now lightly paint the stem as shown below.
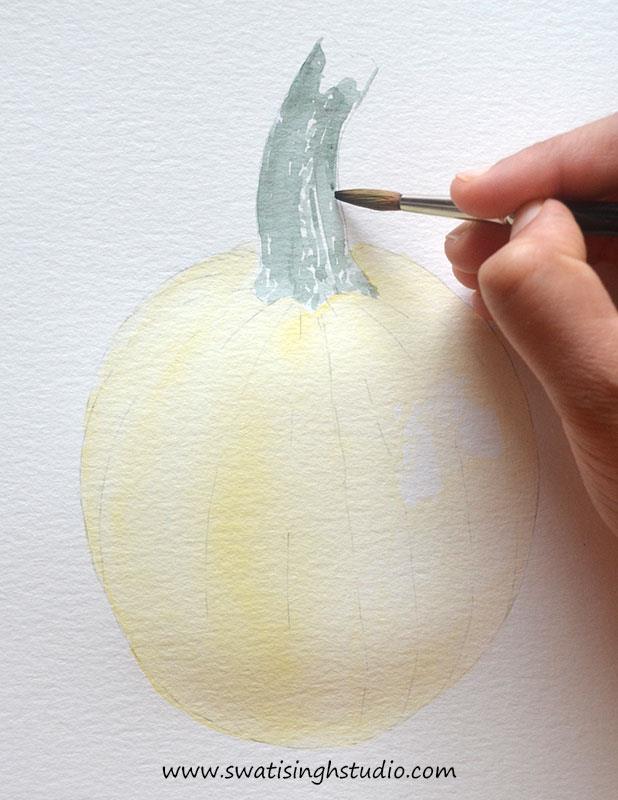
Tip: Leave out a few areas to create the splattered pattern on the stem.
Step 3. Mix some cadmium red to lemon yellow.
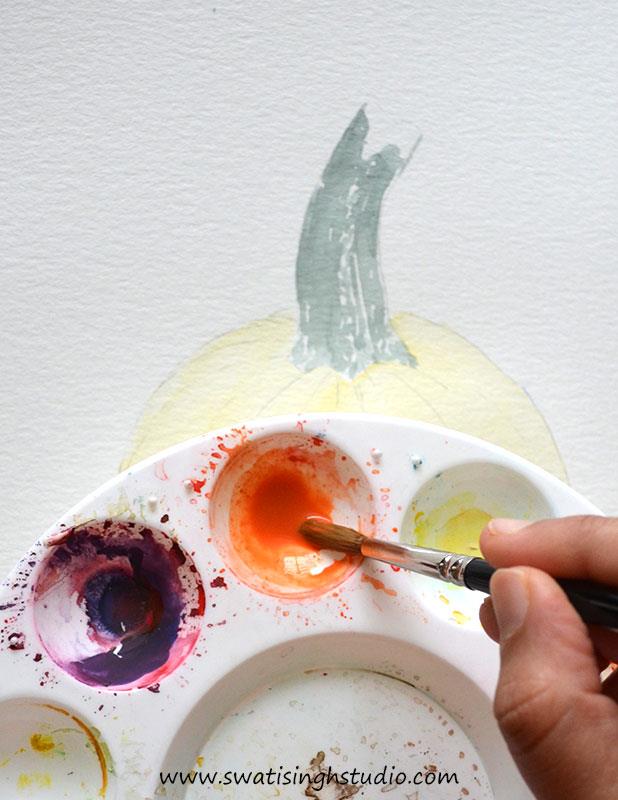
Apply a wash of clear water to the entire pumpkin.
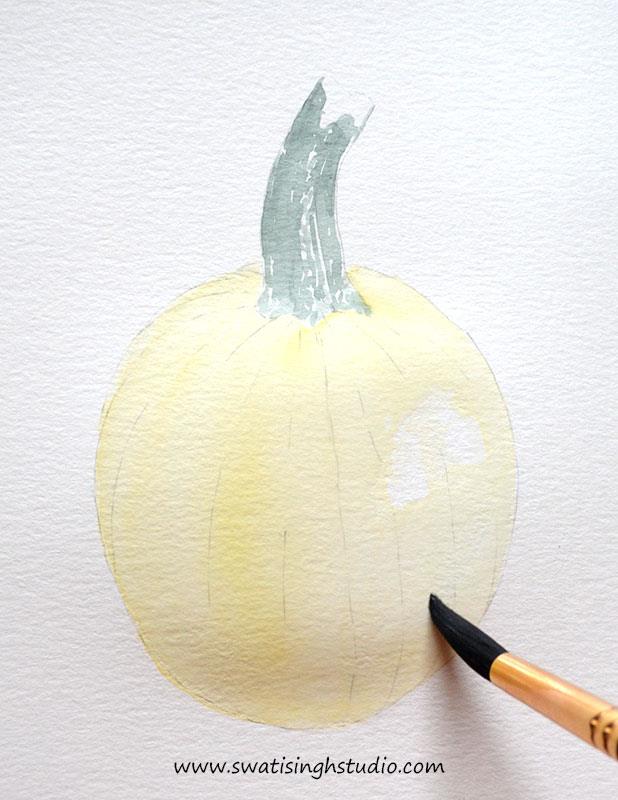
Now drop in the color while the sheet is still wet. This will help the color spread evenly. Control the color with your brush by moving in the downward direction.
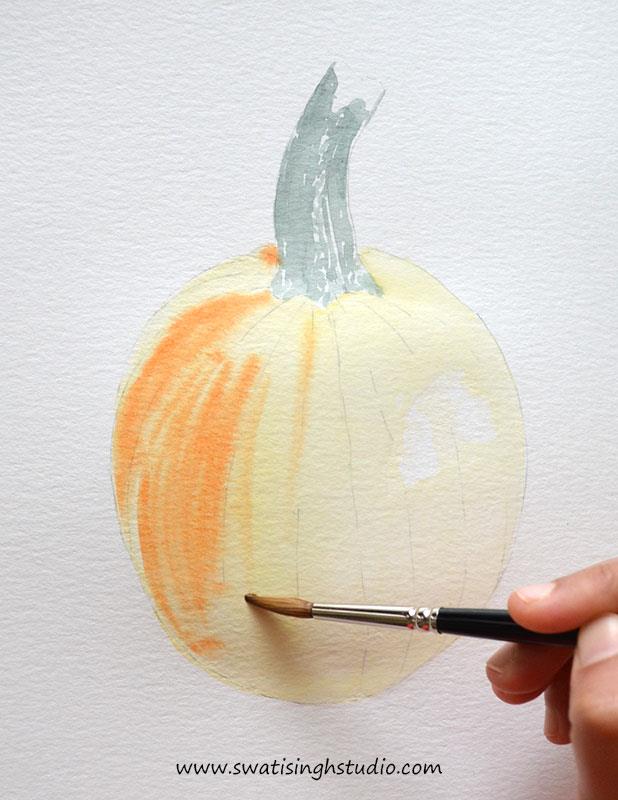
Important: Keep in mind the tonal values of the pumpkin i.e. keeping the left side darker than the rest.
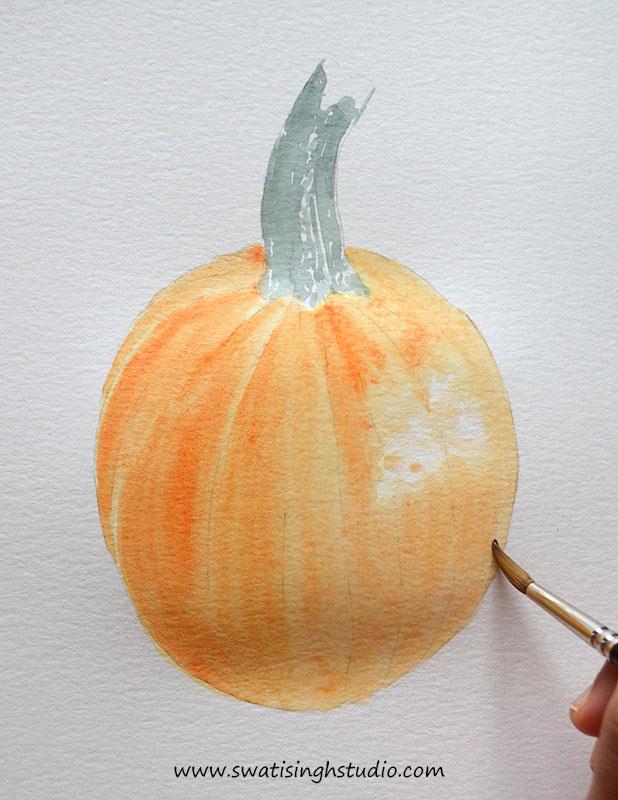
Step 4. Repeat with another layer of green on the stem as shown in step 2.
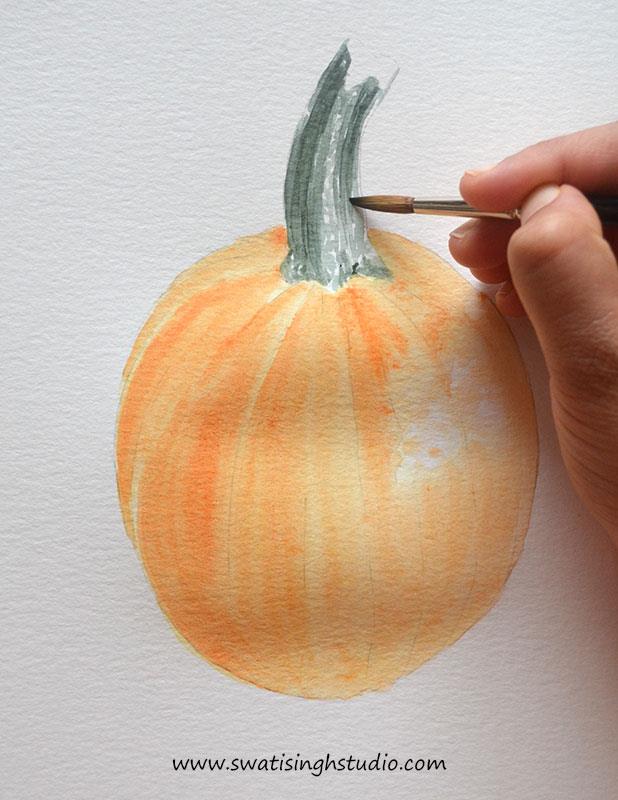
Step 5. Prepare a darker shade of orange by mixing a little amount of burnt sienna to it.
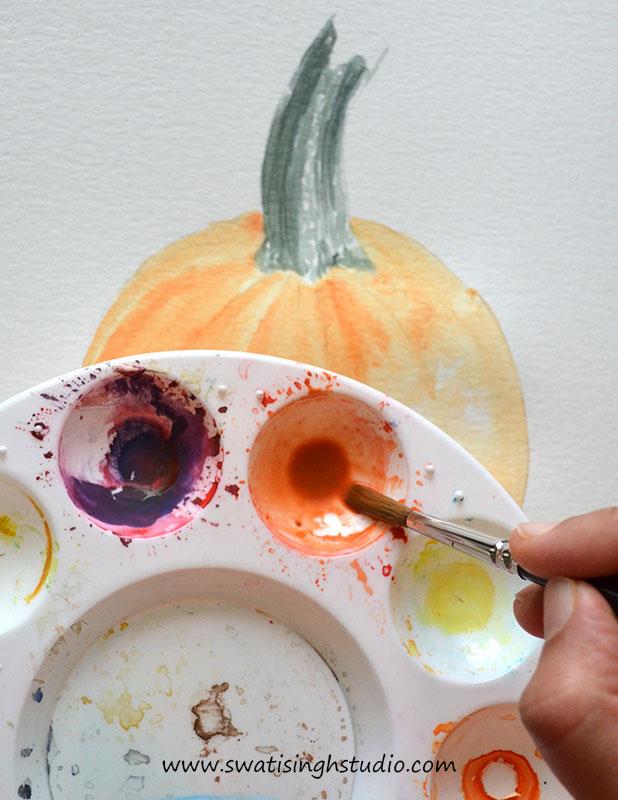
Now add the vertical stripes as shown below.
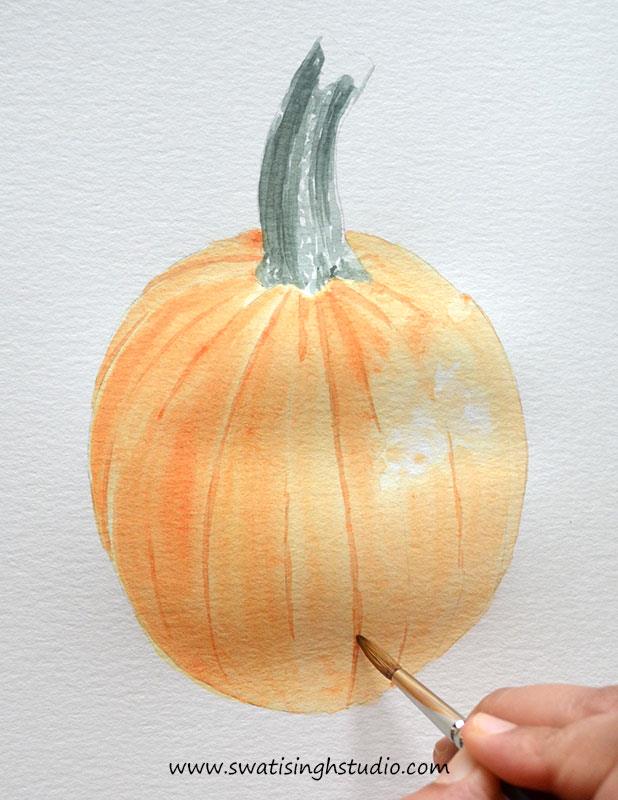
Step 6. Add some lemon yellow to the fine spots on the stem we left in step 2.
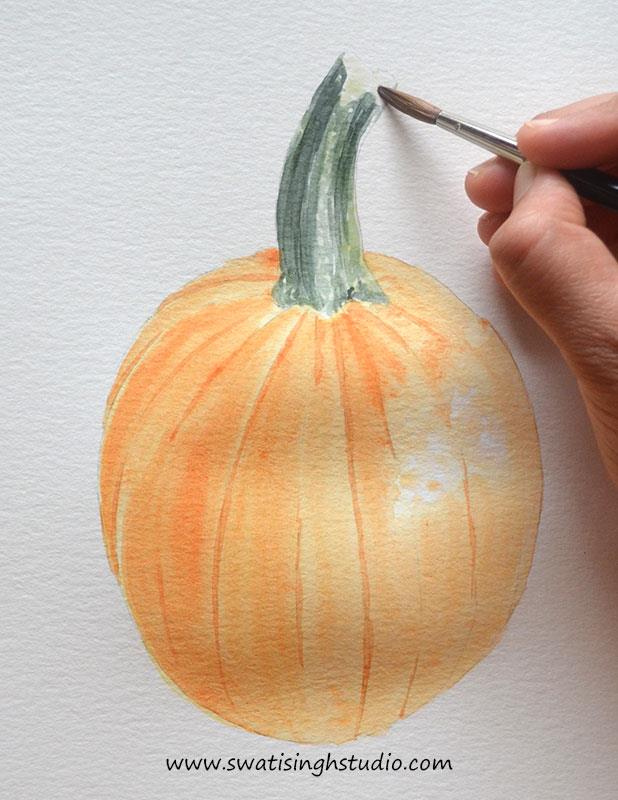
Step 7. Now simply repeat with a few more layers and you should be done with your pumpkin in no time!
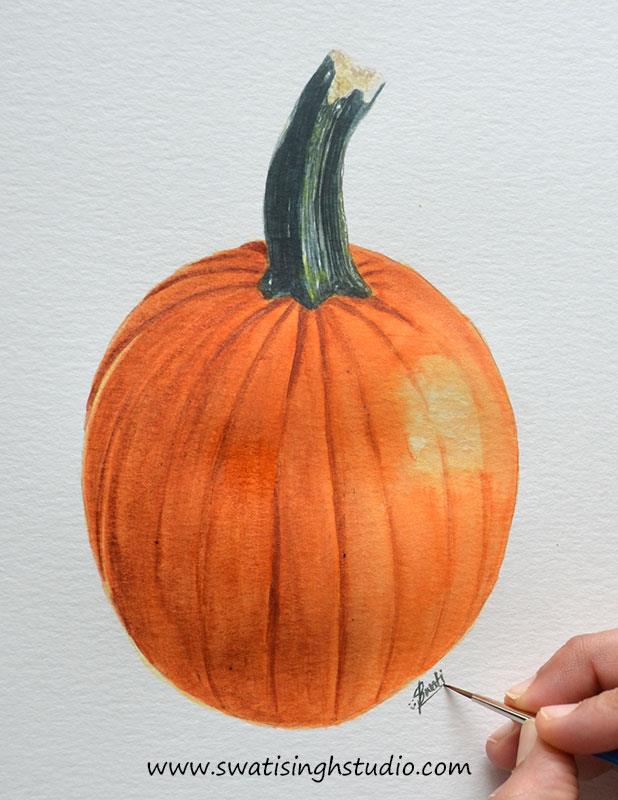
And this is how the actual pumpkin ended up looking like!
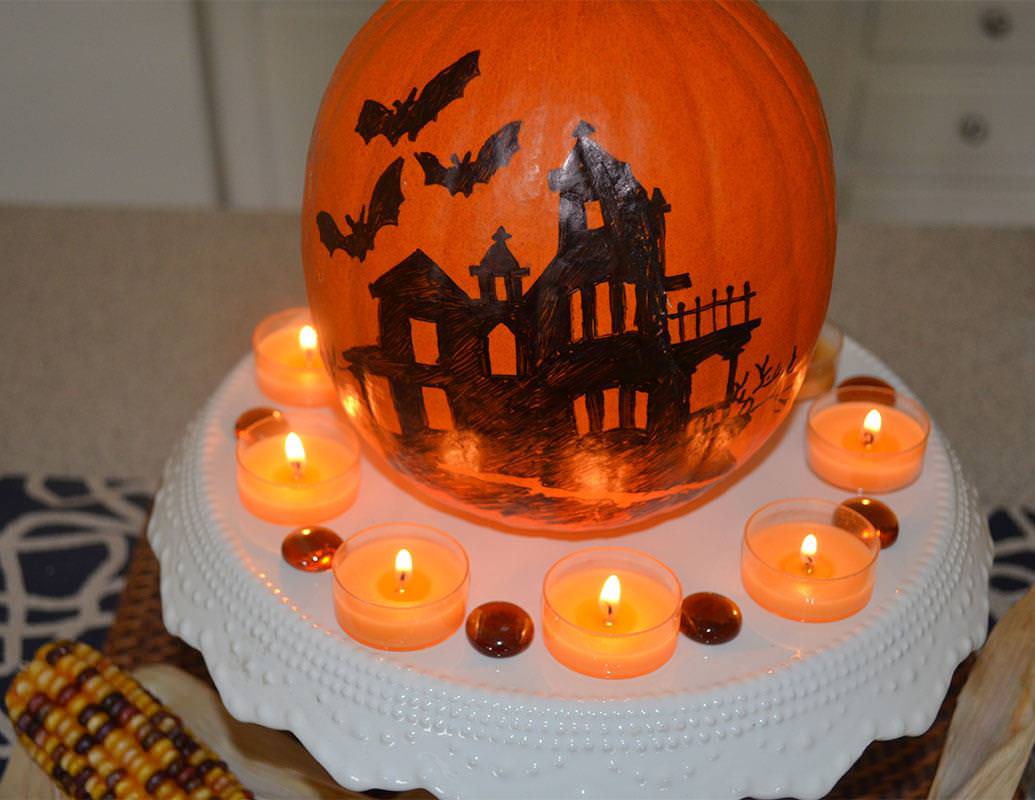
This concludes the Vegetable series. I hope you enjoyed it as much as I did! The world of vegetables is huge and I hardly covered any. But I did try to incorporate a few with different skin textures and colors. I hope you will make good use of these tutorials.
If you liked this series and would like me to share such tutorials, you may write your comments below! I would love to hear from you. And do not forget to SUBSCRIBE to my blog for future posts.
I will notify you all for the next series in December. Till then you are free to explore the previous sketches in the holidays!
So here I am signing off with lots of wishes!
Happy painting!
Happy Halloween!
Swati