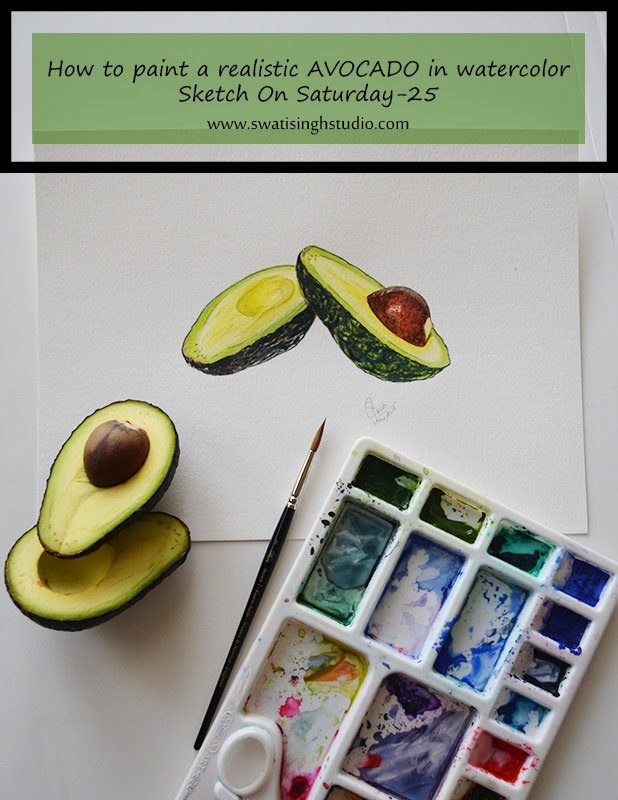
Hello everyone, welcome back to my blog! Today I have sketch no. 25 in “Sketch On Saturday” for you all.
Wherein I am sharing how to paint a realistic avocado in watercolors in a step-by-step process.
I did not know much about Avocados until I came to US. Well, this tree is native to Mexico and Central America.
Why did I choose this rare fruit in the series?
Well, if we see carefully the rough textured outer skin of this fruit is a great subject to study in watercolors. This will help you explore your brush in a new way.
Below you can see the reference image I used for sketching.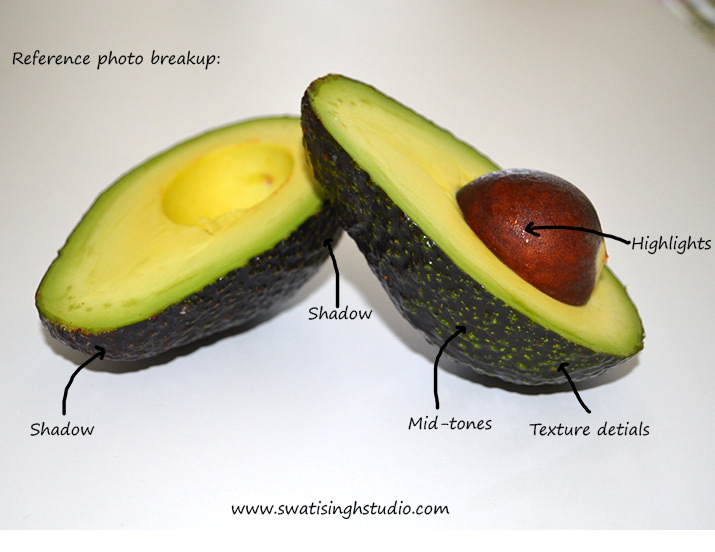
Since this is the fifth sketch in the “Fruits” series we are working our way up to the difficult fruits.
Avocado might look a bit overwhelming to paint at first glance since it has a very dark, textured skin. But as we start layering colors one by one, you will get more confident.
I cut the avocado in half to make it look more interesting. This way we learn to paint the seed as well.
So in all, there are three parts to the avocado: outer skin, yellow fruit, and the seed.
To achieve the saturation level of such dark skin, we will need to add multiple layers of green color one by one.
So without any further delay let’s take a look at the watercolors we need for sketching this beautiful fruit.
1. Lemon yellow
2. Sap green
3. Burnt sienna
4. Thalo green
5. Indigo blue
6. Burnt umber
7. Cadmium red
Some other materials might be helpful to use which you can see HERE.
I did the initial drawing using a 2B pencil. Since the overall skin is dark in color we can keep the outline dark.
Step1: Give a wash of clear water to the avocado using a no. 5 brush.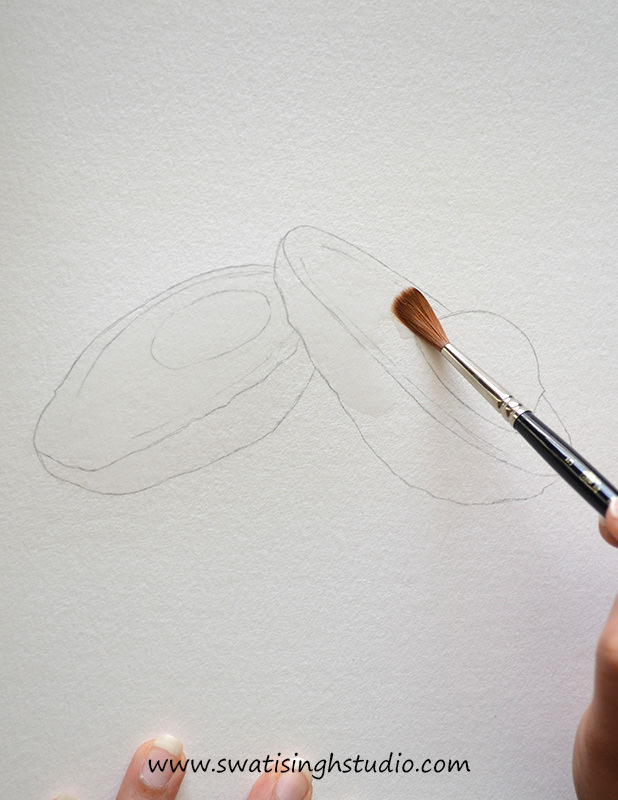
Step2: Now give a wash of lemon yellow using the same brush on the areas shown below.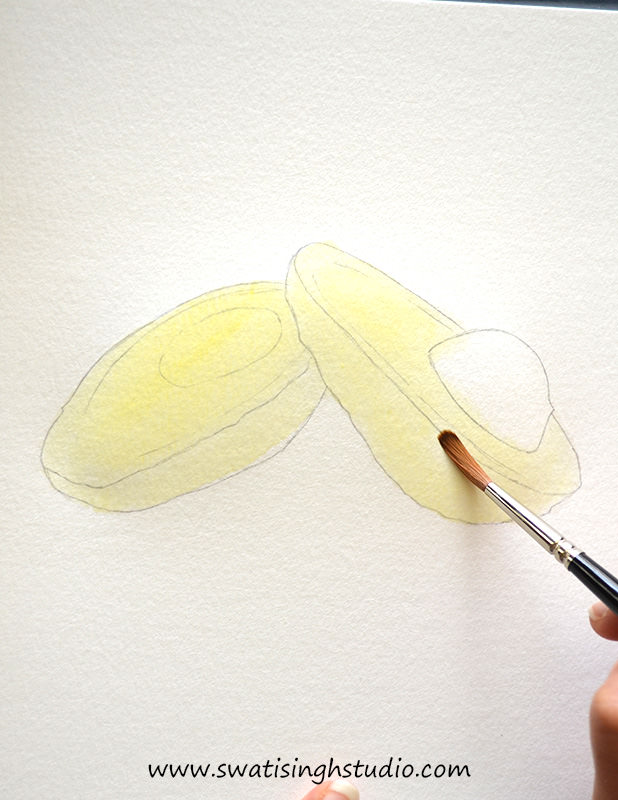
Important: Let the sheet semi-dry before proceeding to the next step.
Step3: Once the sheet gets a bit dry give a light wash of sap green to the skin of avocado and the outer rim inside the yellow part as shown below.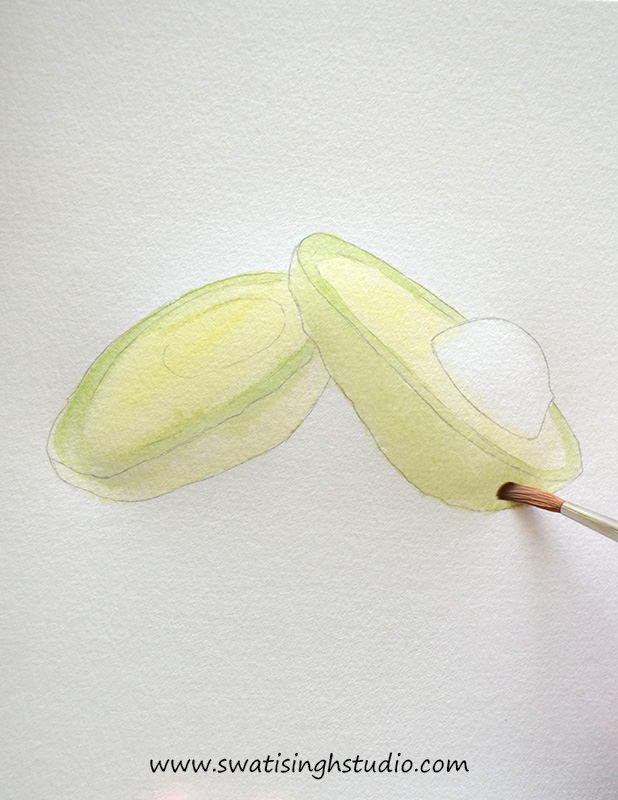
Step4: Now give the seed a light wash of burnt sienna using the same brush.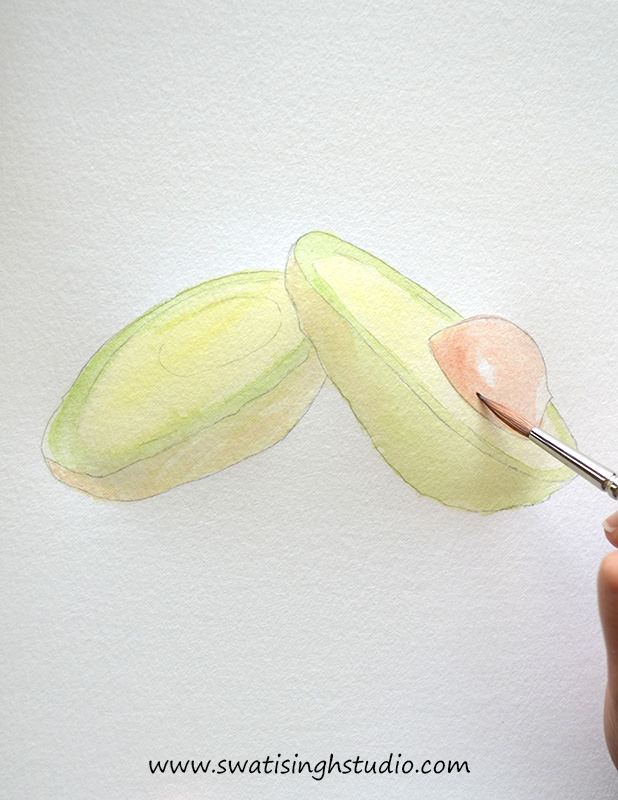
Important: Do not paint on the highlights, let the white of the paper show through.
Step5: Repeat with another layer of lemon yellow we painted in step 2.
Darken the inside of the seed cavity to suggest shadow.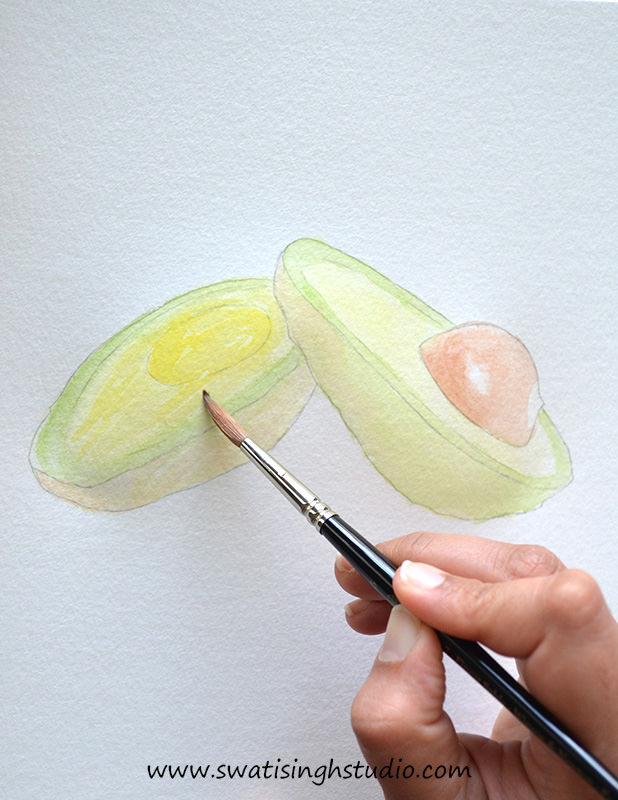
Step6: Add another layer of sap green as we did in step no.3.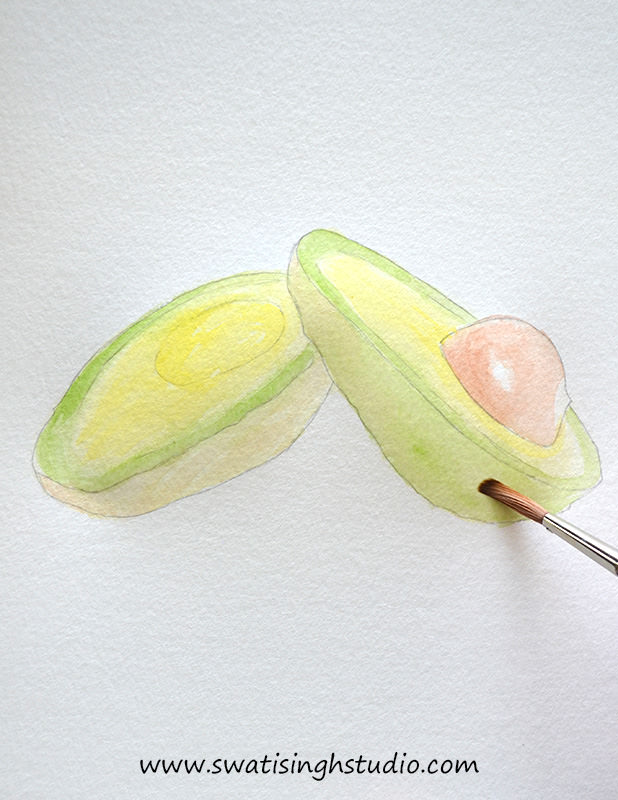
Important: Let the sheet dry completely before moving to the next step.
Step7: Now mix a little amount of thalo green to sap green along with a hint of indigo blue. This will result in a darker shade of green required for the body of avocado.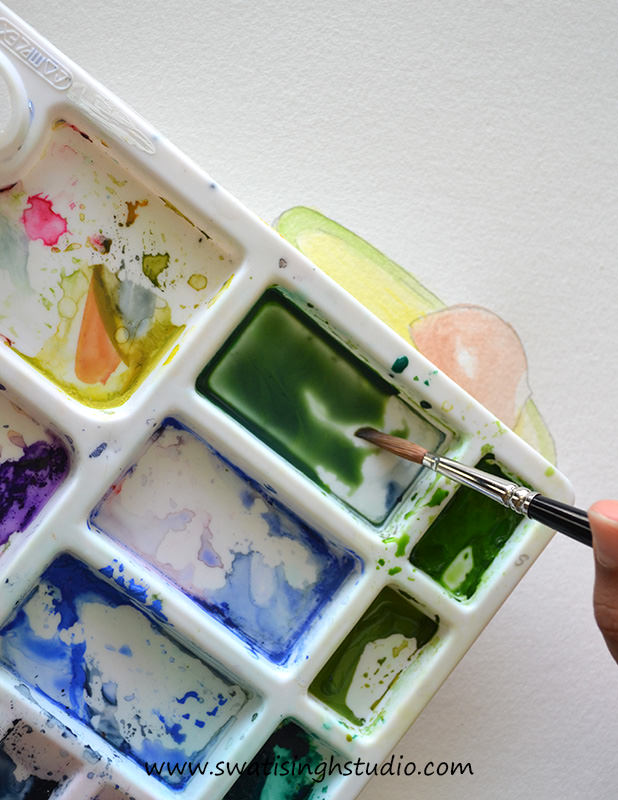
Draw the texture onto the surface of the skin using a number 3 brush. Keep the consistency somewhat watery at this stage.
Important: Carefully examine the surface in the reference image or your model and paint the texture close to what you see. The direction of your marks does matter. So be careful!
Tip: This step might take you a bit longer to paint, but it is worth it in the end so keep going! Just relax!
Additional tip: Change the water in your container before proceeding to the next step.
Also, make sure you have enough green color left for further layers. If not make some now so that you don’t forget how to achieve the desired shade.
Step8: Mix about equal amounts of burnt sienna and burnt umber and add a hint of cadmium red to it. 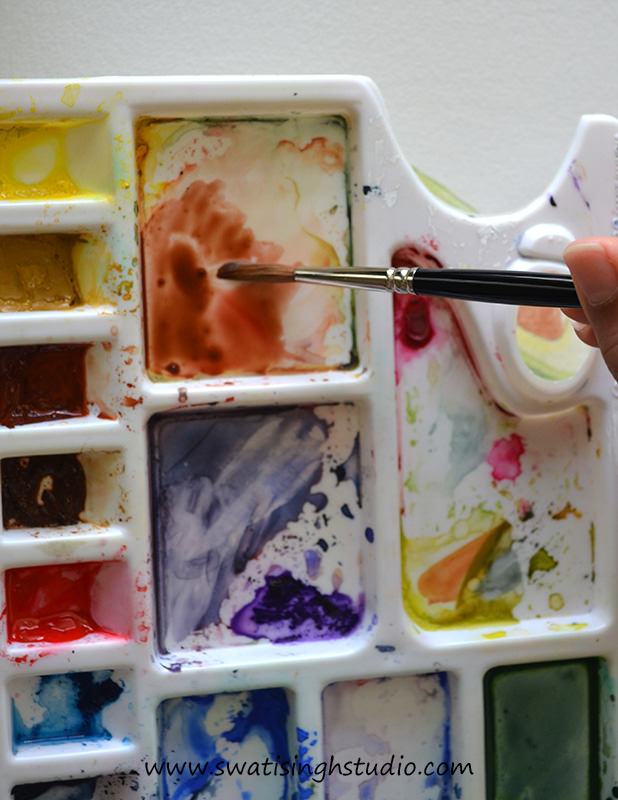
Using a number 3 brush start detailing the seed.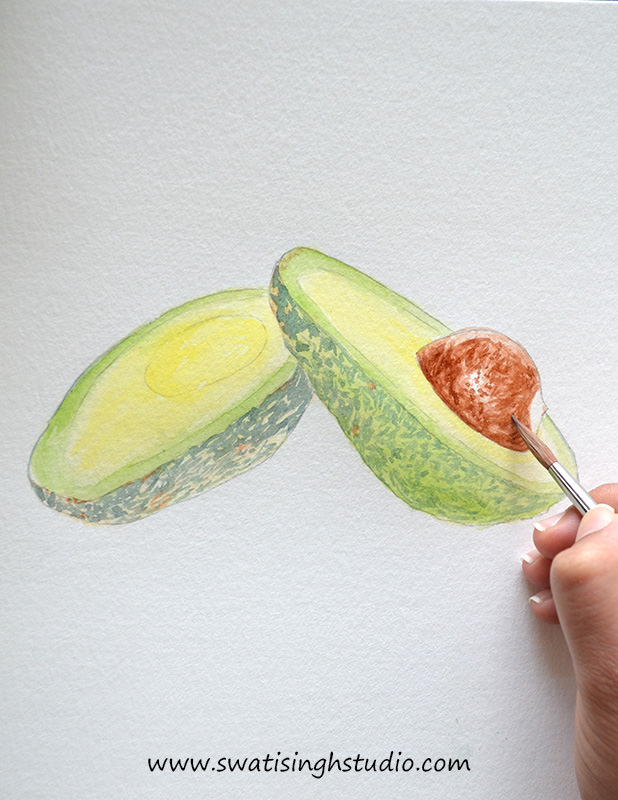
Tip: Observe the reference image or model closely for details and protect the highlight areas.
Step 9: Now with a number 3 brush add another layer of details on the skin with the green we made in step 7. You can keep the paint a bit thick at this point.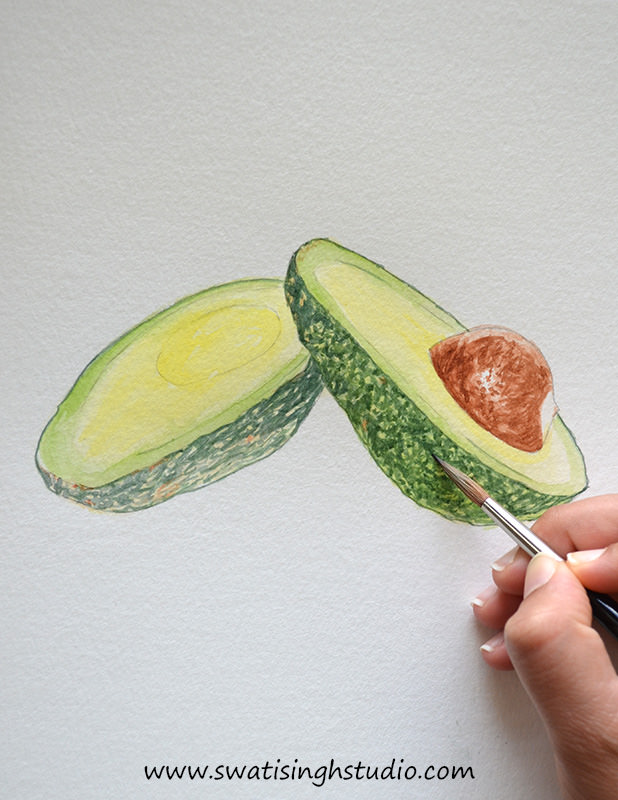
Step10: Give the fruit a wash of lemon yellow to make it look brighter.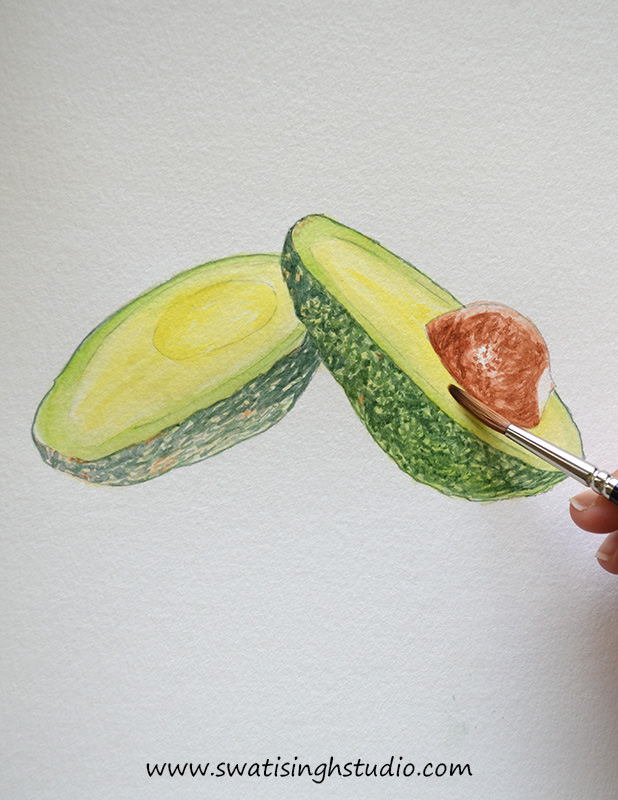
Step11: Give a wash of pale cadmium red to the seed protecting the highlight area.
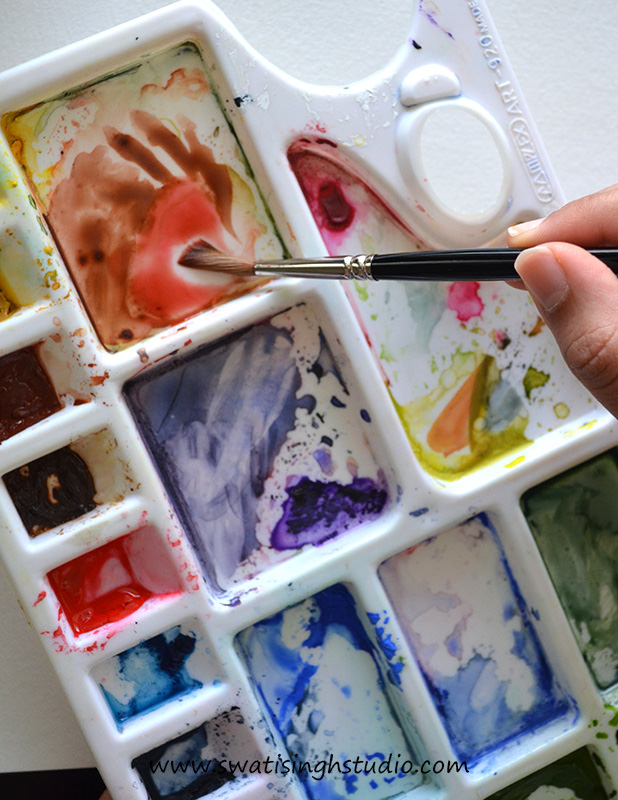
This will make the seed take form and appear uniform.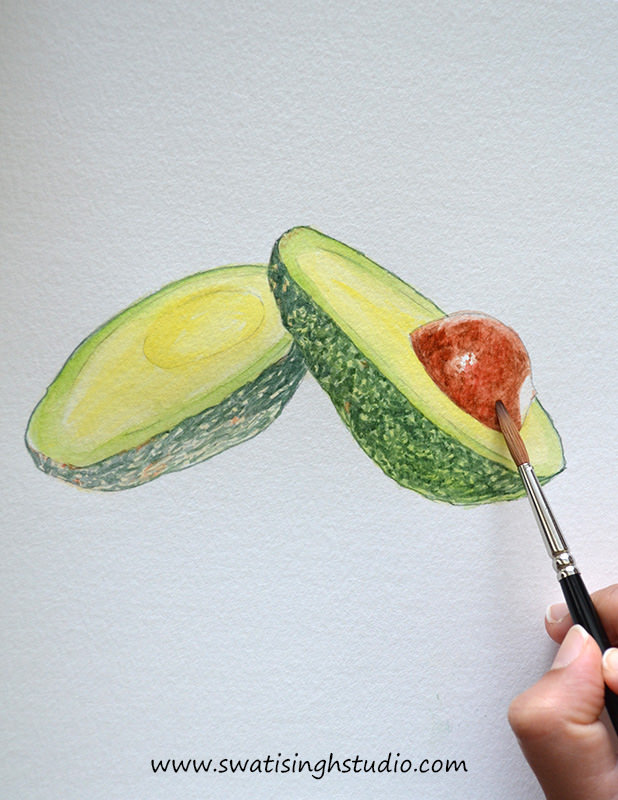
Step12: If you see carefully in the reference image you will notice that the left half of the avocado (skin) appears somewhat bluish in tone as compared to the right.
Hence, we need to make a bluish shade of green for the left half. For this mix, simply add some more indigo blue to the green we made earlier.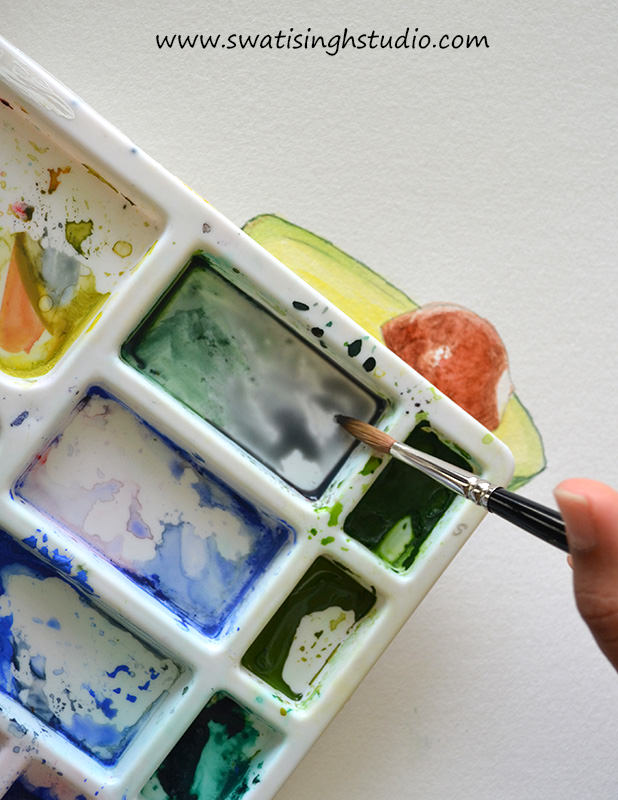
Now using a number 3 brush apply a layer of this color on the details. 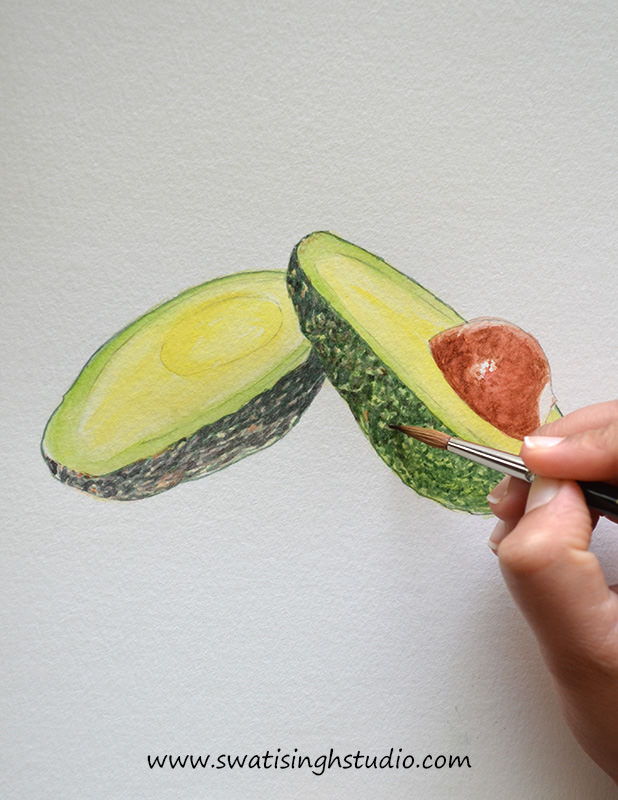
Step13: Well the basic sketch is done but if you want to achieve a more realistic look simply repeat the above steps to add some more layers to get the desired saturation level.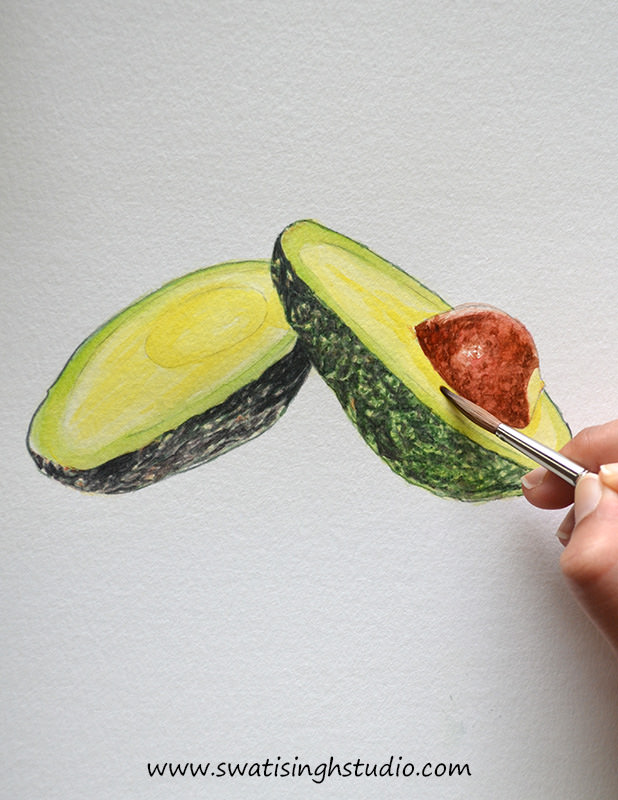
Step14: Now it’s time to add some magic with the fine details using a number 0 brush. Look for fine lines and marks on the surface. Paint with a number 0 brush and your avocado should be full of life by now!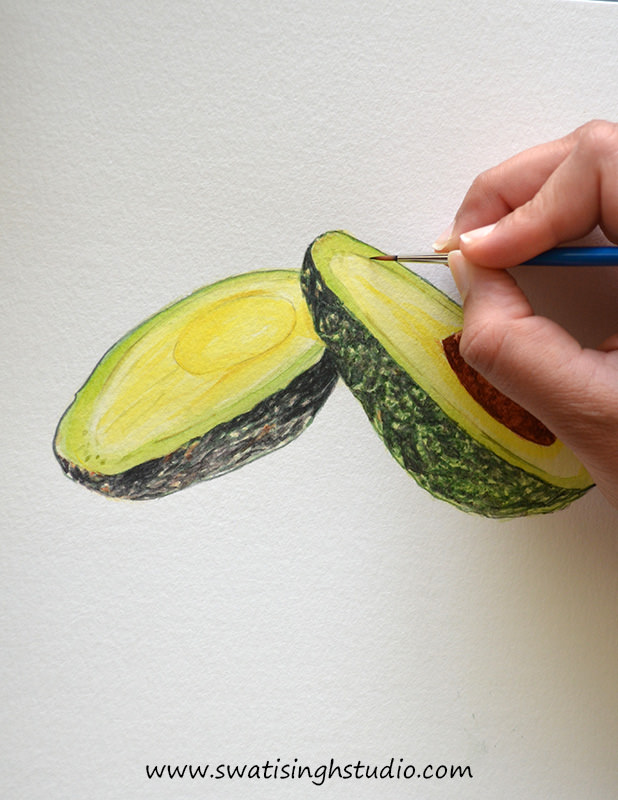
Step15: Do not forget it is important to sign off with your glorious signature. After all, you deserve it!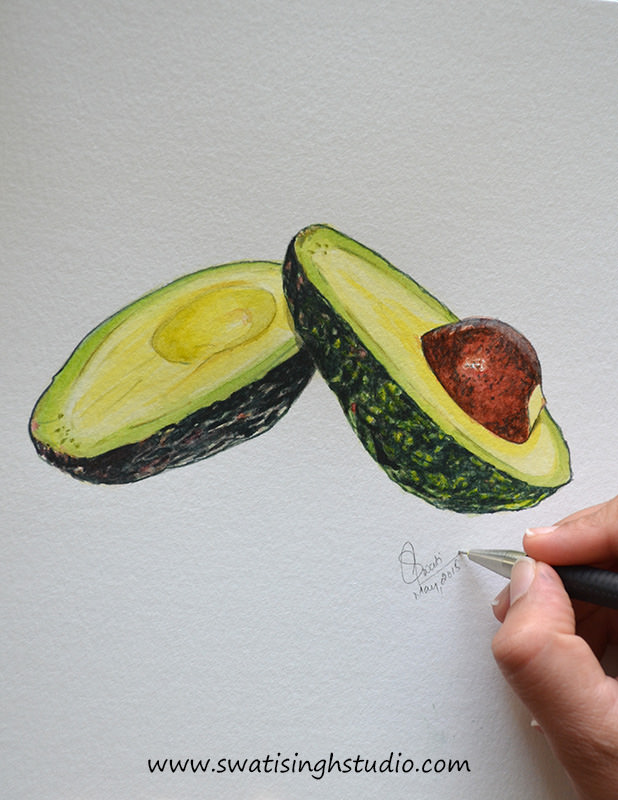
So there, you are with a realistic avocado in watercolor. I hope you enjoyed painting with me.
I will be back with another fruit next Saturday! Till then enjoy painting this fruit. If you are new here, you might want to look at some of the fruits we painted earlier.
If you have any questions/comments you can use the comment section below. I will be more than happy to answer.
If you liked this tutorial kindly “SUBSCRIBE “to my blog to stay updated with all the free tutorials.
Happy painting
Swati