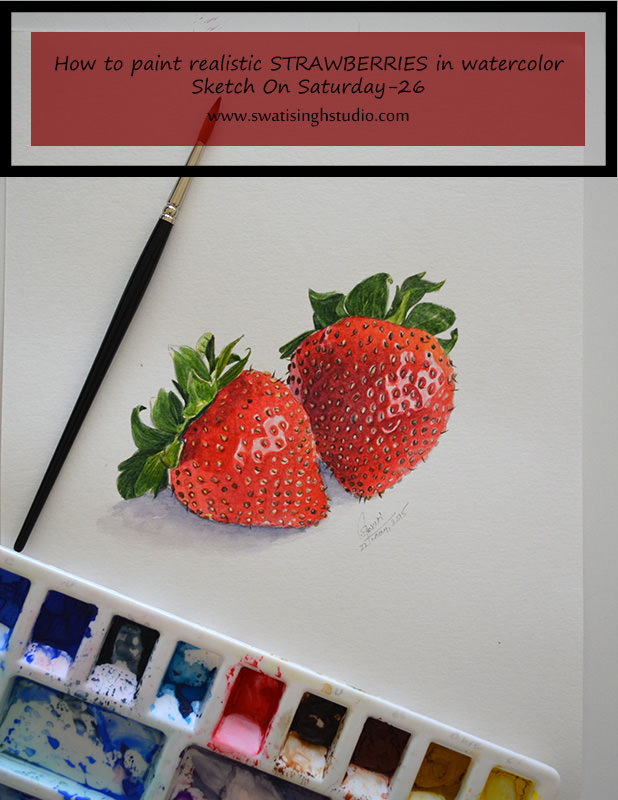
Hello everyone, welcome back!
Today we are moving further in the “Fruits” series with yet another tasty and pretty fruit-Strawberry.
I stumbled upon a beautiful fact about this fruit recently:
Strawberries aren’t true berries, like blueberries or even grapes. Technically, a berry has its seeds on the inside. And each seed on a strawberry is considered by botanists to be its own separate fruit.
Well, facts apart, why did I actually chose this fruit in the series?
Well if we closely look at the surface of a strawberry, we will find it is textured as well as shiny at the same time. The seeds on its surface surely create an interesting pattern against the shiny skin.
Hence, without any further delay let us jump right into the procedure of painting these strawberries in watercolor.
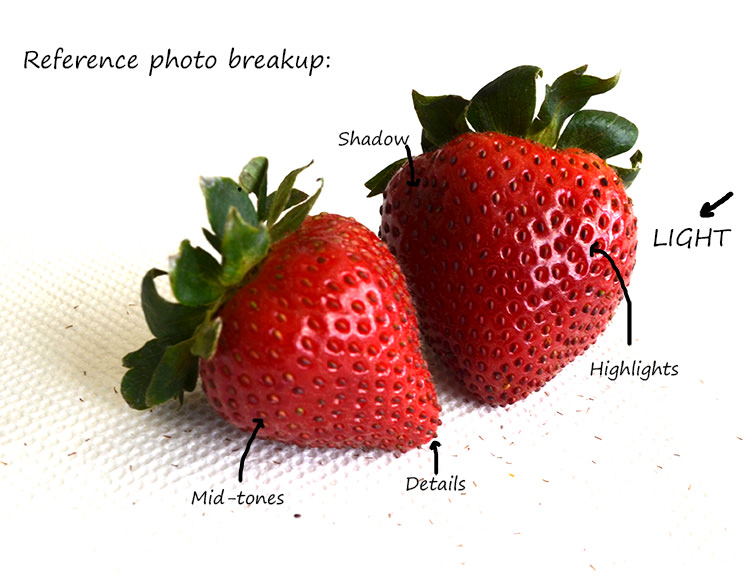
Below is the break-up of the reference image I used.
The watercolors I used are:
1. Lemon yellow
2. Olive green
3. Ultramarine blue
4. Thalo green
5. Cadmium red
6. Yellow ochre
7. Burnt umber
If you are new to the series, welcome to my blog. I would recommend you to CLICK HERE to get a general idea about the series and also some other supplies that you might require.
Let’s get started!
I sketched the berries with an HB pencil. I went ahead and drew the seeds on its surface as well.
The procedure is divided into two parts leaves and the berry.
LEAVES
Step1: Start with a wash of clear water inside the outline.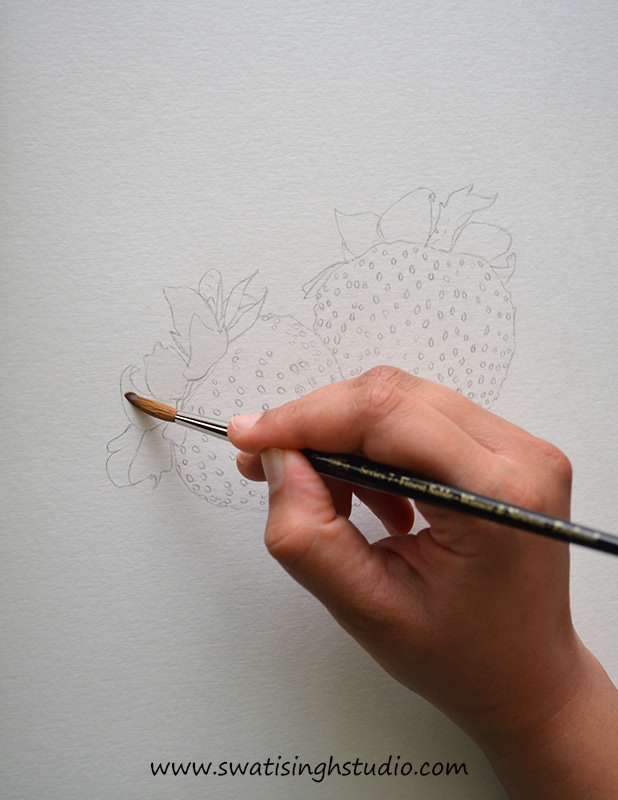
Step2: Now give a light wash of lemon yellow to the leaves using a no.3 brush.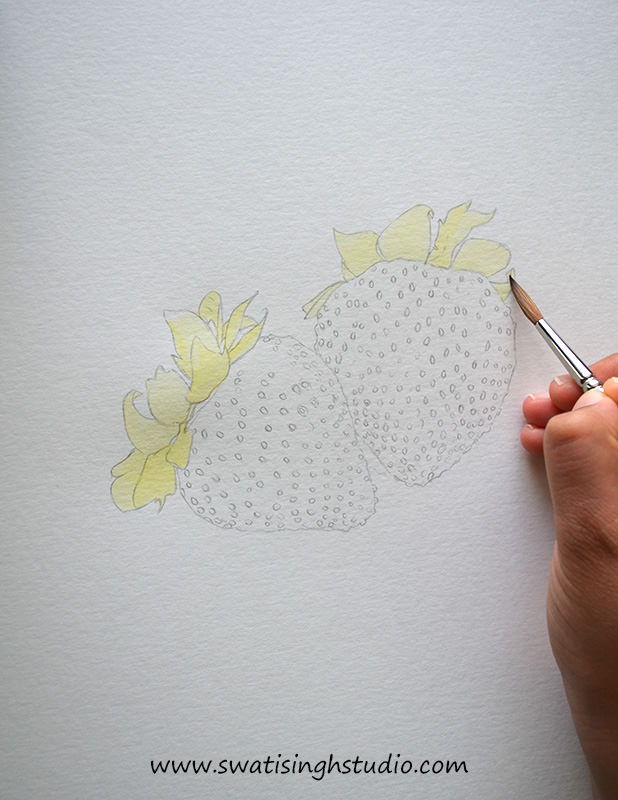
Step3: Lay a wash of olive green on some parts of the leaves using a no.3 brush. This totally depends on the reference image used. The lighter areas need to be painted olive green.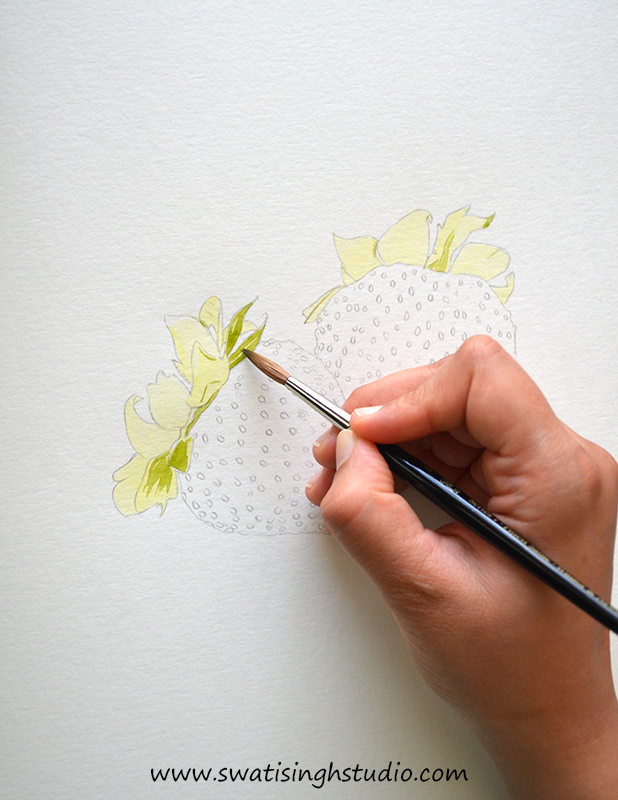
Step4: Now mix some ultramarine blue, lemon yellow and thalo green to olive green in order to make a darker shade of green. 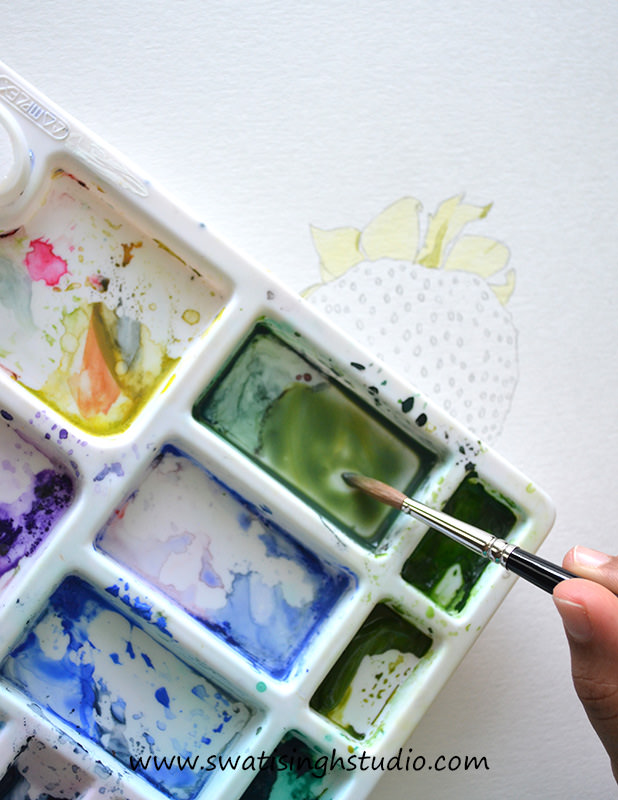
Apply this to the darker areas in the leaves.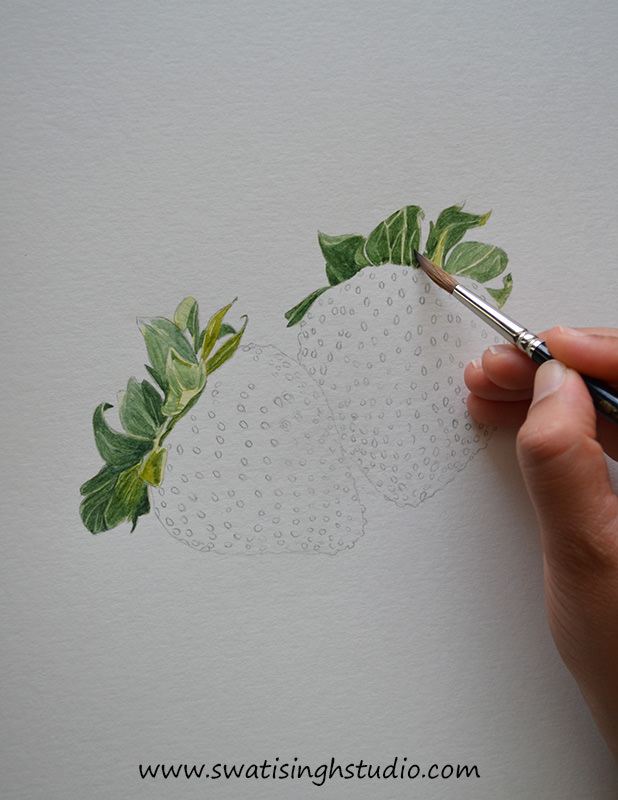
BERRY
Stpe5: Moving to the berry now. Give a very light wash of cadmium red all over the berry excluding the seeds and the highlights. Use a no.3 round brush.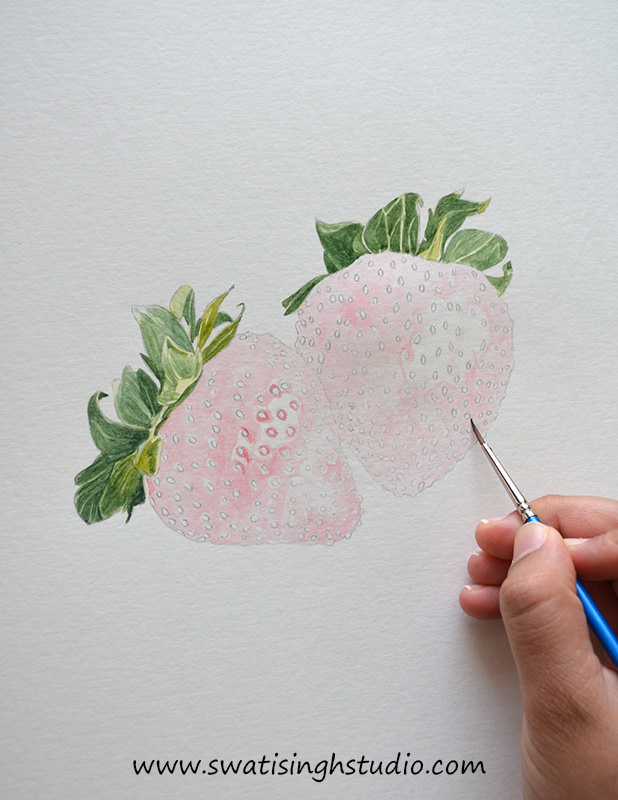
Tip: This step might sound simple, but it does take a bit long to complete. So it is important to be patient and relaxed while doing this!
Important: Go around the seeds carefully, do not touch them at all.
Step6: Add another layer of cadmium red to the berries to make them look more saturated.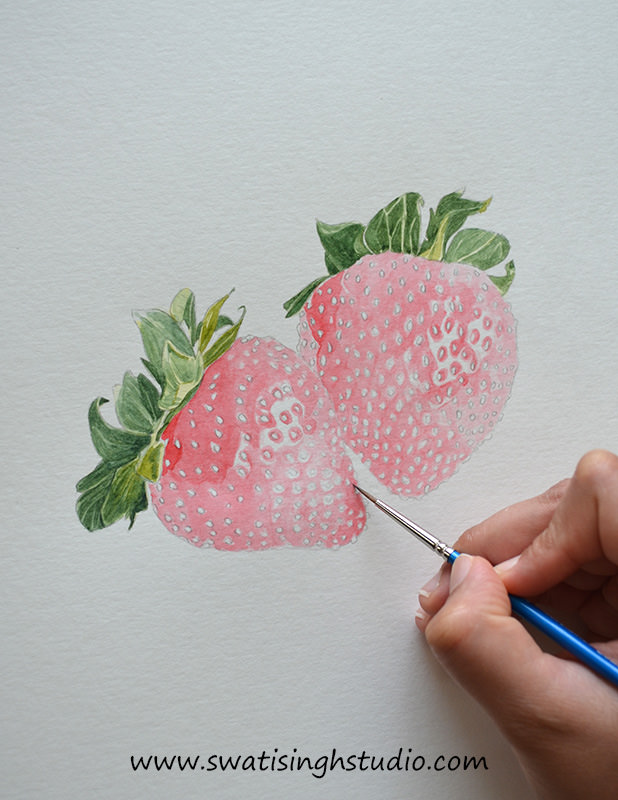
Step7: As we observe carefully the right part of the berry is yellowish and light in color since the source of light is on the right. Hence, give it a light wash of lemon yellow using a no.3 brush.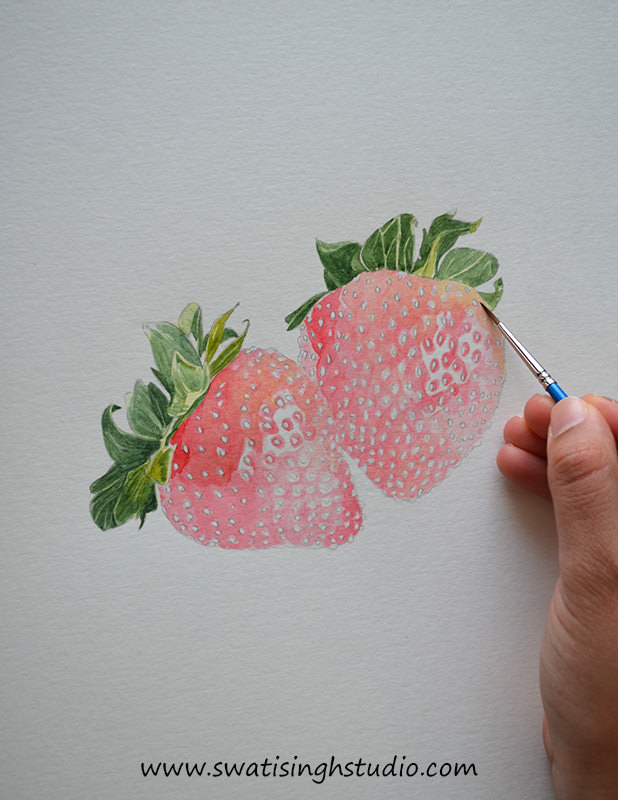
Step8: Mix some lemon yellow to cadmium red to make an orange shade. 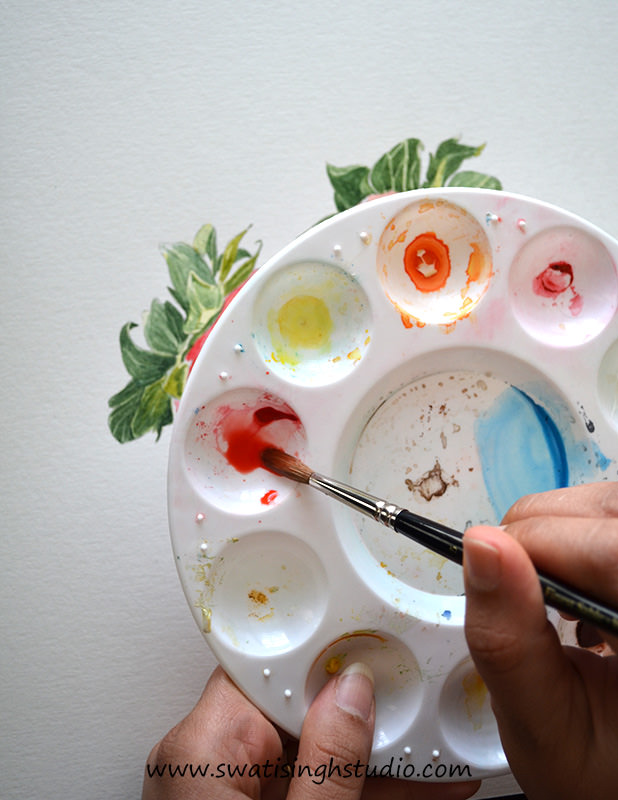
Paint the berries with a light wash of orange as you see in the reference image.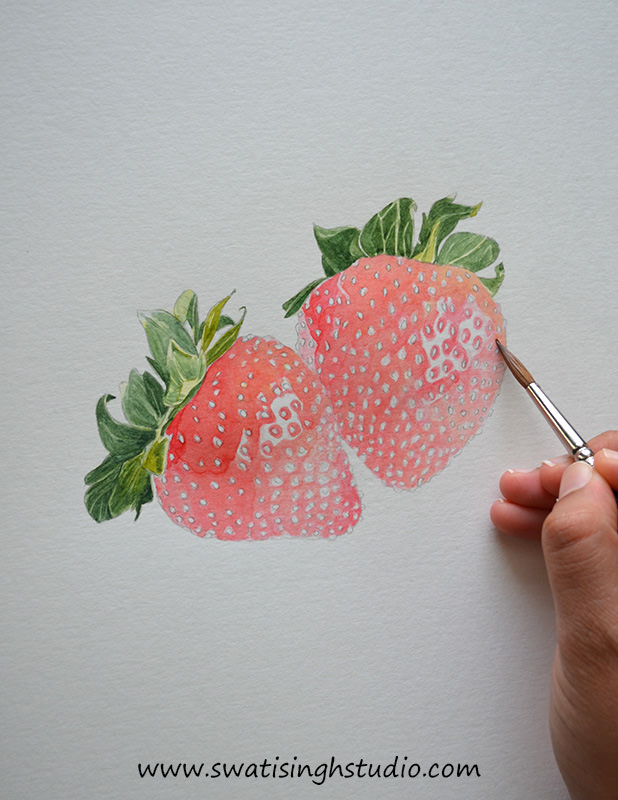
This will make the berries look bright in color.
Step9: Paint the seeds on the surface using yellow ochre and burnt umber. Apply yellow ochre on the seeds and then finish by adding a shade of burnt umber to the darker areas.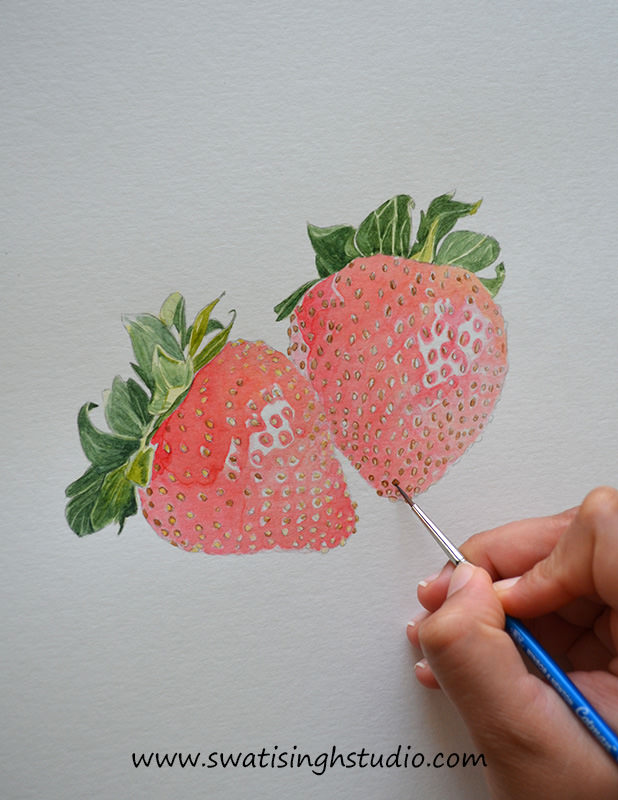
Step10: The shadow area on the berries appear to be a bit violet in color. Hence, mix some ultramarine blue to cadmium red and viola you get an amazing violet red.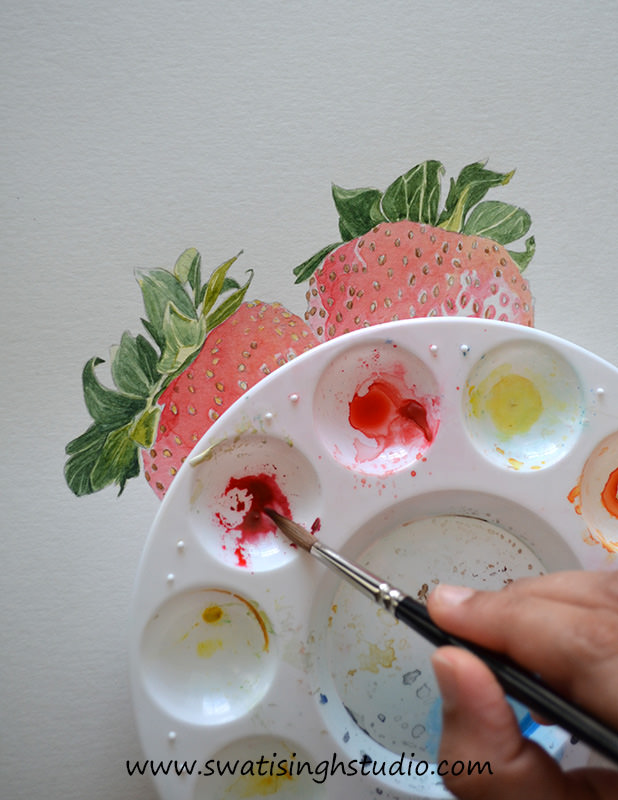
Apply a light wash of this dark red/violet carefully on the shadow areas.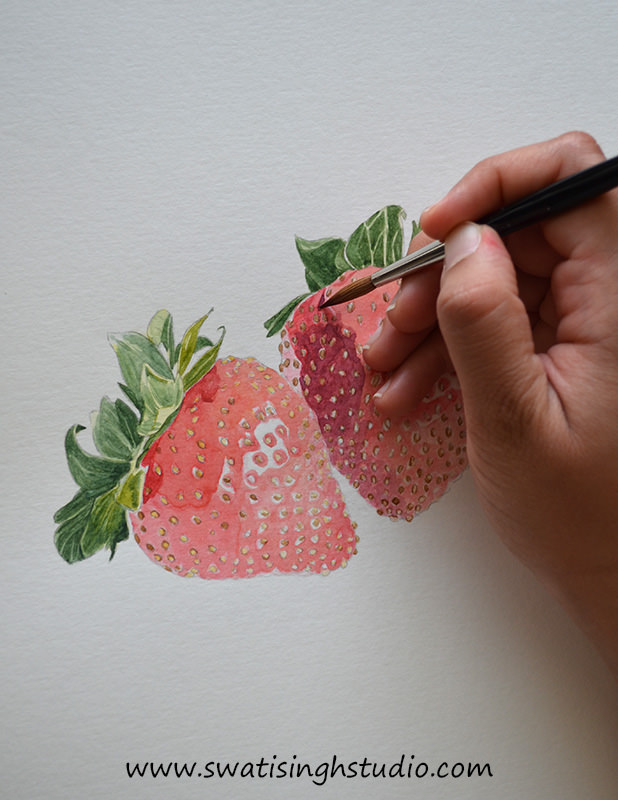
Important: Let the sheet dry completely before proceeding to the next step.
Step11: Now give a wash of cadmium red to the berries by again protecting the highlights and the seeds.
This will help everything come together and give a form to our strawberries.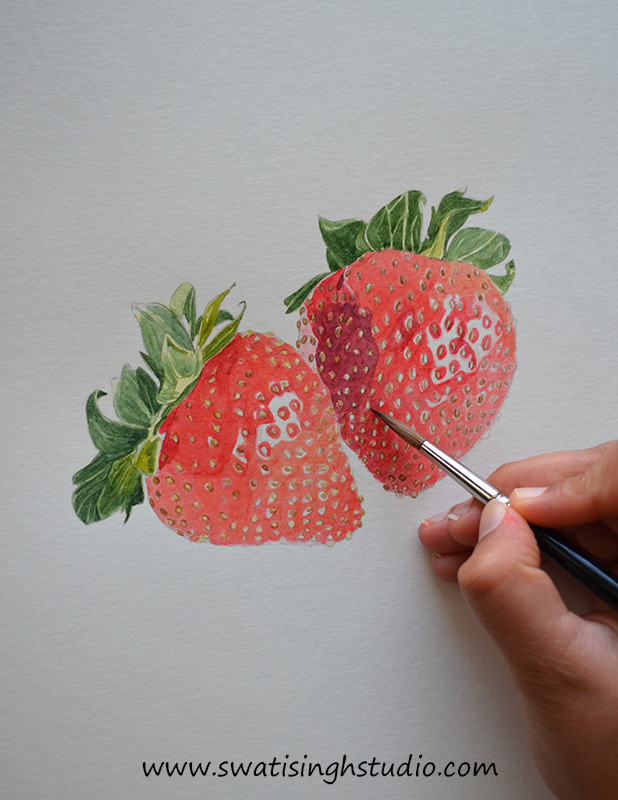
Step12: The basic sketch is ready but if you want to move further and make it look more realistic, then simply repeat the above steps and add some more layers until you reach the desired saturation of color. And finish off with your glorious signature!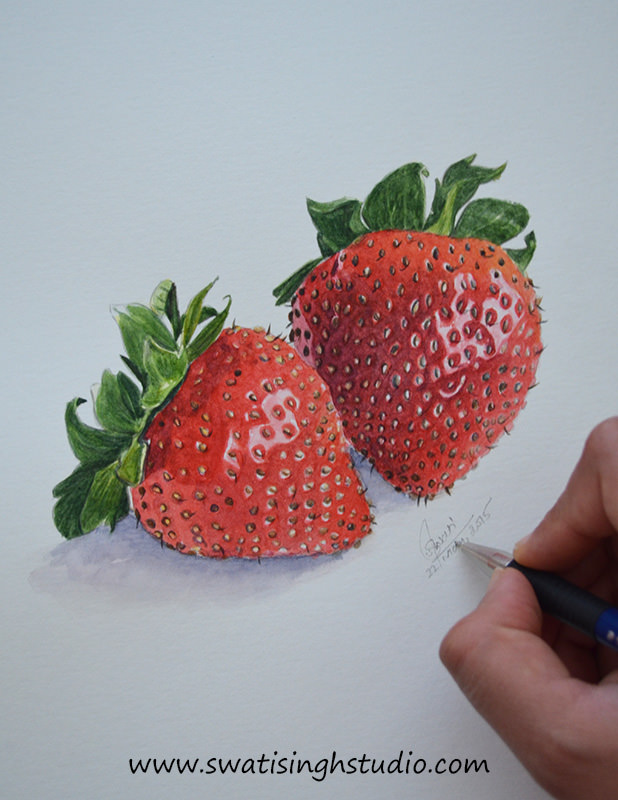
Tip: I went ahead and added some fine details on the surface such as fine hair-like structures on the seeds with a no.0 brush. Also, I went ahead toned down the highlights a bit by applying a very light wash of cadmium red.
This concludes this week’s “Sketch On Saturday”.
If you liked this tutorial kindly “SUBSCRIBE” to my blog to stay updated on all the future posts.
I will come back with another fruit in the series next Saturday.
Till then enjoy and try this fruit at home (I meant painting not eating! Well you can have it you want!).
If you have any questions you can leave your comments in the section below.
Happy painting
Swati