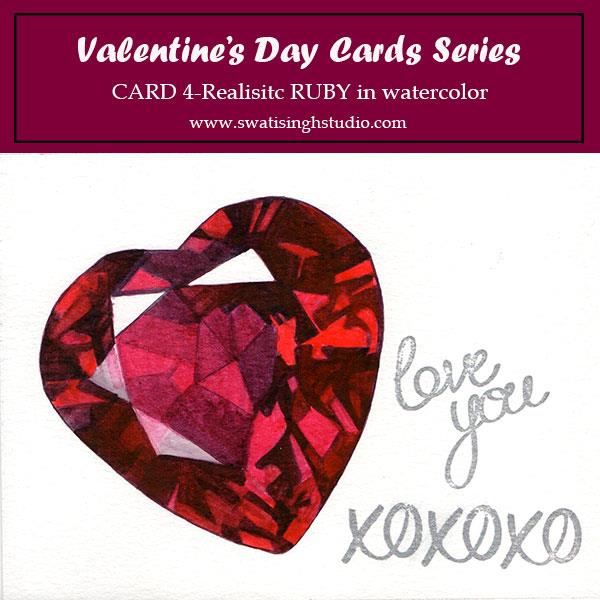
Hello everyone, welcome back to the Valentine series! I am sure you all are gearing up for a beautiful Sunday. Today’s card has a realistic ruby in heart shape. The best part is it doesn’t cost a thing. All you need is a couple of hours to yourself and you will be ready with a bejeweled card of your own.
The same tutorial can be used to paint some other shiny objects as well. The method is the same.
The watercolors I used are
1. Cadmium red
2. Permanent rose
3. Indigo blue
All other materials are mentioned in THIS POST.
Below you can see the reference image.

Although gems look very difficult to paint, they are one of the easiest things to paint if followed the correct methodology.
As you might know, I am a Gemology student, hence I wanted to share a bit of knowledge here. When we grade a gemstone’s color in the laboratory, we take a look at all the areas of the stone. We exclude the brightest areas (called windows) and the darkest areas (called extinctions) of the stone and make our judgment on the rest of the body color we see.
We are going to be using the same methodology here when painting our gemstone. Consider all the dark, bright and color-rich areas as pieces of a puzzle. All you need to do is paint each piece separately.
So start by drawing all the major geometric figures you see in the gemstone. Use a ruler to make straight, sharp lines.
Step 1. Give a light wash of permanent rose to the facets. Leave out any white areas completely. We will tackle them in the end. Paint the individual facets separately.
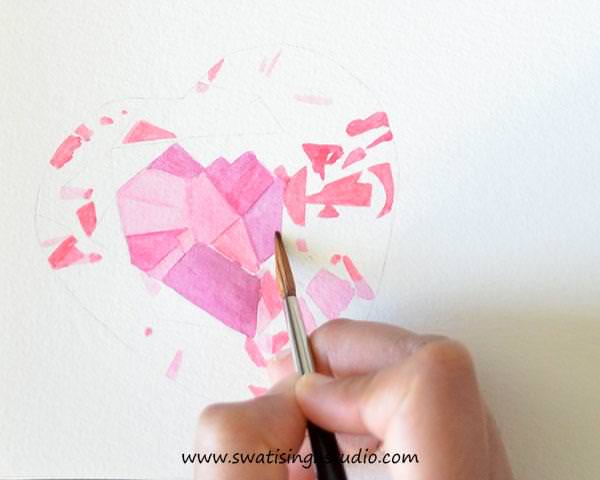
Step 2. Prepare a mix of cadmium red and permanent rose.
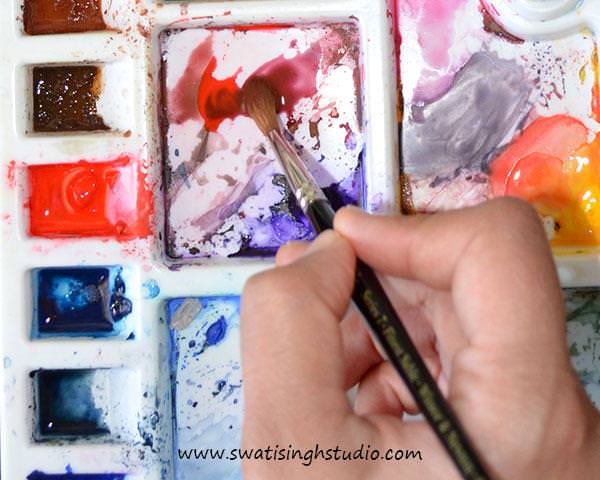
Apply a layer on the red parts of the gem.
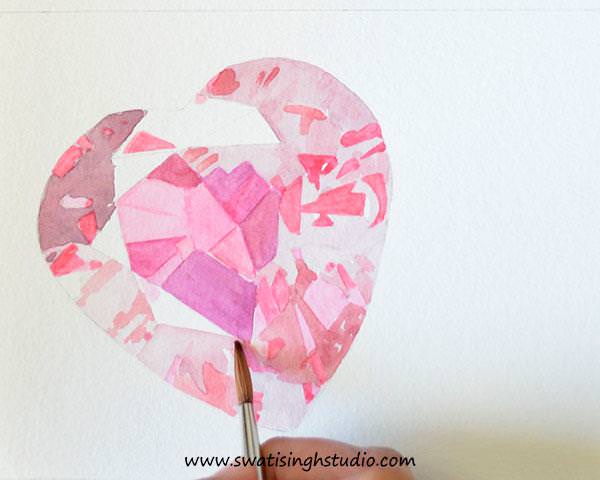
Step 3. Add another layer of pinks and reds.
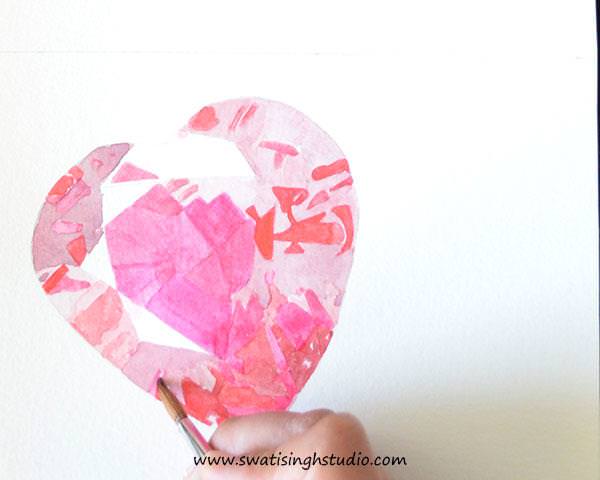
Step 4. Now mix some indigo blue with cadmium red for a darker shade of red. Apply on the dark areas as shown below.
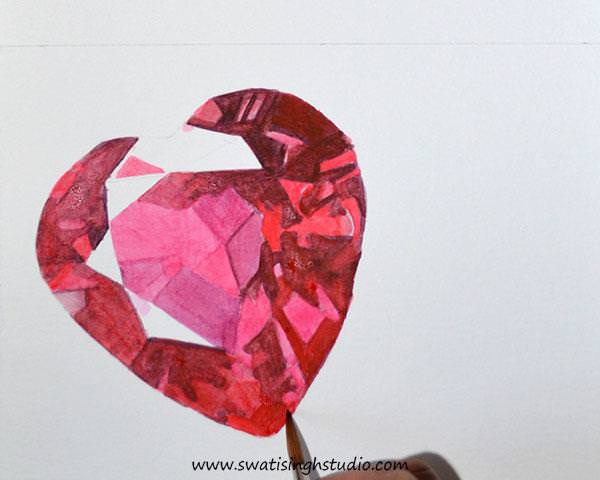
Important: Do not touch the white areas.
Step 5. Now it’s time to tackle those bright reflections. Two of them are pure white. We will leave them as it is. The rest are very light in color. Hence, go ahead and give them a very light or thin wash of red on darks as shown below.
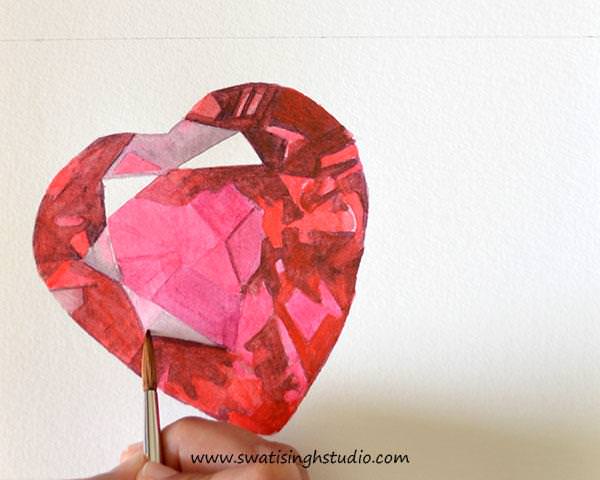
Step 6. Just darken the darks a bit and your card will be ready in not time. Complete it with a quote of your choice.
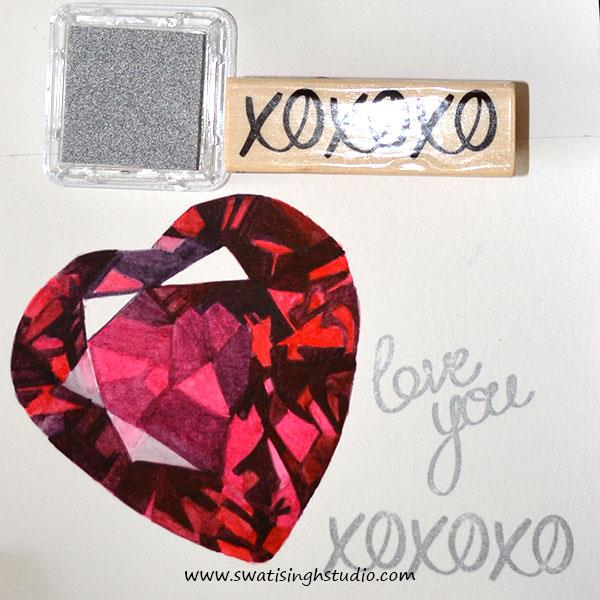
I am sure your loved ones will love it!
I hope you enjoyed this short series in watercolor. You are welcome to share your beautiful cards anytime on my FACEBOOK PAGE. If you haven’t already, you may also SUBSCRIBE to my blog.
I will soon notify you all with the details on the next series. Till then enjoy Valentine's Day and happy painting.
Swati