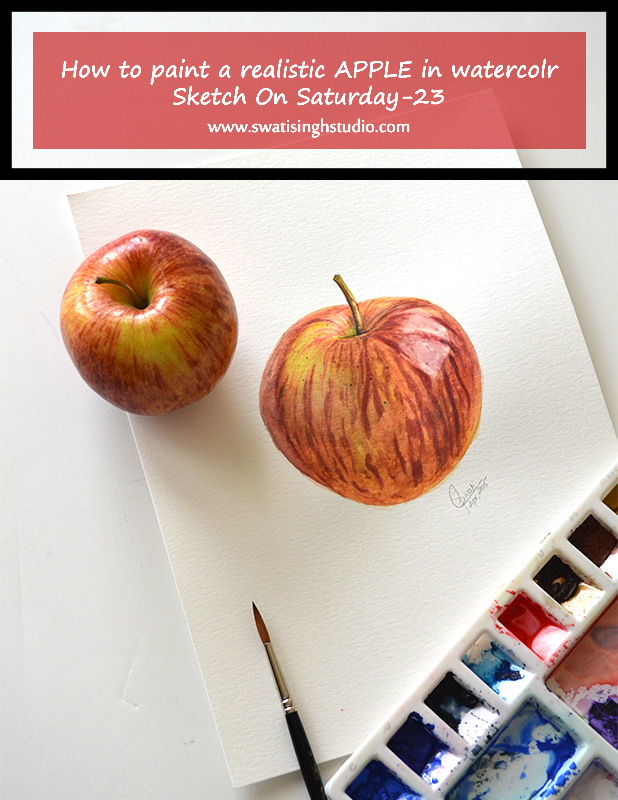
“An apple tree is just like a person. In order to thrive, it needs companionship that's similar to it in some ways, but quite different than others.” Simply love these lines by Jeffrey Stepakoff, The Orchard.
Welcome back to my art blog everyone. Let us paint an apple in today’s “Sketch On Saturday”.
Well, to be frank sketching this apple took me quite a while to get it look real.
Hence, I would like you to sit back and relax while painting this beautiful fruit. Take your time and you will be happy with the end results.
To know about all the art tools required for this watercolor series kindly refer to my “FRUITS” blog post.
Painting this apple was time-consuming but I must say it was so enjoyable and fun at the same time that I did not lose interest at any point.
Also, keep in mind with more than 7,500 varieties of apples in this world, it is important to understand that this process might not work for some other varieties such as "red delicious" or "granny smith"!
I chose a very classic example of an apple here, with both yellow and red hues.
So let us take a look at the breakup of the reference image I used.
This will help in better understanding of the tonal values.
The watercolors I used are:
1. Lemon yellow
2. Cadmium red
3. Ultramarine blue
4. Olive green
5. Yellow ochre
6. Burnt umber
So get your colors out and start painting with me.
To start with I drew the apple with a 2B pencil.
Step1: Prepare the sheet by applying a clear wash of water inside the apple outline. Use a number 6 brush for all the washes.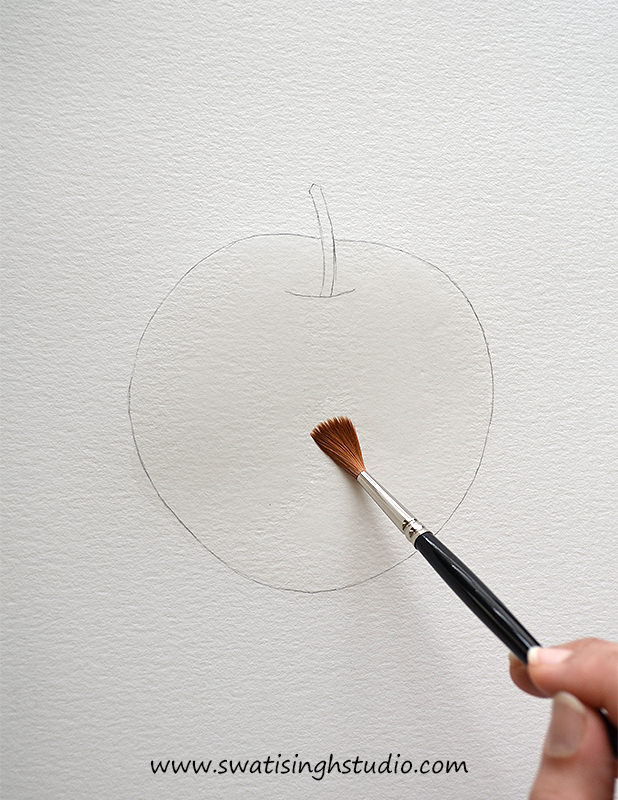
Step2: Now give a wash of very pale lemon yellow as shown below.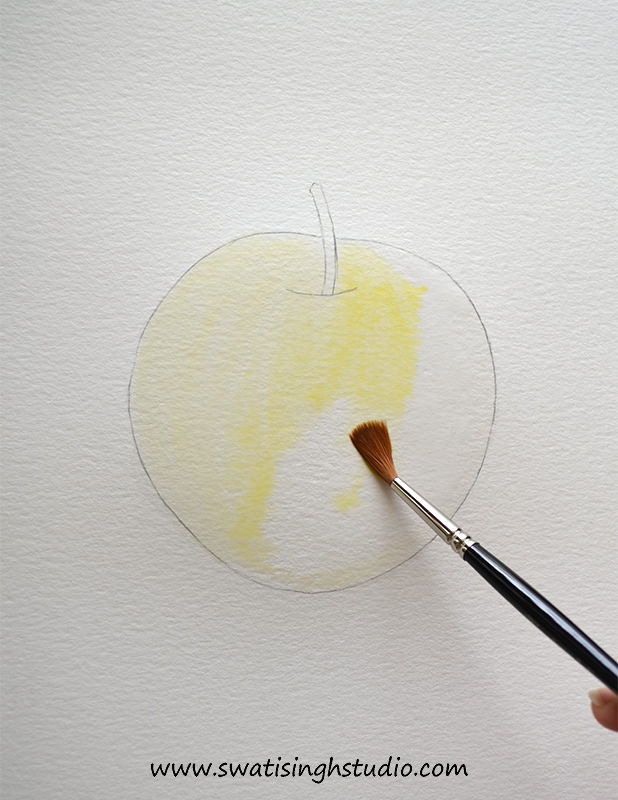
Step3: Mix some cadmium red to lemon yellow and you have an orange color.
Just carefully start dropping in orange while the previous layer is still wet. The watercolors will blend smoothly this way.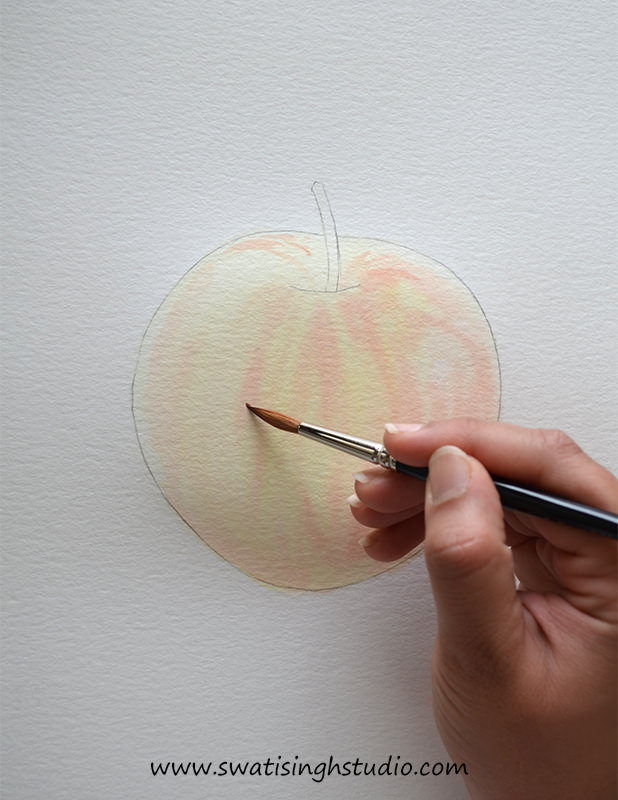
Look at the reference image or your model carefully and paint where you see the darker shadow areas on the apple.
Tip: Follow the contour of the apple while making texture.
Step 4: Go ahead and add a watery wash of lemon yellow to brighten up the apple a bit.
Do not paint on the highlight area. We want to keep it light.
Important: Let it dry completely before proceeding to the next step.
Step5: Now mix some ultramarine blue in cadmium red. This will result in a darker shade of red needed for the details. Keep the consistency of the paint a bit thick.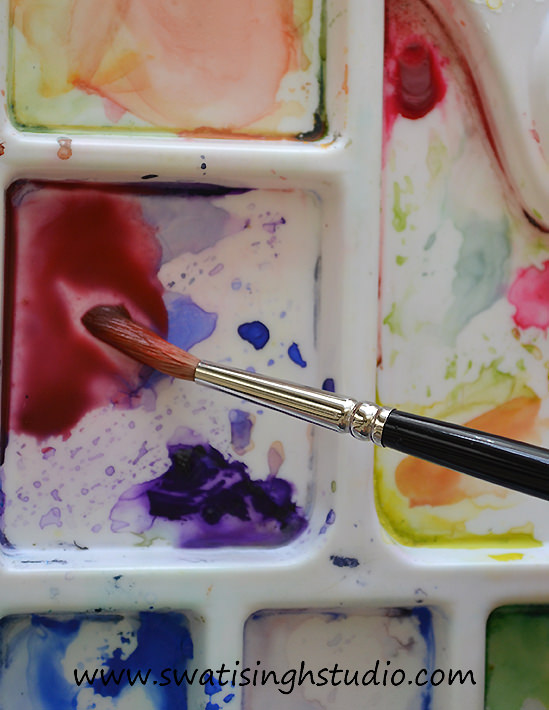
Using a number 3 brush paint the fine texture you see in the reference photo. Pay close attention to all the areas and try to paint as accurately as you can.
Important: Let it dry completely before proceeding to the next step.
Tip: Change the water in your container if it looks muddy. This is important as we are going to give some more washes in the following steps.
Step6: Once the details have dried add a wash of orange on top. Use a number 6 brush.
Important: Let it dry completely before proceeding to the next step.
Step7: Add a little amount of ultramarine blue to the orange we made earlier. 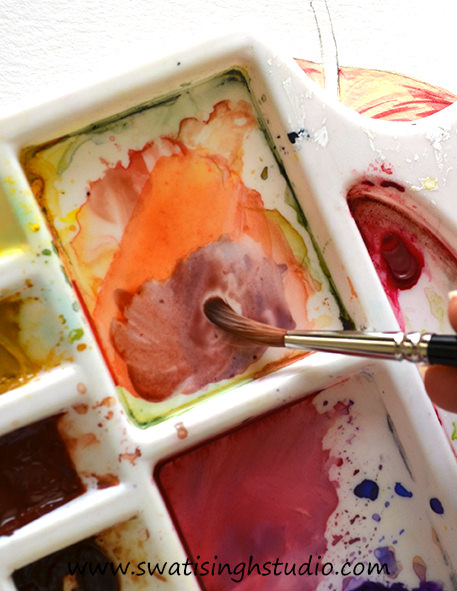
Refine your details with this darker shade of orange using a number 3 brush.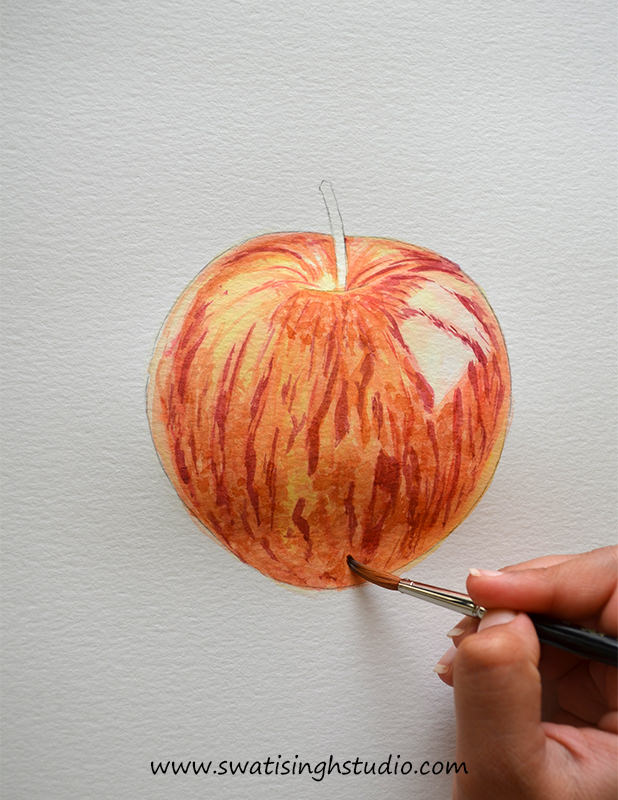
Important: Let it dry completely before proceeding to the next step.
Step8: Mix some olive green and lemon yellow. Give a thin wash of this greenish yellow on the top part of the stem and the top left part of the apple.
Step9: Add another layer of details with the dark red we made earlier. Use a number 3 brush.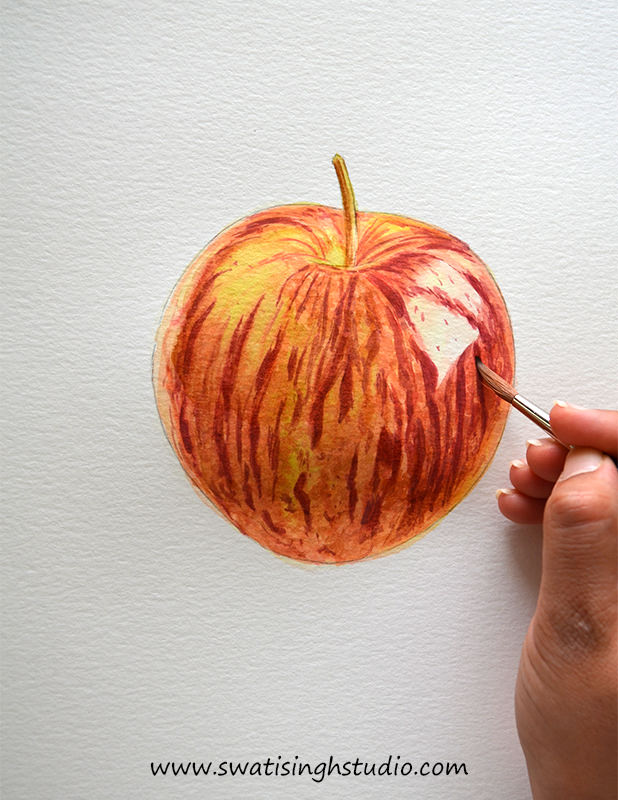
Step10: Now tone down your highlights with a wash of very pale red as shown below. This is the same watercolor we made in step 5.
Step11: Repeat the process of adding details and giving a wash till you achieve the saturation required.
Finish off with the details in the stem. Use burnt umber and yellow ochre for the stem, keeping the left side darker than the right.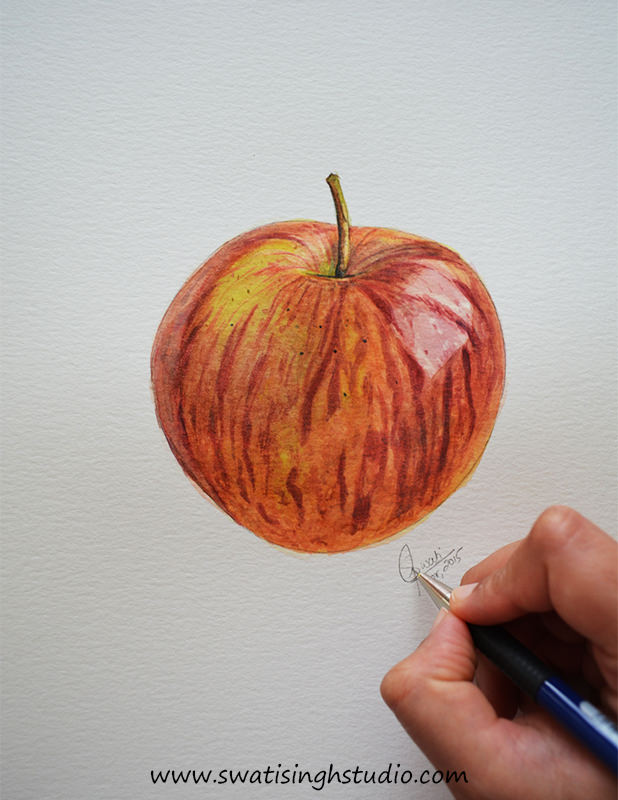
And there you are with your realistic looking apple!
I hope this tutorial helped you in achieving the results.
If you liked this tutorial kindly “SUBSCRIBE” to my blog and stay updated with all the weekly tutorials.
As you might know this module has been designed in such a way that you progress your way up to the difficult fruits step by step.
Hence, if you have not tried it yet I would recommend you to practice the previous sketches first in order to have a better understanding of the medium.
Previously we painted an ORANGE and some BLUEBERRIES.
Kindly take a look as it will certainly help you.
I would love to hear from you as to how the apples turned out. Feel free to let me know your experience in the comment box below. If you have any questions you can e-mail me or leave a message below. I am here to answer.
So here I am signing off with best wishes.
Happy sketching!
Swati