Hello, beautiful artists! How are you all doing with the Daisy series so far? I did get a chance to see some of the artworks in the past few days and I must say they all are turning out to be beautiful! I love looking at your work so do not hesitate to share it with me via e-mail or Facebook!
Today we are into the last part of the Daisy series where we will be tackling the leaves. I did not include the final touches in today’s tutorial since the video is already 30 min long. Hence, I decided to put the final rendering in Part 5 separately.
If you are new to this series I welcome you to join us and below are the links to the previously painted parts of the composition. Have fun!
Part 3- Vase and the background
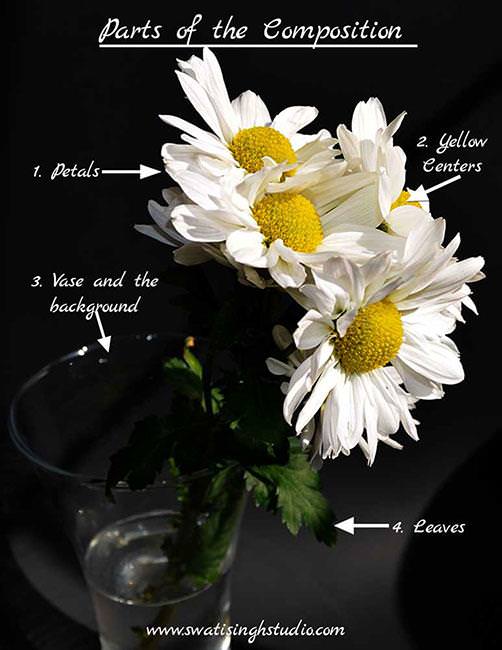
THE COMPOSITION
THE WATERCOLORS USED:
1. Lemon Yellow
2. Sap green
3. Indigo blue
4. Scarlet Lake
BRUSHES USED: #1 and #3 round brushes
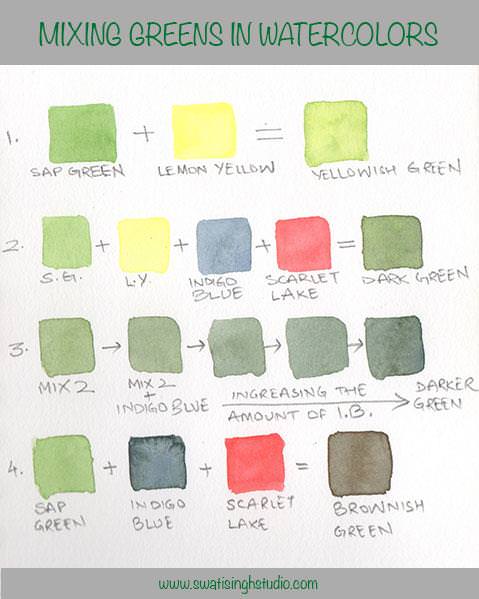
COLOR MIXING CHART
THE PROCESS
Step 1. Apply a wash of clear water to the leaves to prepare them for the first layer of color. Now add a thin layer of Lemon yellow.
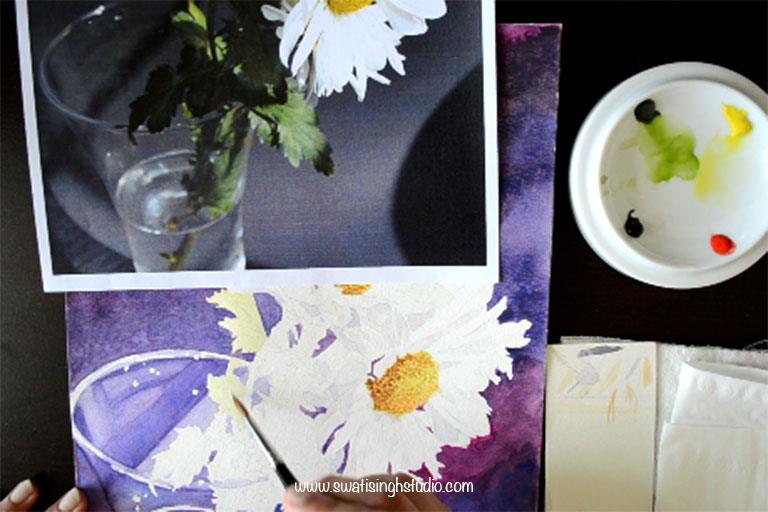
Step 2. While the sheet is still wet lift off some highlights of the central veins using a clean damp brush as shown below.
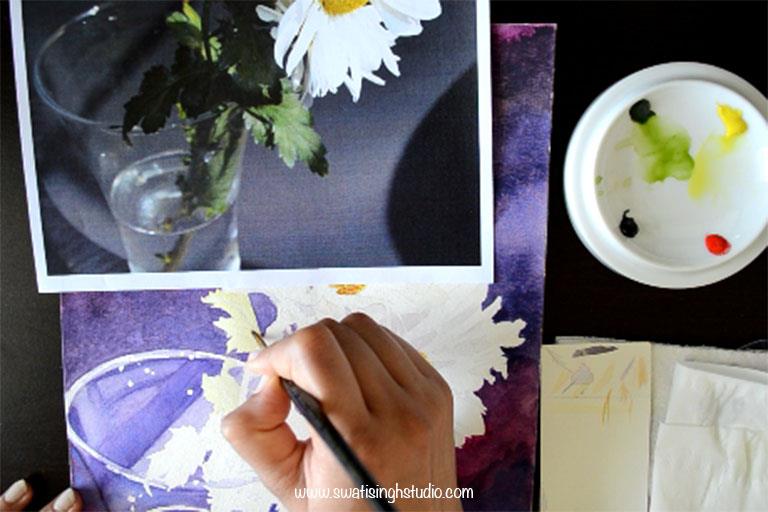
Tip: Remove any excess water from the brush by blotting it on a tissue paper before you lift off the highlights.
Step 3. Prepare a mix of sap green and lemon yellow and add a tiny amount of indigo blue and scarlet lake to it.
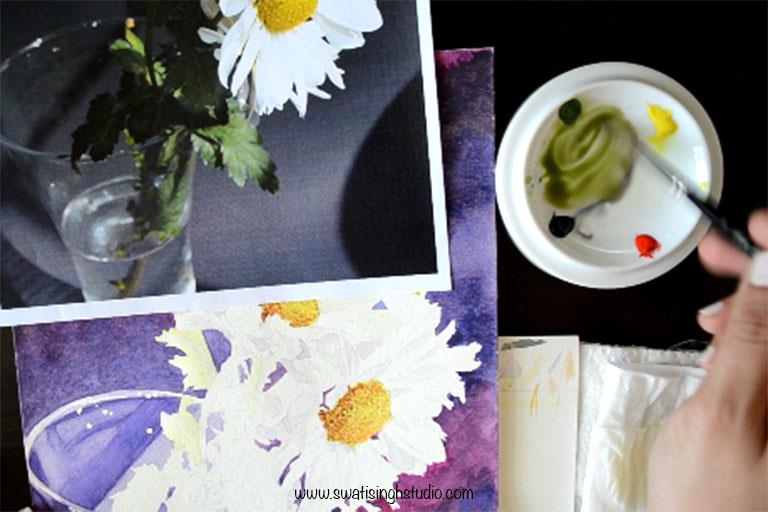
Apply a layer of water for smooth transition followed by a thin layer of the mix.
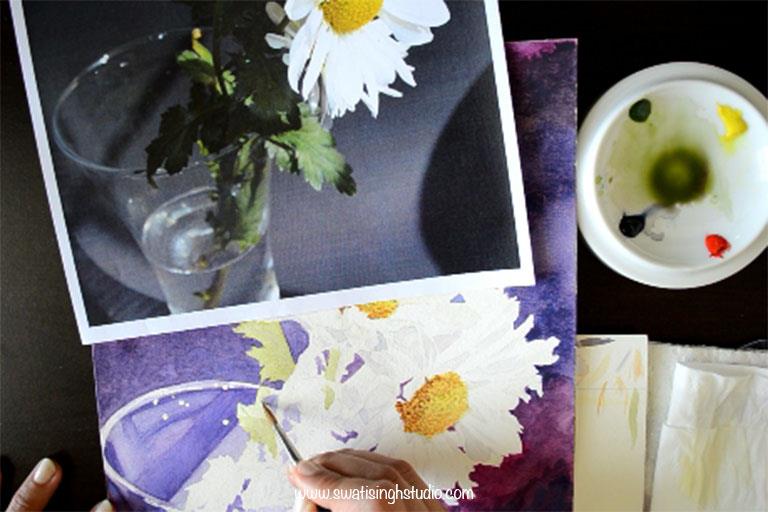
Step 4. While the layer is still wet lift off the veins as we did in Step 2.
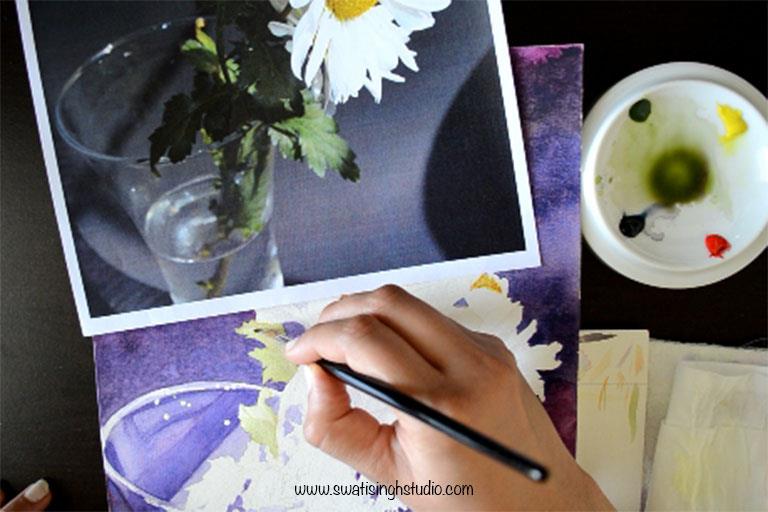
Step 5. Now add a tiny amount of indigo blue to the previous mix to get a slightly darker shade of green. Apply this mix to the shadow areas of the leaves as shown below.
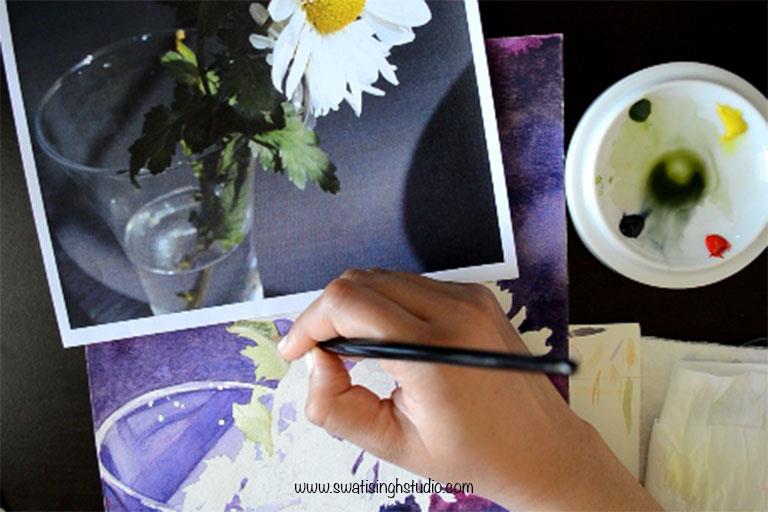
Important: Do not go over the central vein we lifted out in the previous step. Go with your brush around it now onwards.
Step 6. Smooth out any hard lines with a slightly damp brush.
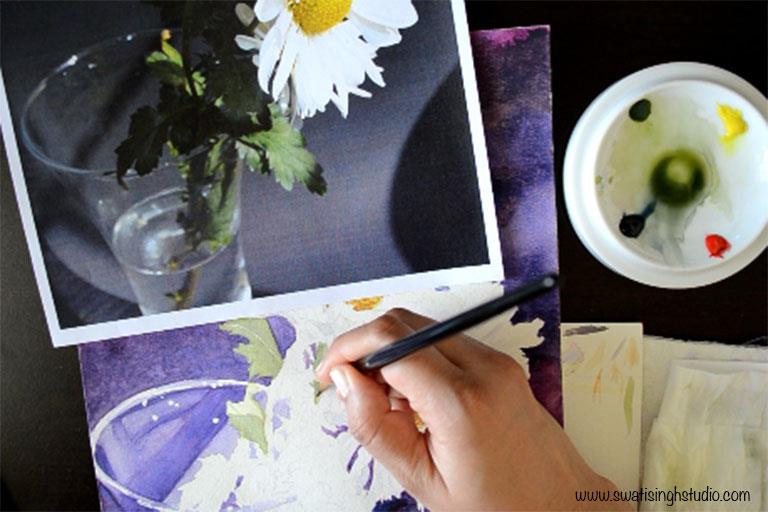
Step 7. Now darken the mix even further by adding some indigo blue to the mix. Go over the shadows with a third layer of color without touching the highlights.
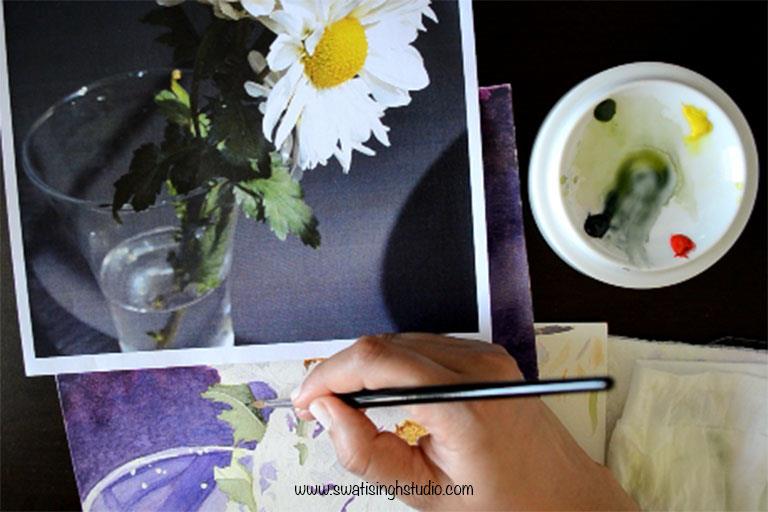
Step 8. Lift out the highlights if needed with a slightly damp brush.
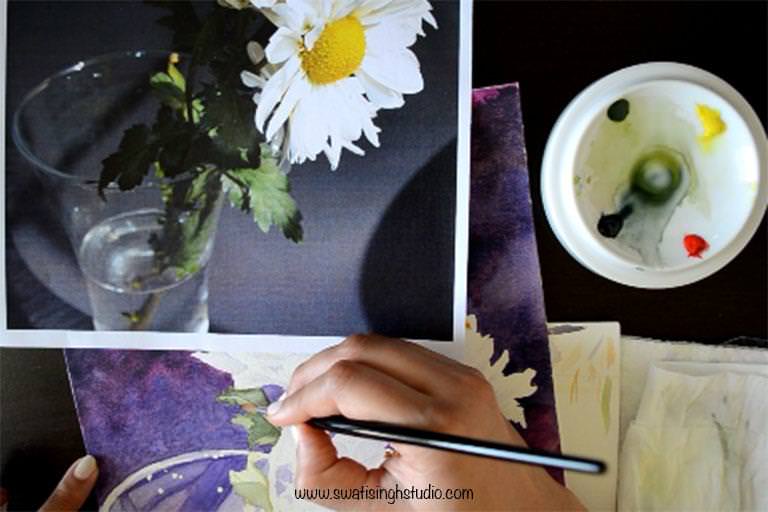
THE STEMS
Step 9. Follow the same steps for the stems keeping the left side darker than the right side to suggest light coming from the right.
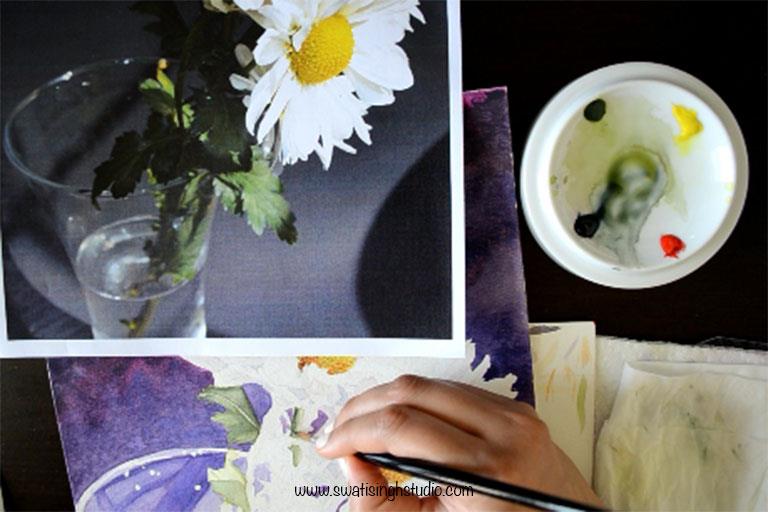
Step 10. While these leaves dry move to other leaves in the composition repeating the same above steps.
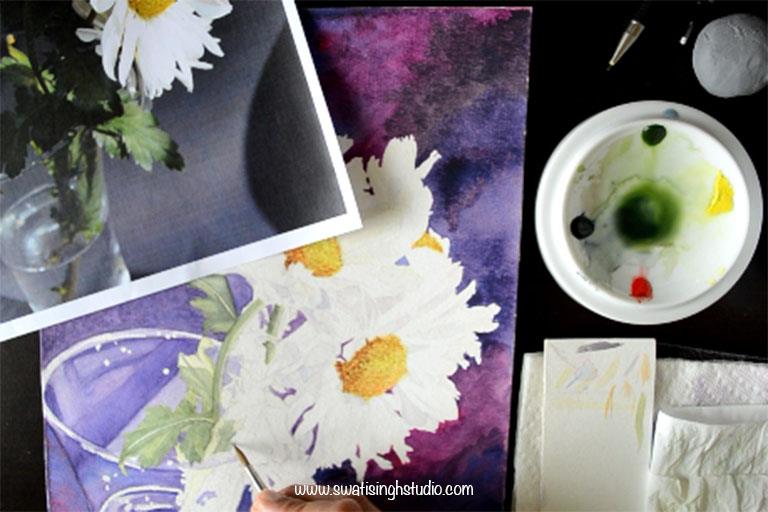
Step 11. Once all the leaves are completely dry add a glaze of lemon yellow to brighten them up.
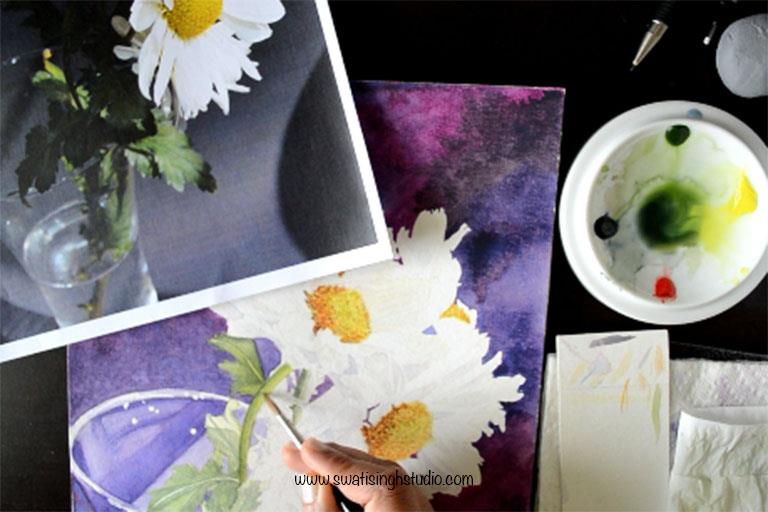
Step 12. Darken the previous shadows even more with another layer of dark green mix.
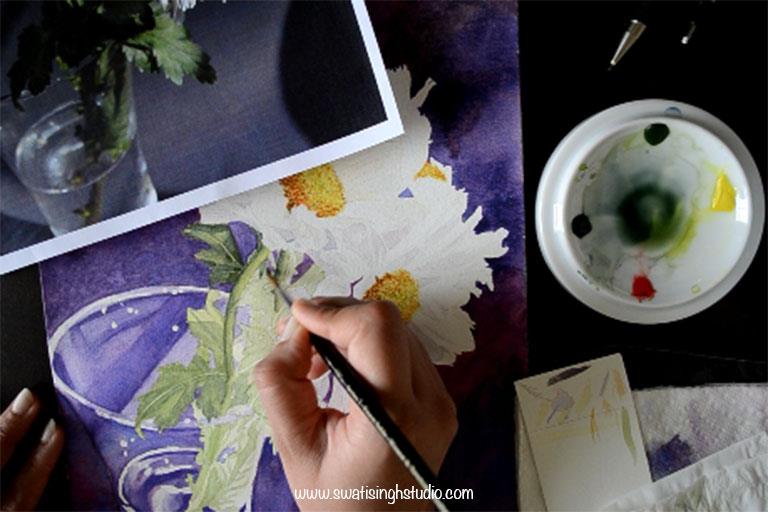
Step 13. Mix some indigo blue in scarlet lake and add it to the stems falling in the water to suggest that brown shade you see.
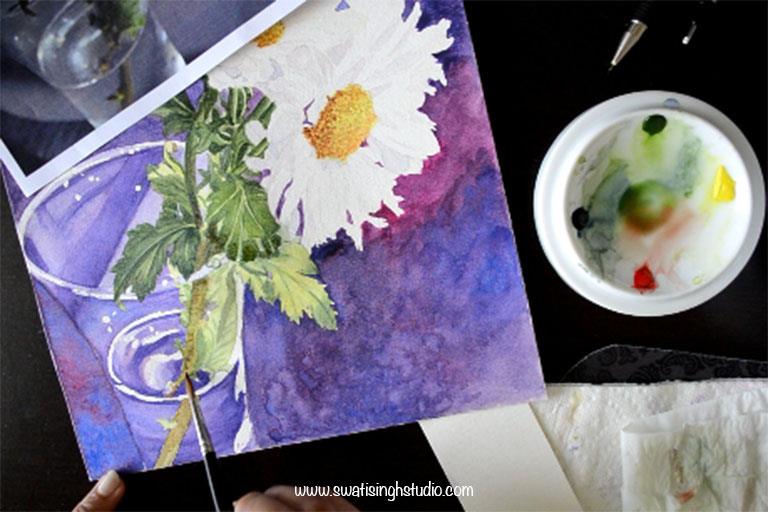
Step 14. Repeat the above steps and complete the rest of the leaves and stems.
And we are done! All that is left now is the final touches.
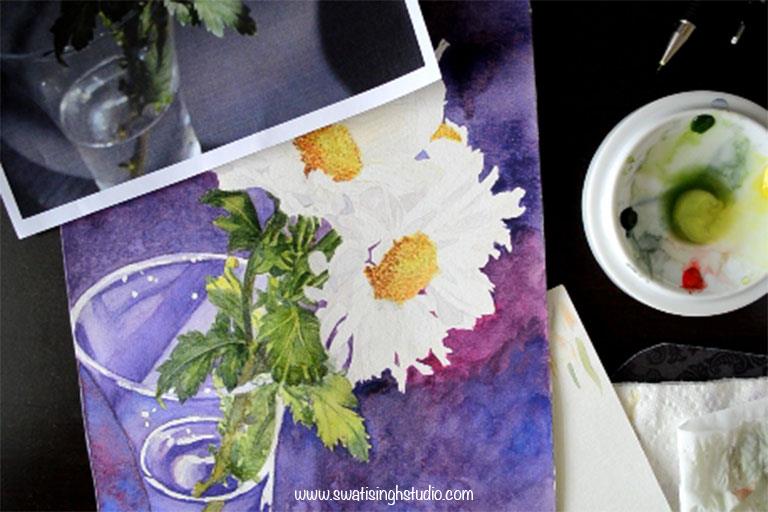
The last part in the series will be up next week which will conclude the Daisy series!
So, while I edit Part 5 video go on make some time to paint this weekend!
If you like this tutorial do not forget to SUBSCRIBE to my blog and Youtube channel and feel free to e-mail me your progress images.
Happy painting!
Swati