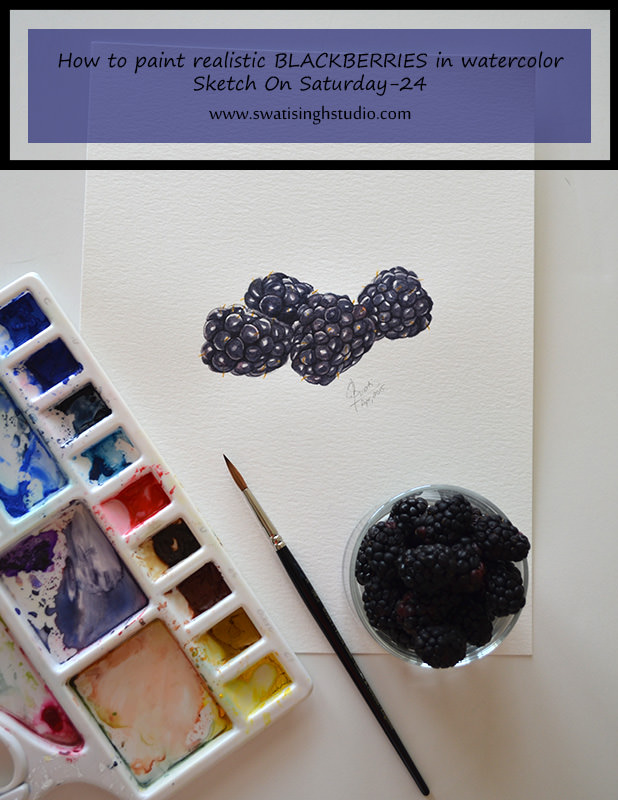
Mother Nature has designed everything with so much love and care!
In native blackberry plants, the thorns prevent grazing wildlife, animals and birds from eating the vines before the berry bushes flower and later when blackberries are produced. When the blackberries grow and ripen, they are not only consumed by wildlife animals and birds, but they have been enjoyed by humans for centuries.
Even the thorns are there for a good reason. This shows that everything has a purpose on this earth!
Today I am going to show you how to paint realistic blackberries in watercolors.
Painting blackberries does not require a lot of colors and it is a good example of how beautiful a fruit can look even in one color.
The blackberries as the name suggest having a very dark blue-black color.
We will make this black color by mixing red, yellow and blue colors in our palette!
If you are new to the fruits series, kindly take a look at the brief description of this series HERE, wherein you will find all the materials required.
The watercolors used are:
1. Indigo blue
2. Cadmium red
3. Lemon yellow
4. Yellow ochre
Below is the breakup of the reference image I am using.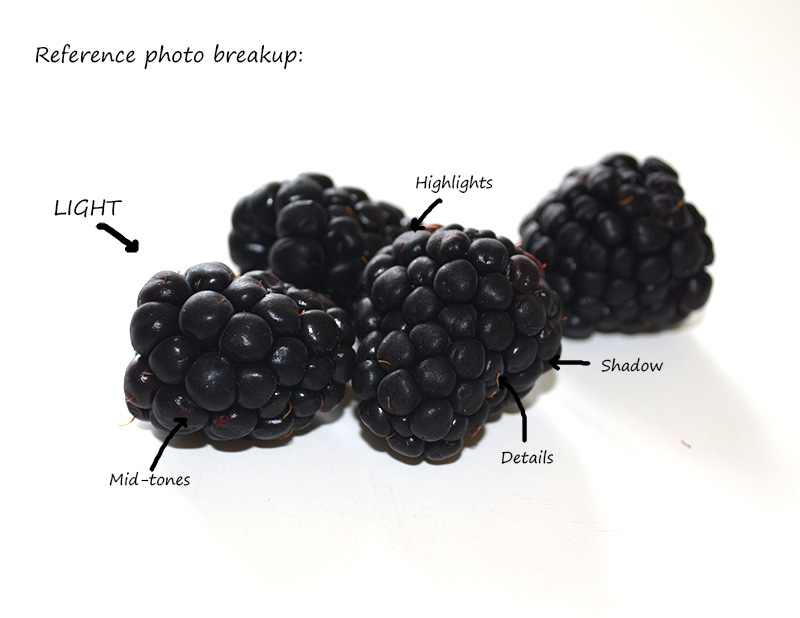
Pay close attention to the individual drupelets (subdivisions) that form the blackberries.
It is also important to keep in mind the direction of the light which is left in my case.
The drawing is done using a 2B pencil.
So let us jump right into painting it!
Step1: Apply a clear wash of water using a number 6 brush inside the outline. This will prepare the sheet for the watercolors.
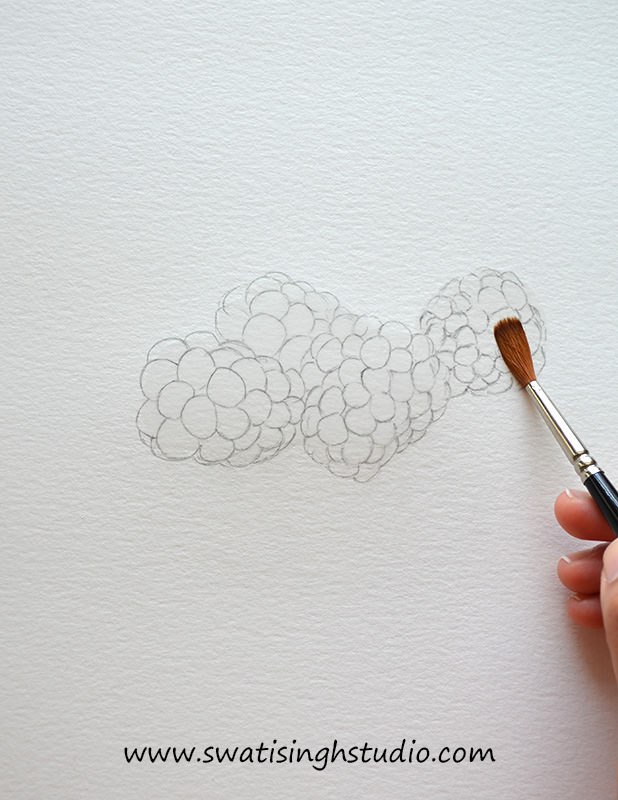
Step2: Now let us make the blue-black color we were talking about earlier.
For this mix some cadmium red to indigo blue. Also add a little amount of lemon yellow.
The resulting color would look something like this:
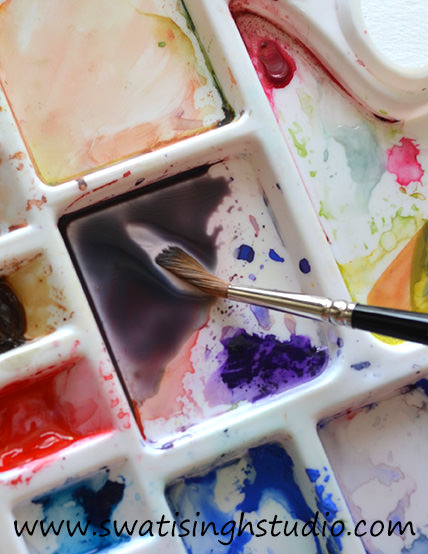
Once the sheet is semi-dry (which it should be by now) start outlining the individual drupelets with a number 0 brush. Keep the outline somewhat light.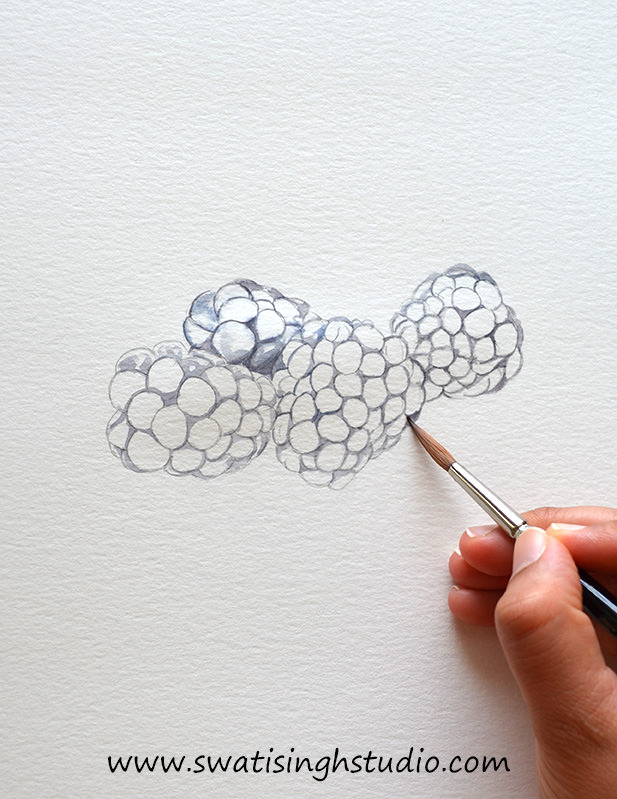
Note: Outlining the individual drupelets might take some time but is important. Hence, patience is the key!
Important: Do not touch highlights at all. Preserve the white of the paper.
Step3: Now apply a thin wash of the blue-black color using a number 3 brush.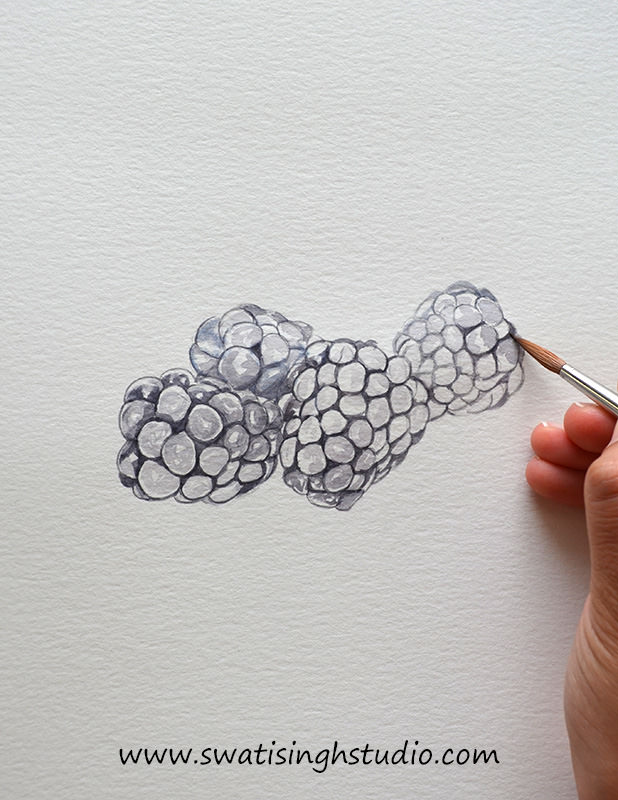
Important: Do not touch the highlights and the areas where you see the styles (hairy details on the surface).
Step4: Change the water in your container as it might have turned muddy by now.
Now paint the styles (hair like details) using yellow ochre. Use a fine brush like a size 0. Keep the color thick otherwise it won’t show.
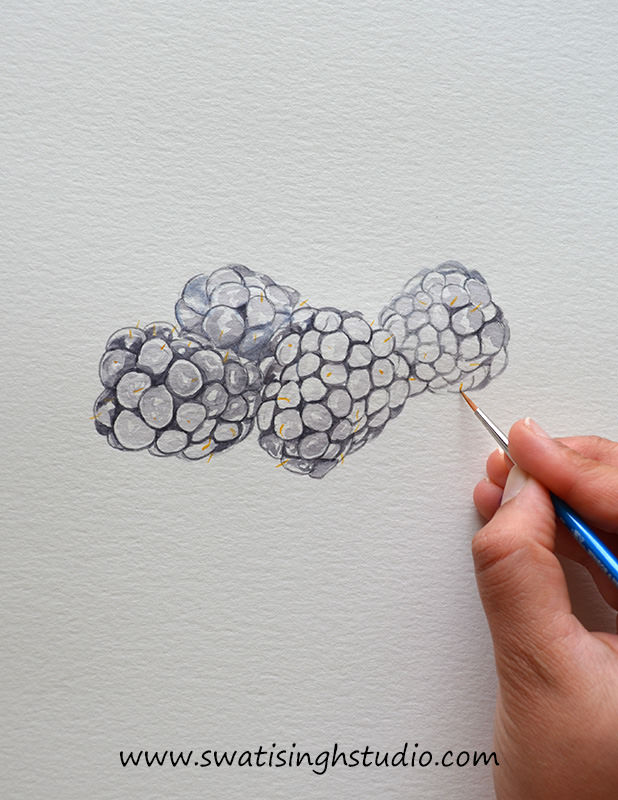
Step5: Now give a wash of blue we made earlier on the mid-tone areas.
Work carefully around the fine details so as to not touch them at all. Smooth out the surface of each drupelet to give it a round shape.
Do not touch the highlights part.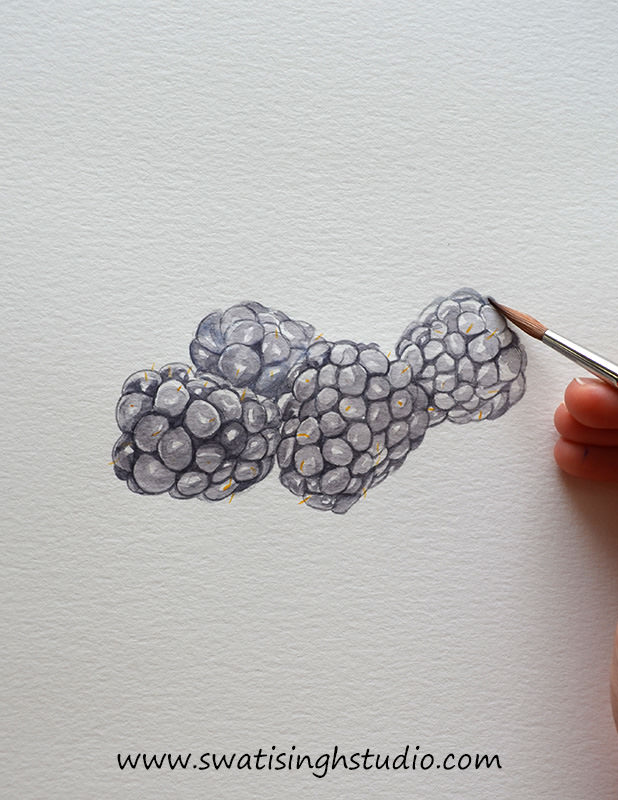
Important: Let it completely dry before moving to the next step.
Step6: Again repeat with another layer of blue and let it dry completely before proceeding with the next step.
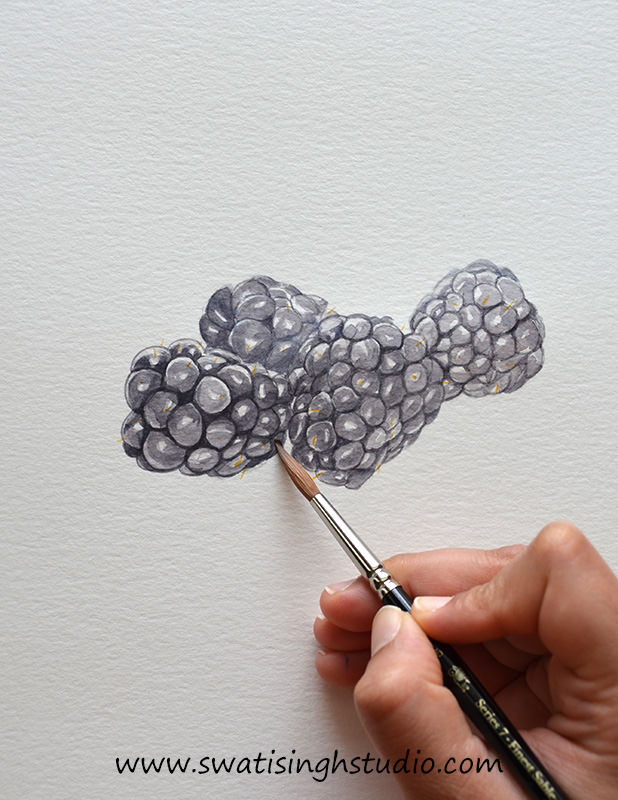
Step7: Now redo the details using a number 0 brush. Keep the consistency of the blue color thick.
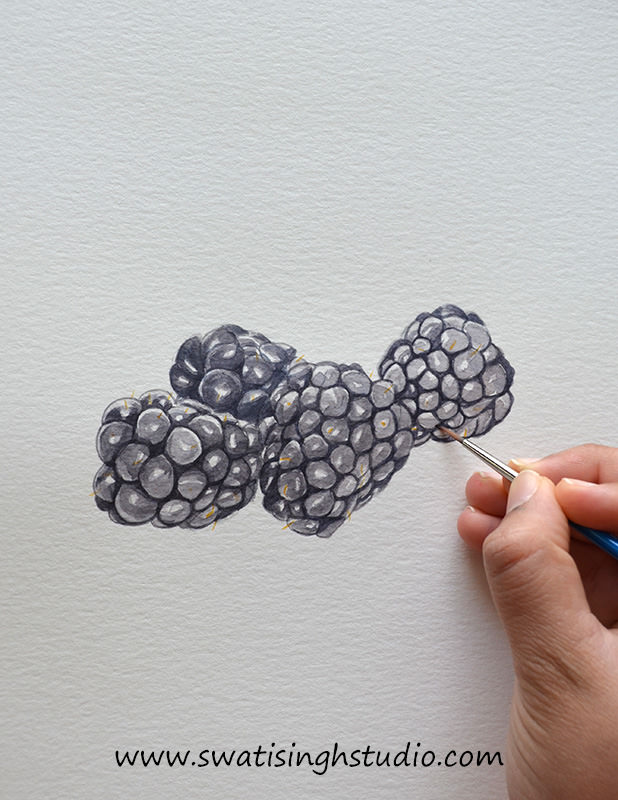
Step8: Now mix some indigo blue in cadmium red this will result in a darker shade of red.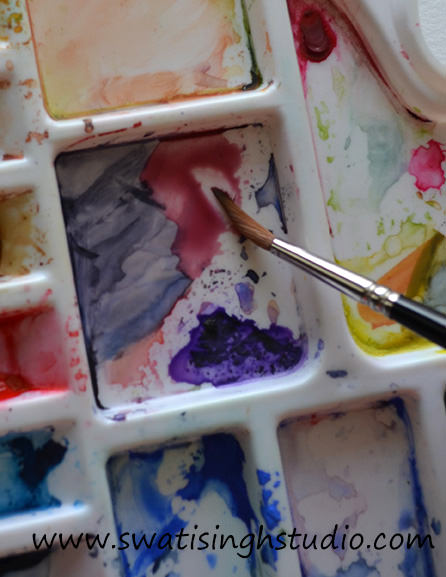
Use this color to give a light wash in the areas where the berries appear a bit reddish in color.
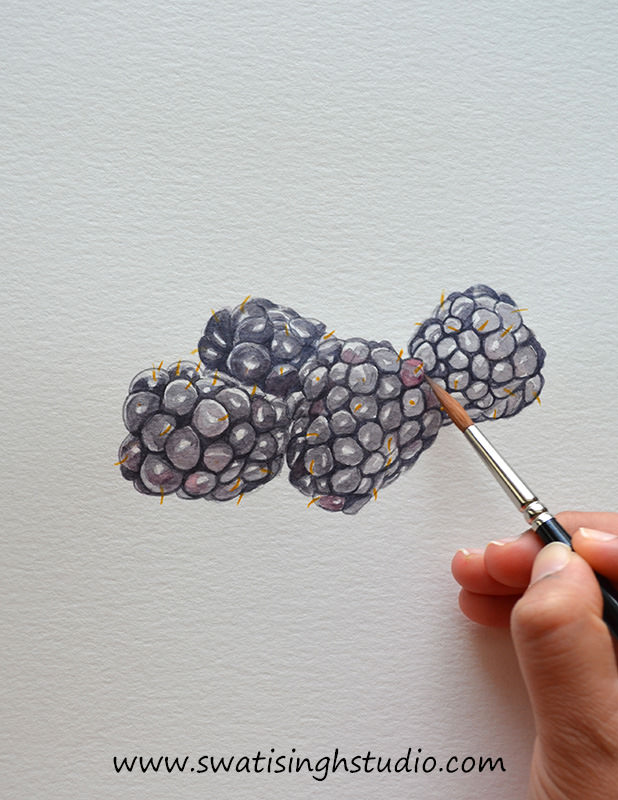
Step9: The sketch is basically complete. You can leave it here or if you are in the mood you can continue to add more layers and make it look even more realistic.
All you need to do is to repeat the above steps of adding details with a fine brush and then giving a wash using a number 3 brush until you reach the desired saturation.
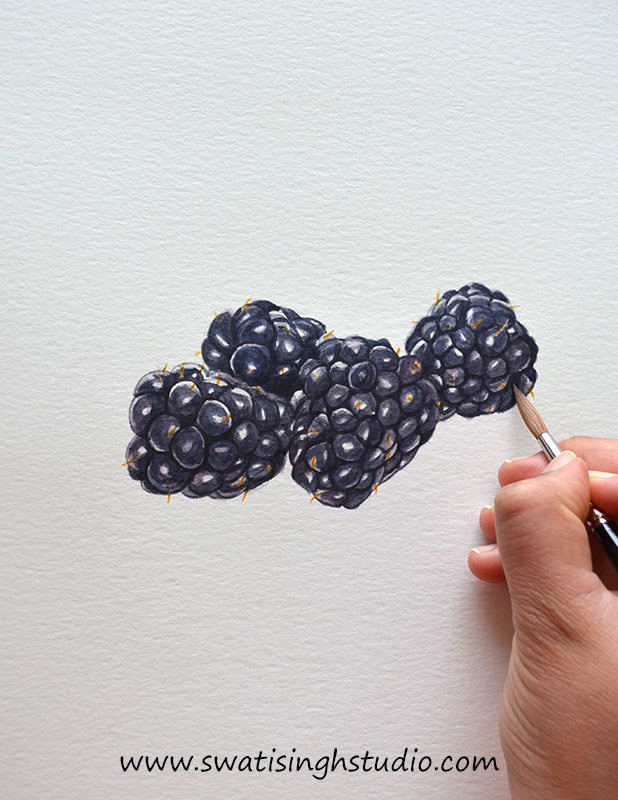
And here you are with your realistic looking blackberries!
Painting these berries is a form of meditation of its own. Carefully examining the tonal values and details in the reference image or the model takes a great amount of focus and concentration.
I hope this step by step tutorial was helpful to you.
I would love to know your views in the comment section below. Feel free to ask me any doubts you might have regarding this series.
If you are new here, do not worry you can jump back right in the series. Just take a look at the fruits we covered so far so that you get a better understanding of the medium and techniques used here.
The fruits covered so far are:
1. Orange
2. Blueberries
3. Apple
So take a look and enjoy your weekend to the fullest! Also do not forget to "SUBSCRIBE" to my blog and stay updated with all the weekly blog posts.
I will be back with yet another post next Saturday, till then
Happy Sketching!
Swati