Welcome back, my lovely artists! Wishing you a very Happy Thanksgiving! I hope you celebrate this festival to the fullest with all your loved ones.
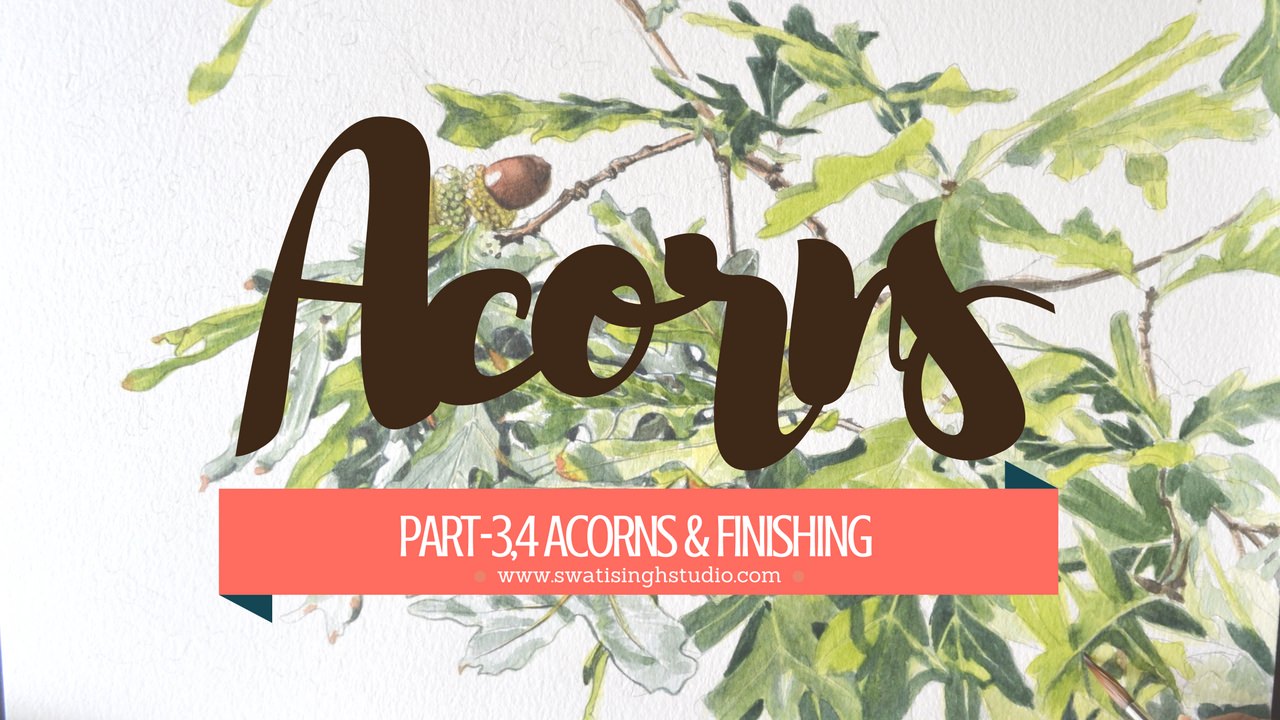
Today, I am back with Part 3 and 4 in the acorn series.
If you are new to this series you may refer to Part 1&2 by clicking the following link:
Acorns Part 1&2
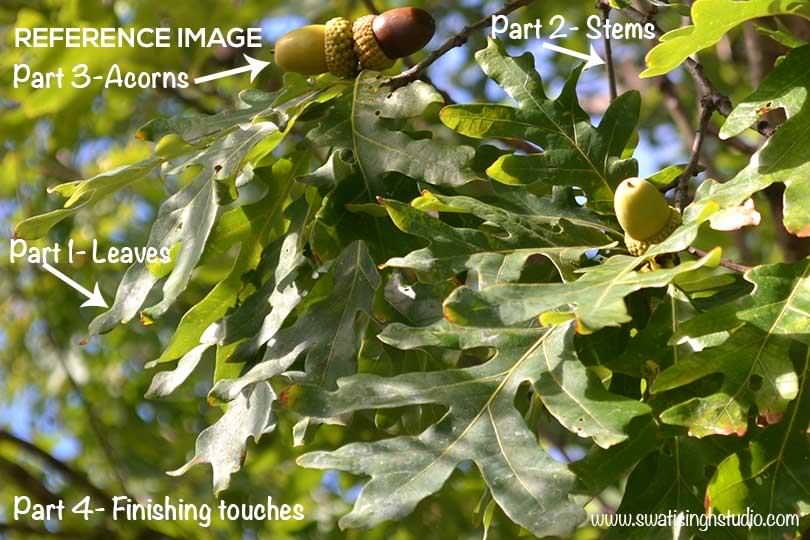
REFERENCE IMAGE
WATERCOLORS USED
1. Sap green
2. Indigo blue
3. Lemon yellow
4. Burnt sienna
5. Burnt umber
6. Cadmium yellow
7. Cadmium red
BRUSHES USED
#4 round brush
#1 round brush
COLOR STUDY
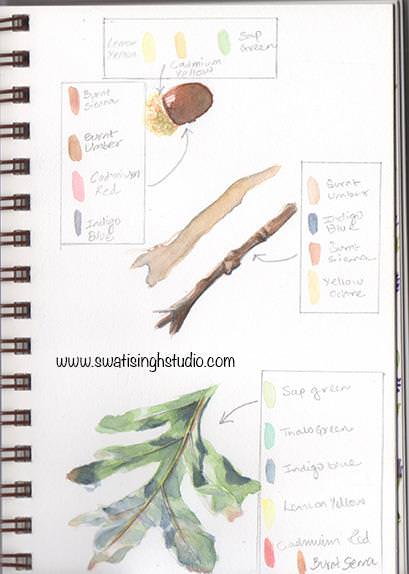
Note: I did not use yellow ochre in the stems.
I also did not need Thalo green in the leaves.
THE DRAWING
Since the composition is very busy this time I am providing you the drawing for this tutorial. You can use this drawing for practicing all the steps mentioned below!
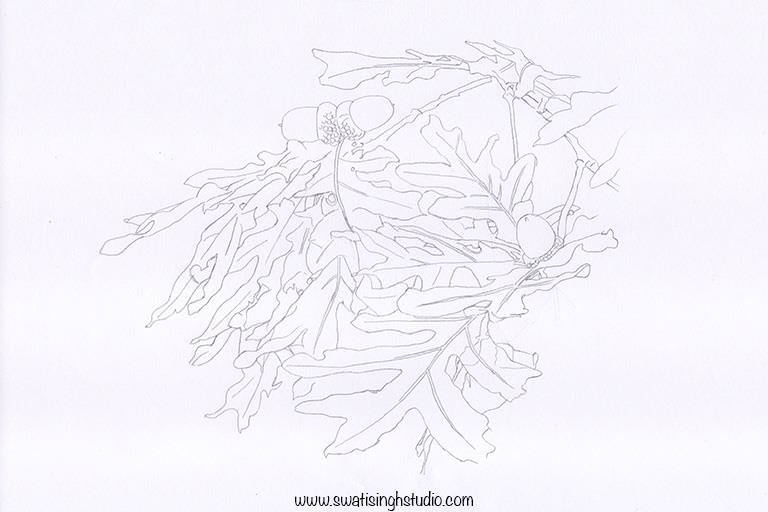
You may download a printable drawing for this tutorial through the previous blog post- Part 1&2
THE PROCEDURE
I have divided the tutorial into 4 parts:
1. Oak leaves
2. Stems
3. Acorns
4. Finishing touches and adding details
PART 3- ACORNS
There are two parts of an acorn
a. The cupule of scales (cup-shaped top of the acorn)
b. The actual nut (the lower half of an acorn)
The composition has two kinds of acorns:
a) Yellowish green (immature/ unripe)
b) Brown (mature/ ripe)
Step 1. Apply a layer of lemon yellow to both green and brown acorns. Apply it to both the nut as well as the cupule of scales at the top.
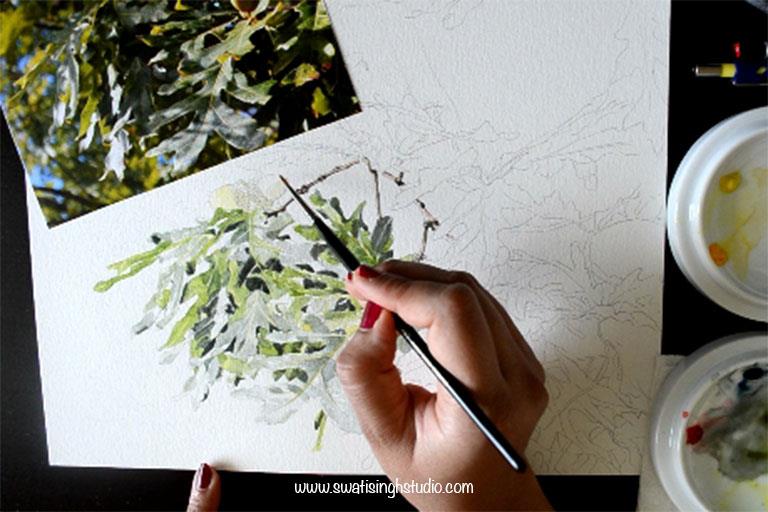
Step 2. Now add a very pale wash of sap green to the greenish acorn. Move your brush lengthwise to the body of the nut to create natural marks. Also, add the pale wash to the cupule of scales.
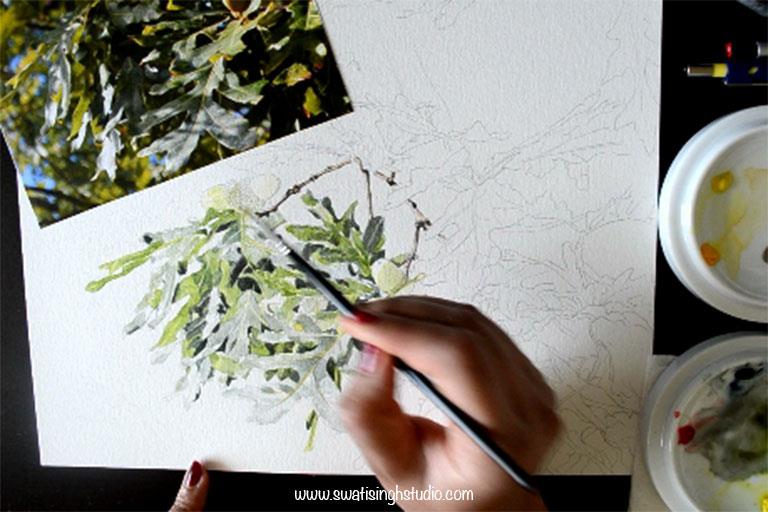
Part 3. For the brownish acorn, use burnt sienna instead of sap green and apply this color lengthwise as we did in the previous step.
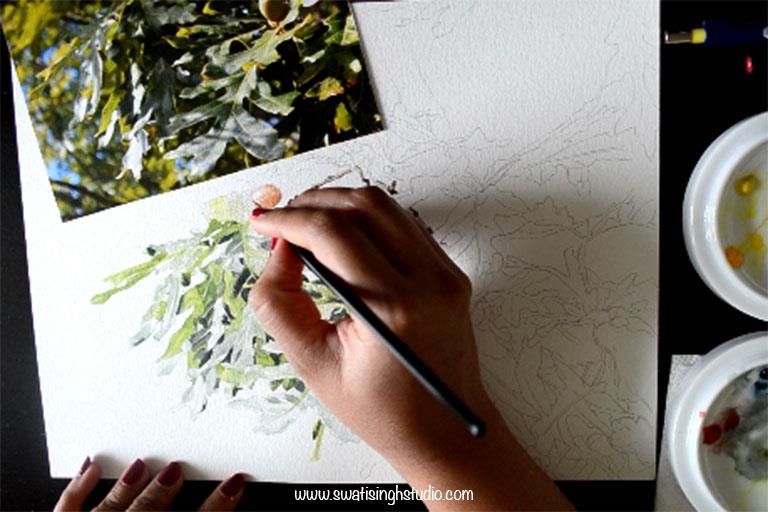
I went ahead and added the same color to the tips of leaves for a more natural look.
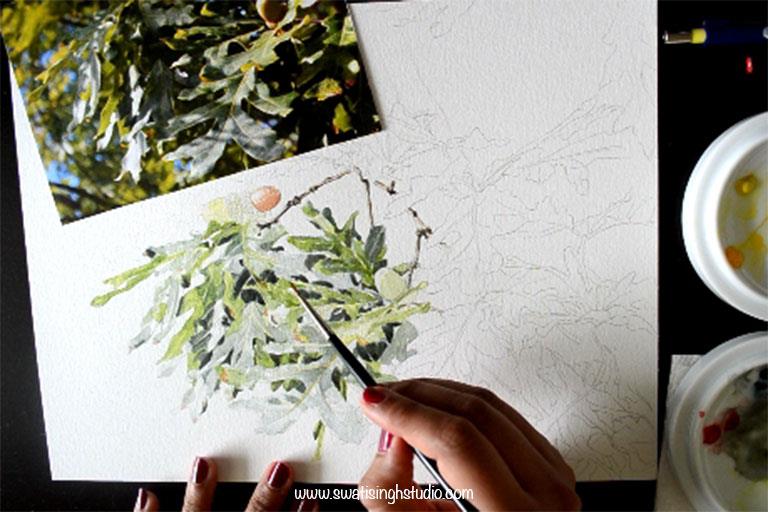
Step 4. Mix some indigo blue to burnt umber to get a darker shade of brown. Apply this shade to the bottom part of the acorn nut to suggest shadow. This will help give the nuts that roundness. Apply the shade lengthwise for a better look.
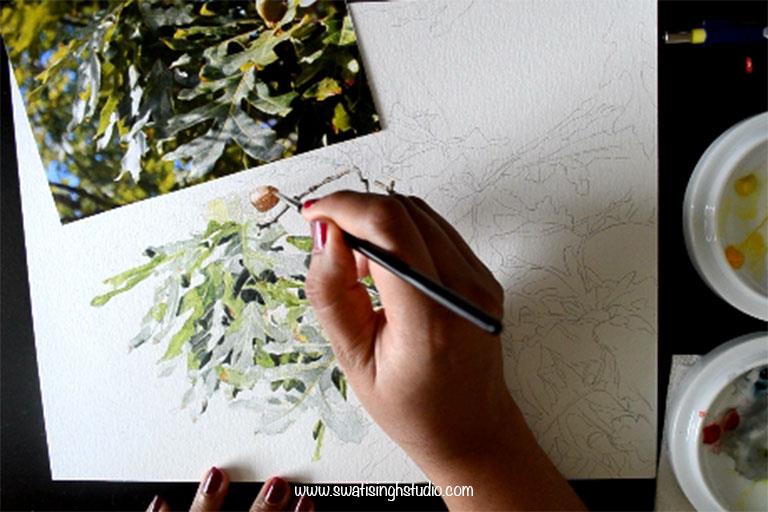
Step 5. Add a layer of lemon yellow to cupule of scales.
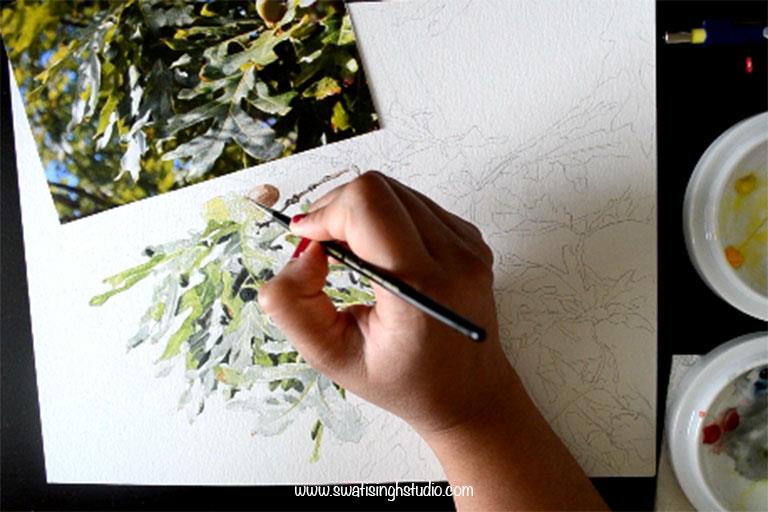
Step 6. Once the previous layer is completely dry outline the individual scales with burnt sienna to make them stand out.
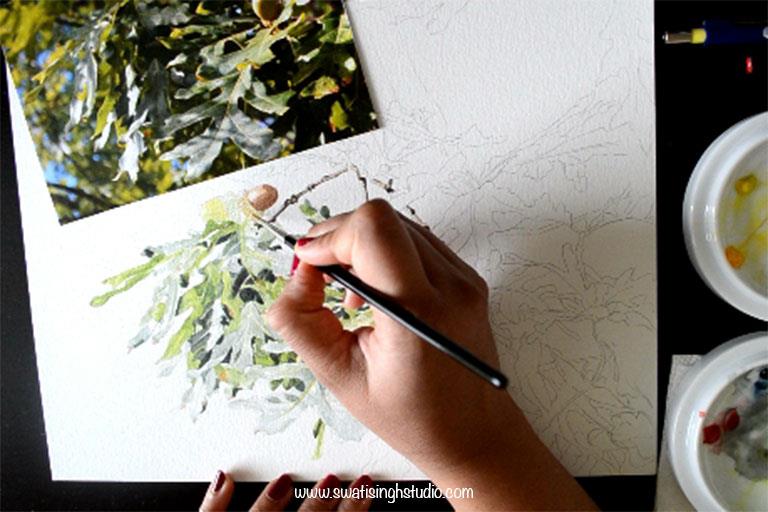
Step 7. Now add a touch of sap green to the cupules.
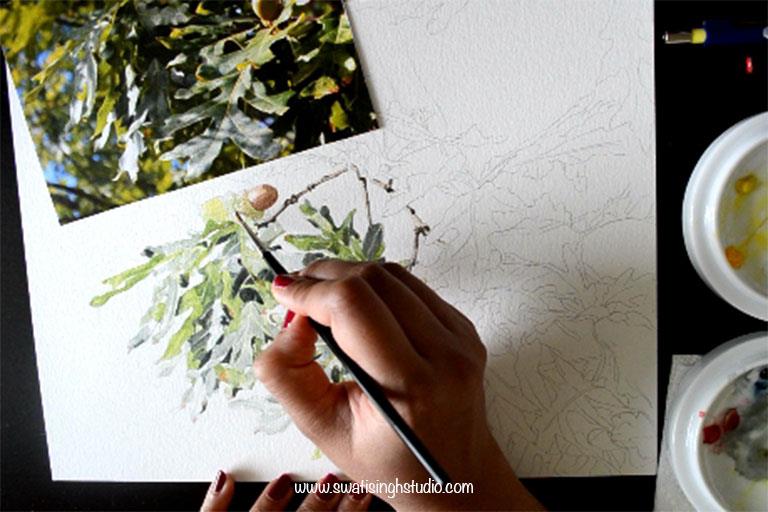
Step 8. After repeating the above steps once more (adding another layer), add a touch of cadmium red to the brownish nuts for an extra glow.
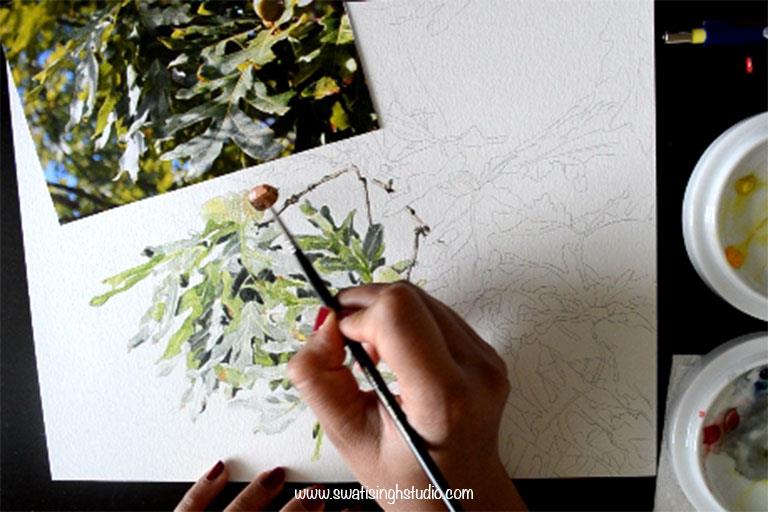
PART 4- FINISHING TOUCHES AND DETAILS.
Step 1. Mix some indigo blue to sap green to get a dark green shade. Using a #1 fine brush outline all the leaves and stems with the mix. This step will make a huge difference!
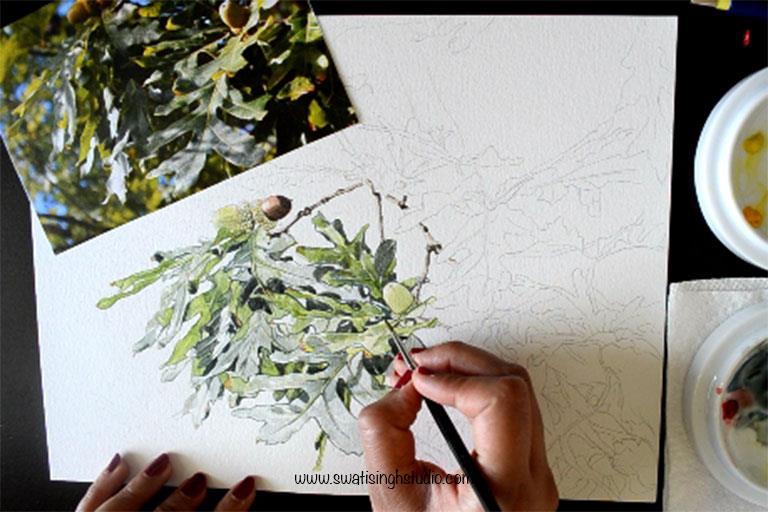
Step 2. After adding a few more layers of color to the leaves this is what it looks like.
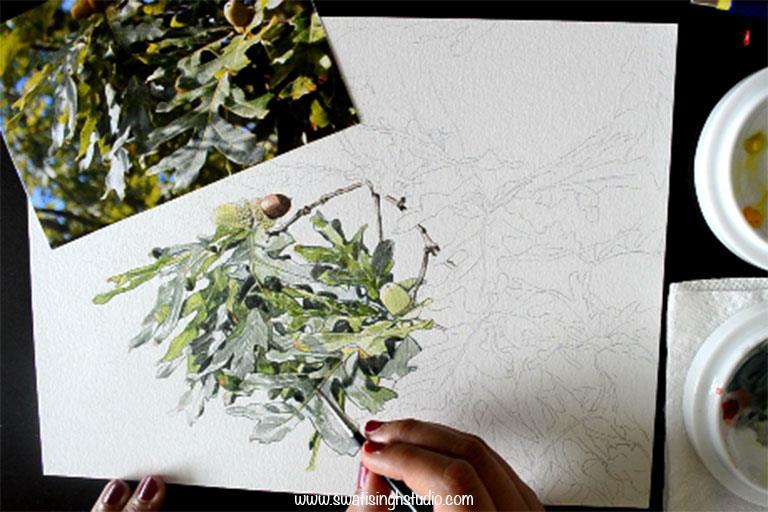
Step 3. Add a touch of burnt sienna to the tips of the leaves.
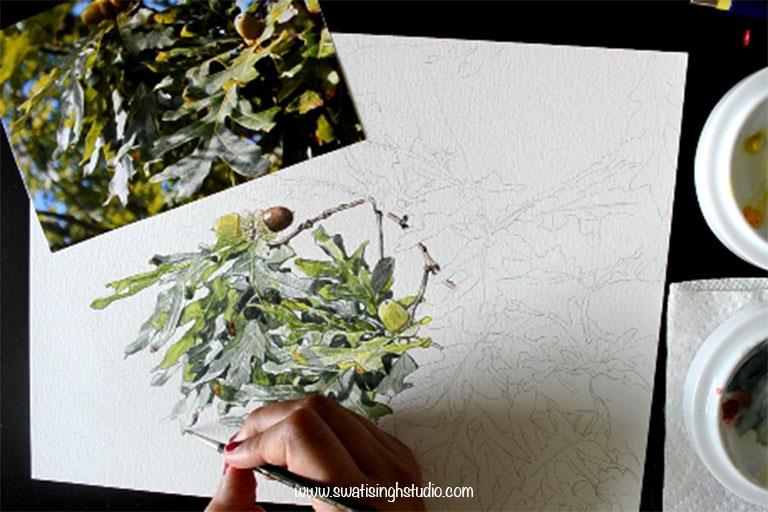
Step 4. Add a layer of lemon yellow inside the central veins of the leaves.
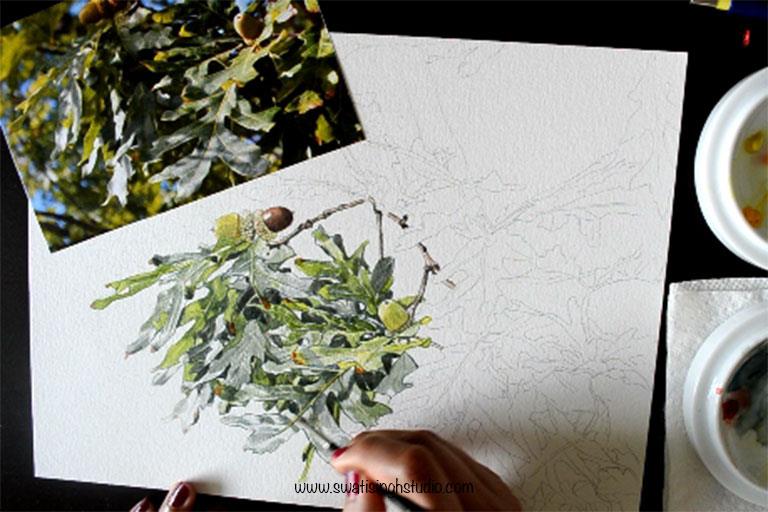
Step 5. Mix some indigo blue and cadmium red together and add some spots on the leaves where the insects chewed the leaves away!
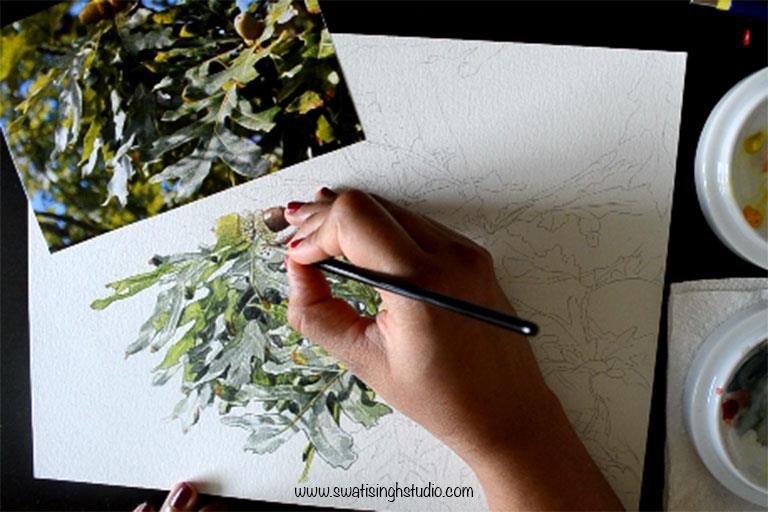
Step 6. Mix some burnt umber and indigo blue together and outline the individual scales on the cupules of the acorns as shown below.
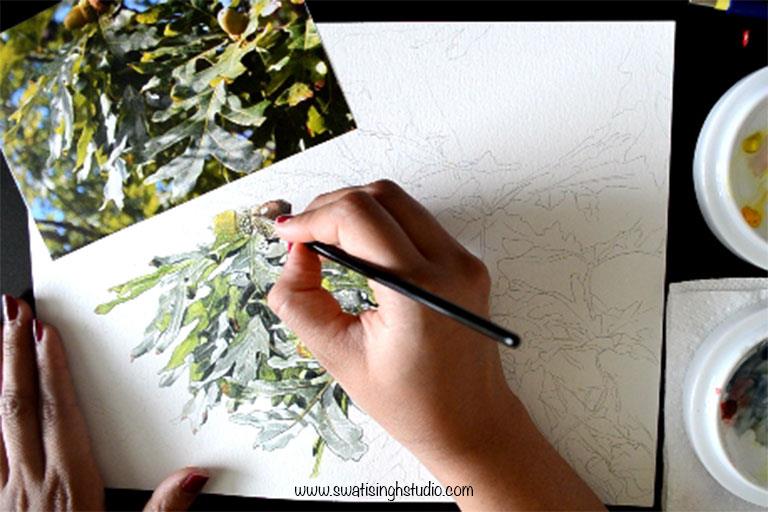
Step 7. Once the previous layer is completely dry add a touch of cadmium yellow inside the individual scales.
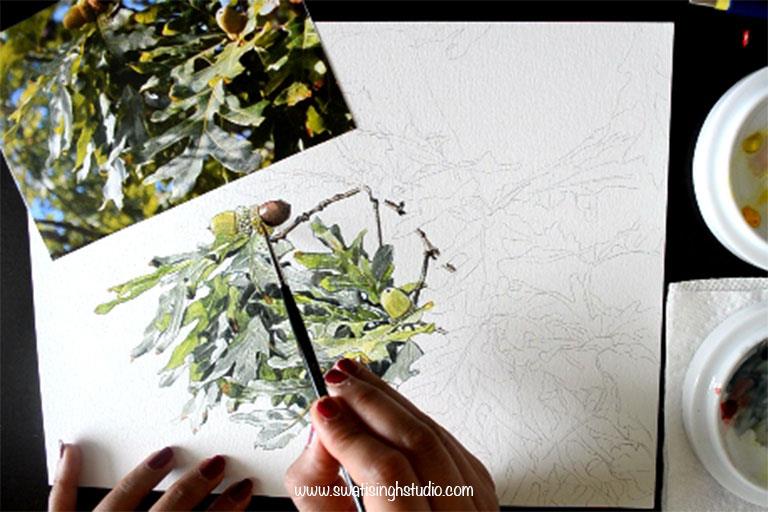
Step 8. Add a few lengthwise marks of sap green on the greenish acorns.
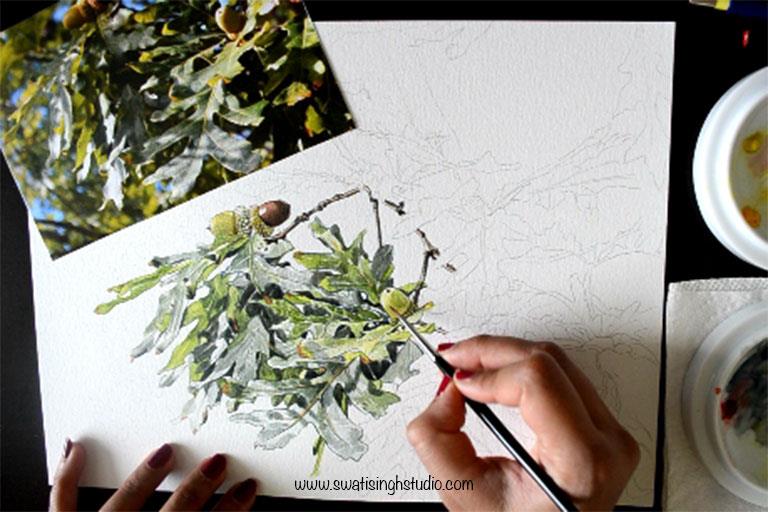
Step 9. Add a layer of cadmium red to the brown acorns.
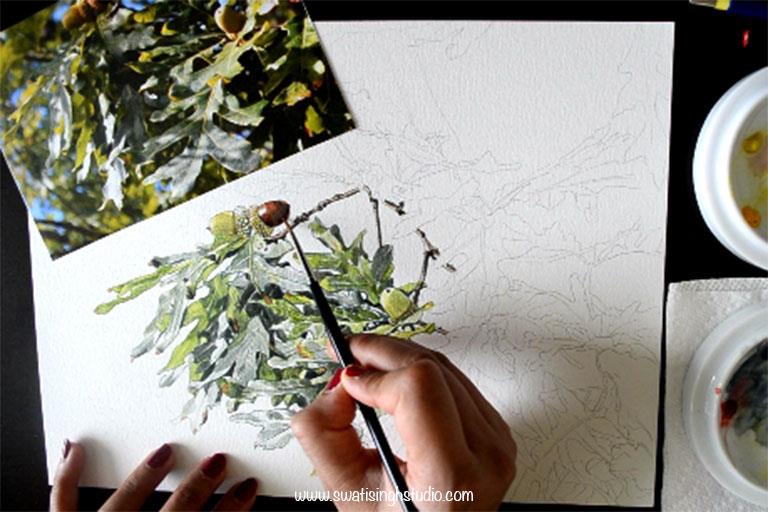
Step 10. This is what it looks like after an added layer of color.
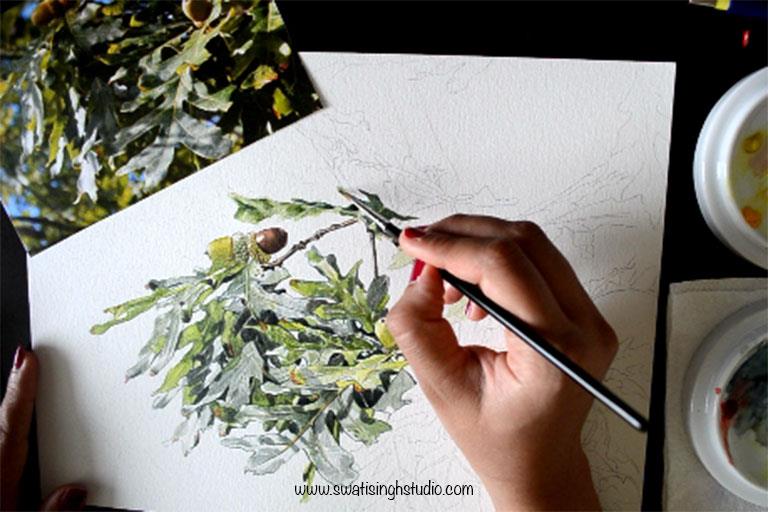
I hope you liked this tutorial. Do not forget to SUBSCRIBE to my blog and watch the corresponding video on YoutubeYOUTUBE!
If you are feeling a little intimidated with this composition then do not worry I have two previously painted tutorials for fall season listed below.
Pumpkin in watercolors (beginners)
Indian corn in watercolors (intermediate)
You might find the above tutorials helpful too.
I will be back with another subject to paint soon.
Till then, happy painting!
Swati