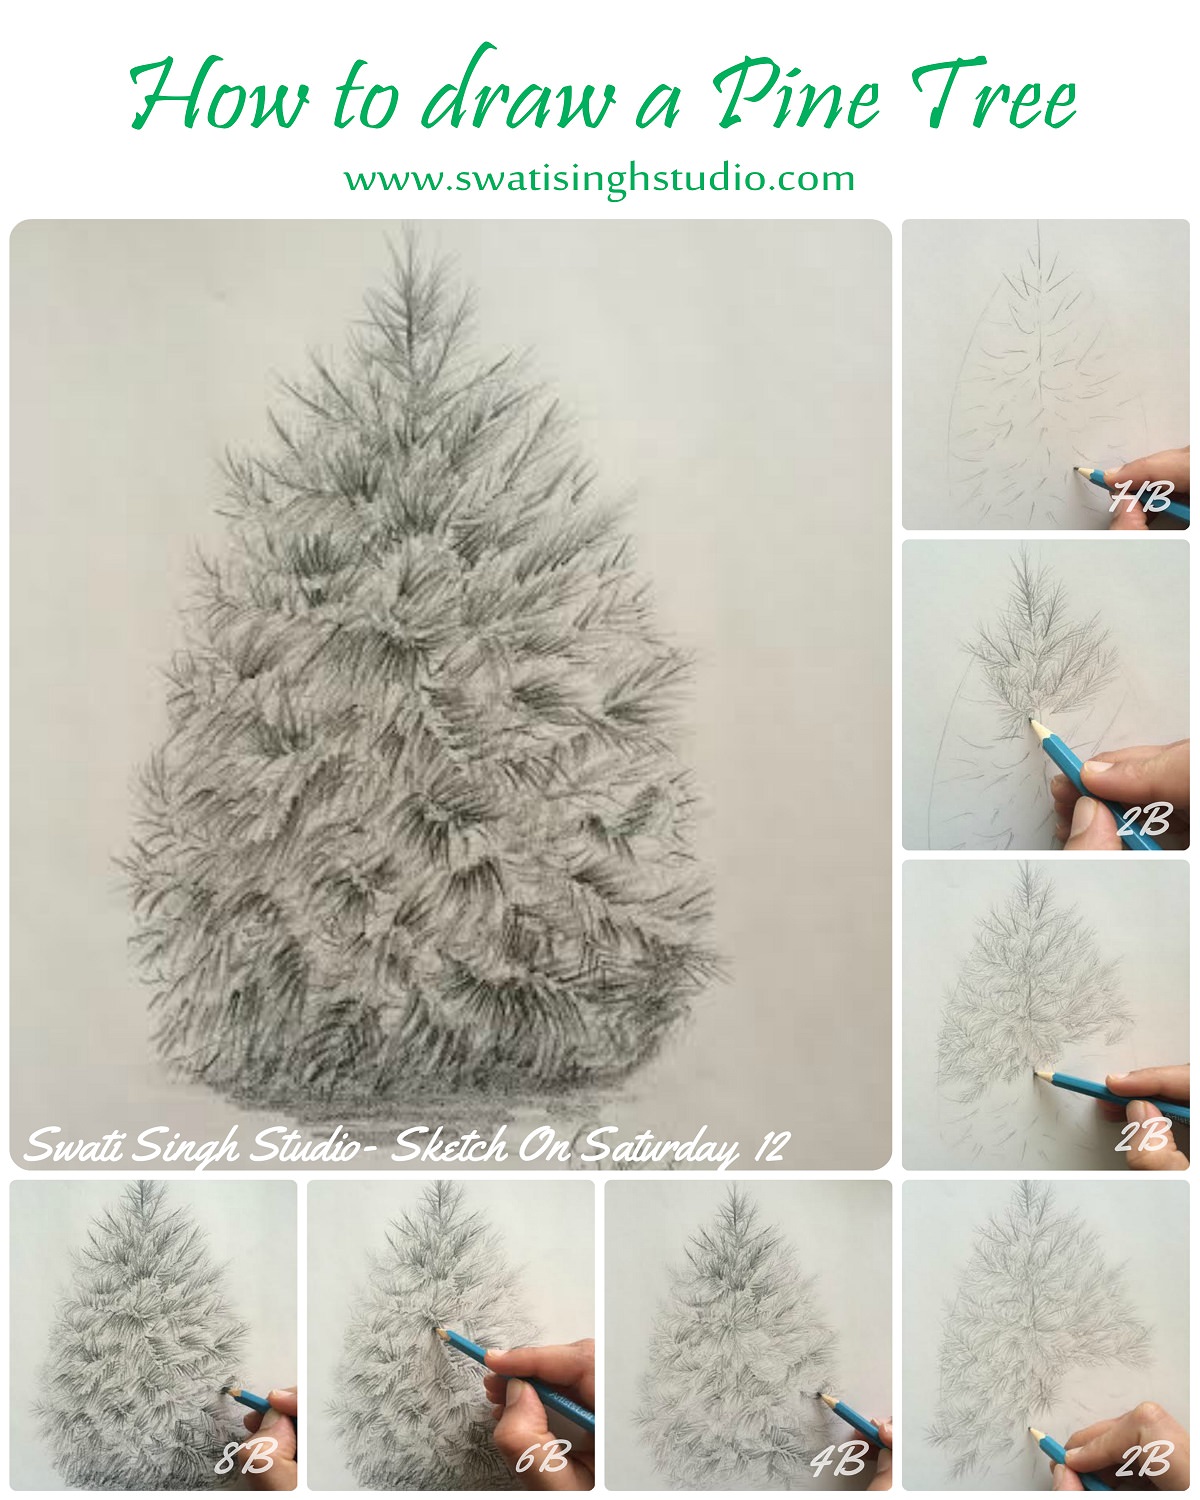
Hi all, I am here again with a new post! Today I am sharing with you all the sketching process of a white pine tree in detail. This is a sketch I posted under the "Tree" series of "Sketch On Saturday". I think it is a very good tree to start sketching with, as it has a really easy sketching technique to follow. Below are the materials required:
1. A white sheet (any sketching pad or even a blank printing sheet will do),2. HB,2B,4B,6B pencils,
3. 8B pencil (optional),
4. Eraser,
5. A sharpener
So let us begin, follow me along and enjoy the process!
Step1: Start with a straight vertical line (the length of the tree you want to keep) using an HB pencil. Now draw a basic pear shaped outline of the tree around it, to suggest an idea of the overall structure. Also, add in a few guidelines for the branches inside. Keep it interesting by drawing lines in various directions.
Tip: Have fun. Hold your pencil lightly and try not to make the lines too dark.
Step2: Now we will start adding the leaves using a 2B pencil as shown below. Adding the strokes in an upward direction on both sides of the line. Below is a close-up view of a leaf pattern.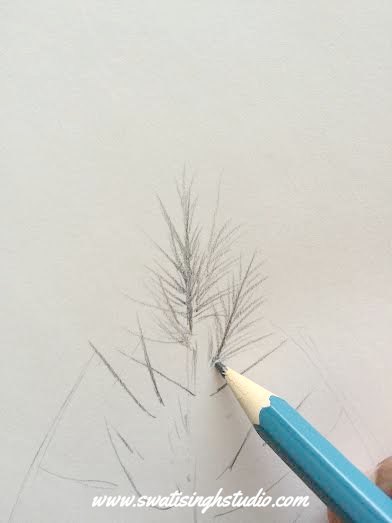
Tip: Use a blunt pencil as it will help give the leaves some volume.
Step 3: Keep adding the leaves in the same manner. Try to keep some leaves long and some short. And believe me you will go on your own after one-third of your way down the tree. Have fun!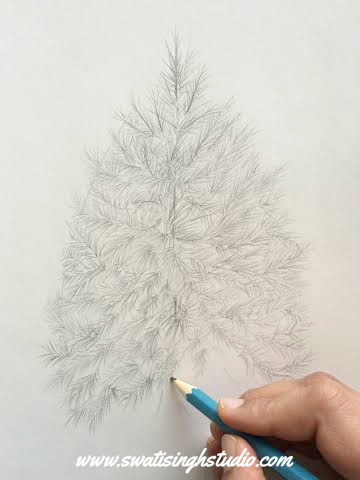
Tip: Do not hesitate to go out of your basic outline once in a while. Just play with it. You don’t want your tree to look too symmetrical. Make it look natural.
Step 4: Now carefully erase any visible outline you see around the tree. Although I am sure much of it would have already merged with the leaves by now!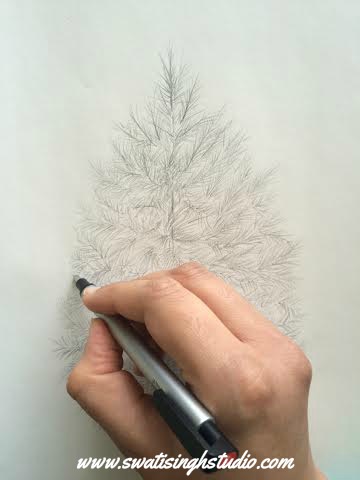
Step 5: Now it’s time for the 4B magic! Pick up your pencil and start adding depth to your leaves. Darken all the leaves where they start growing, to suggest the shadow. Keep your pencil strokes in the same direction as before, to overlap and give it a fuller look.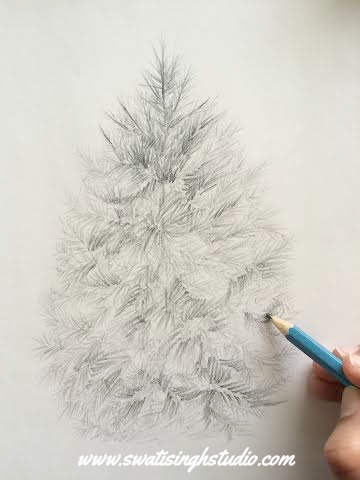
Step 6: Using the 6B pencil follow the same procedure as above and darken further. I also used an 8B pencil in the end. Although it is totally optional. You may omit this step if you want.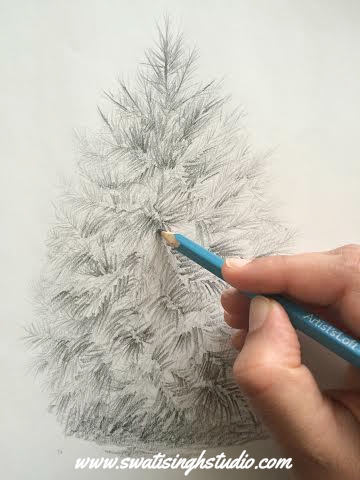
Step 7: Now comes the most important step. Sign off with your glorious signature!
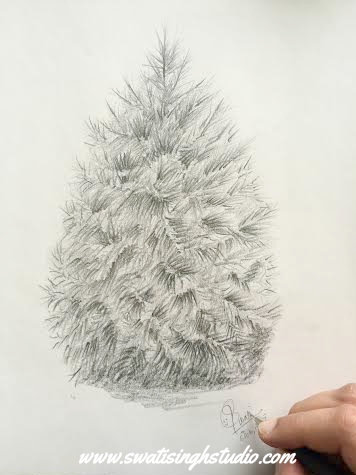
I hope you try sketching this tree at home. Let me know if you have any questions regarding it. I will be more than happy to answer.
Will meet soon with another tutorial. Till then enjoy and have a wonderful day.
Swati