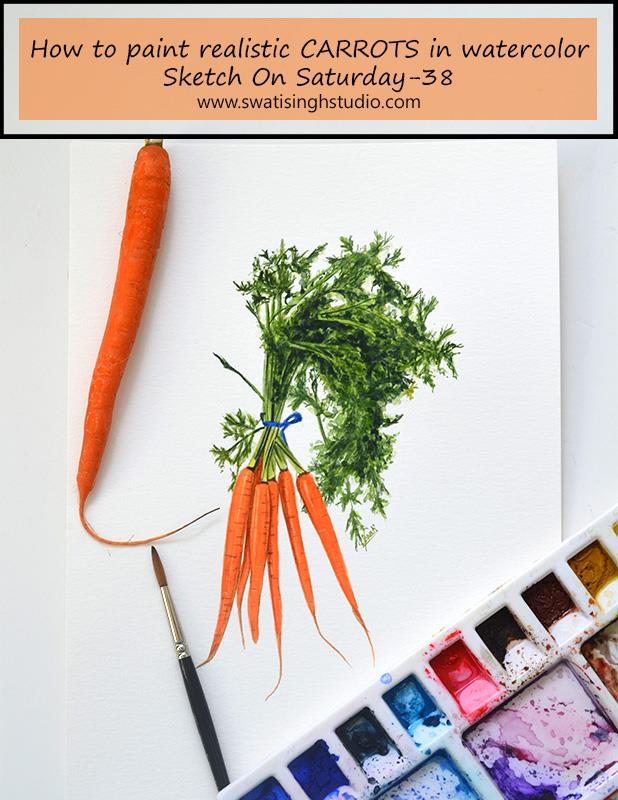
Welcome back everyone! As we are nearing the end of the Vegetable series, the sketches are getting more and more detailed. Today we are going to be painting carrots in watercolor.
As soon as I hear the word carrot, I start associating it with cute little furry bunnies. But did you know Mel Blanc, the voice of cartoon character Bugs Bunny, reportedly did not like carrots!
Below is the photo of the carrots I chose for this painting. As you can see I decided to go with carrots that have the greens still intact. Doesn’t it instantly makes the carrots look even more beautiful! We do not need to draw the individual leaves (as they are too small in size) but rather will give an effect with our watercolors itself.
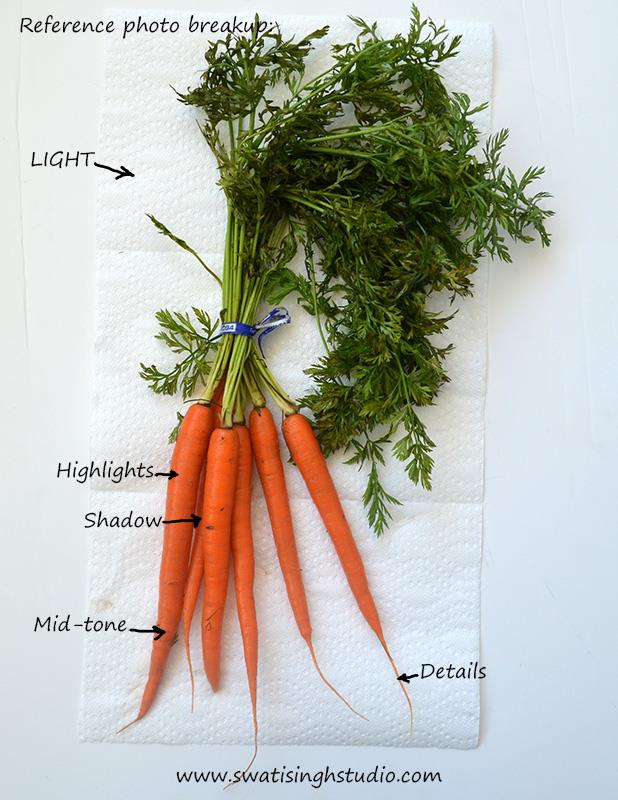
A lot of fine work is required hence take out your fine brushes (number 0, 1) and put good use to them!
The watercolors required are:
1. Lemon yellow
2. Sap green
3. Indigo blue
4. Cadmium red
5.Ultramarine blue
To know about other material you may refer to the introductory post HERE.
So without any further delay let’s get started!
Step 1. Apply a light wash of lemon yellow to the carrots.
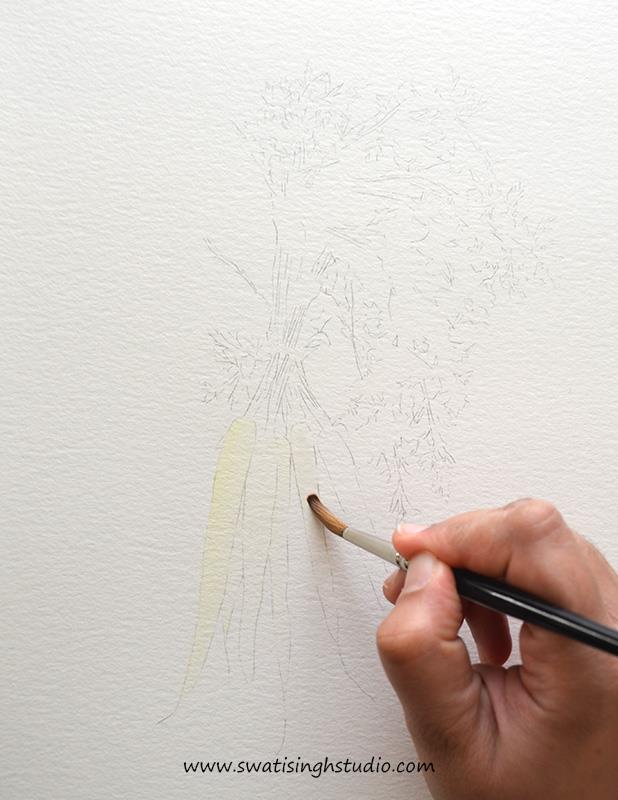
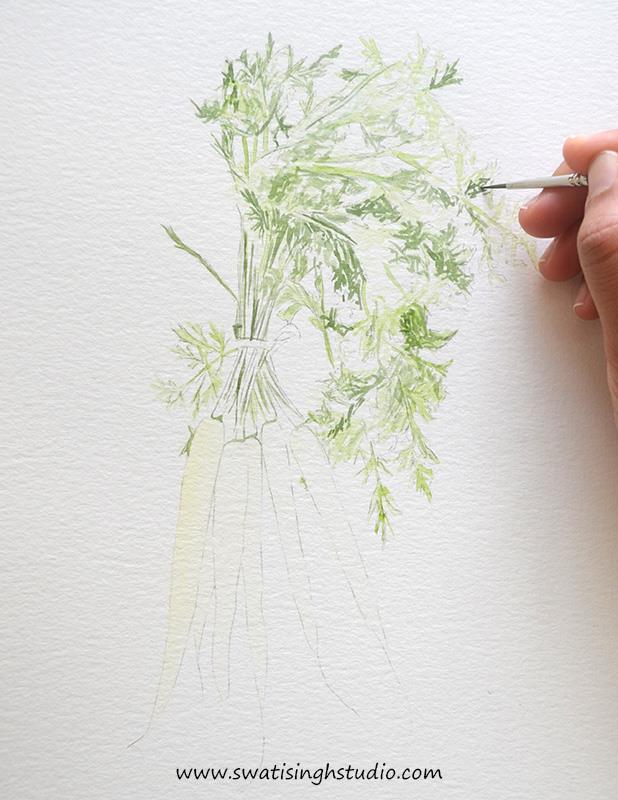
Step 2. Now paint leaves in sap green using a number 1 brush.
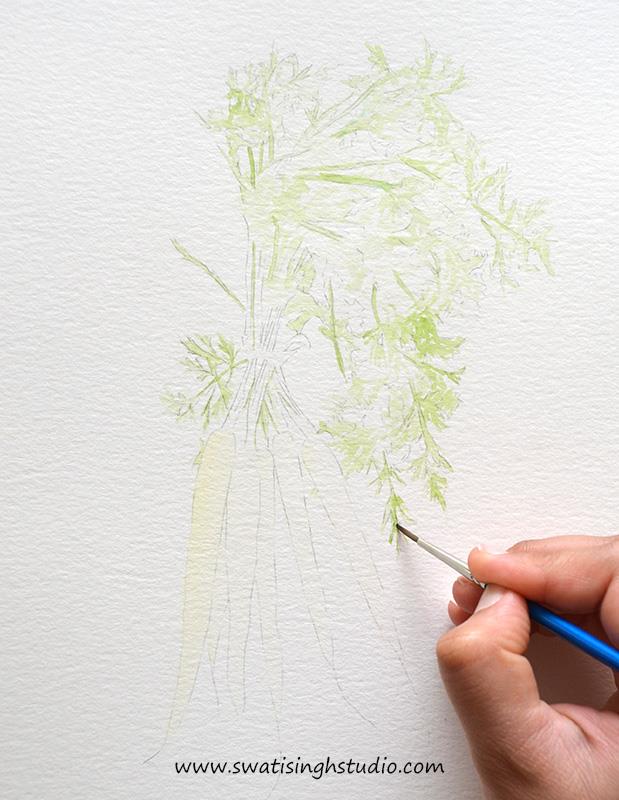
Step 3. Mix some indigo blue to sap green to get a darker shade of green.
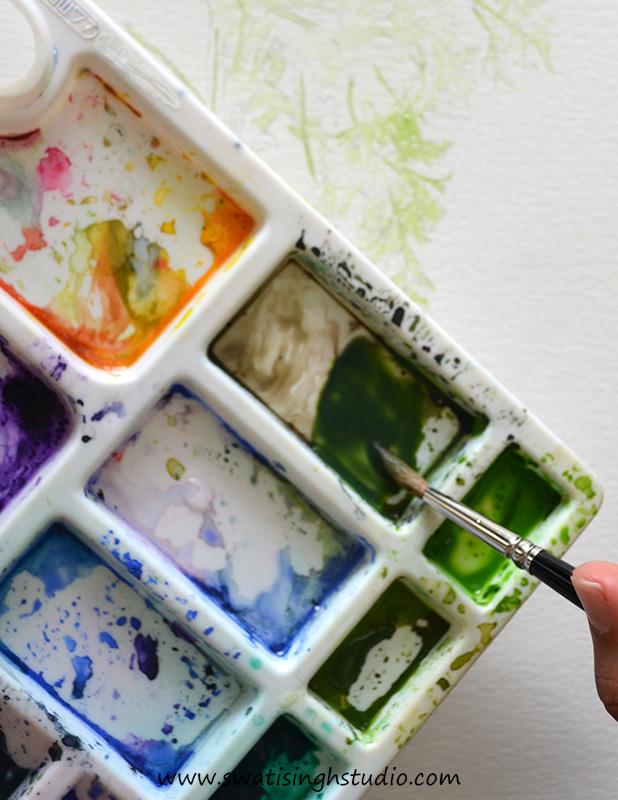
Now draw the small leaves directly on the paper with the dark green color as shown below.
Step 4. Mix some cadmium red to lemon yellow to get an orange shade. Apply a thin wash of the same to the carrots as shown below.
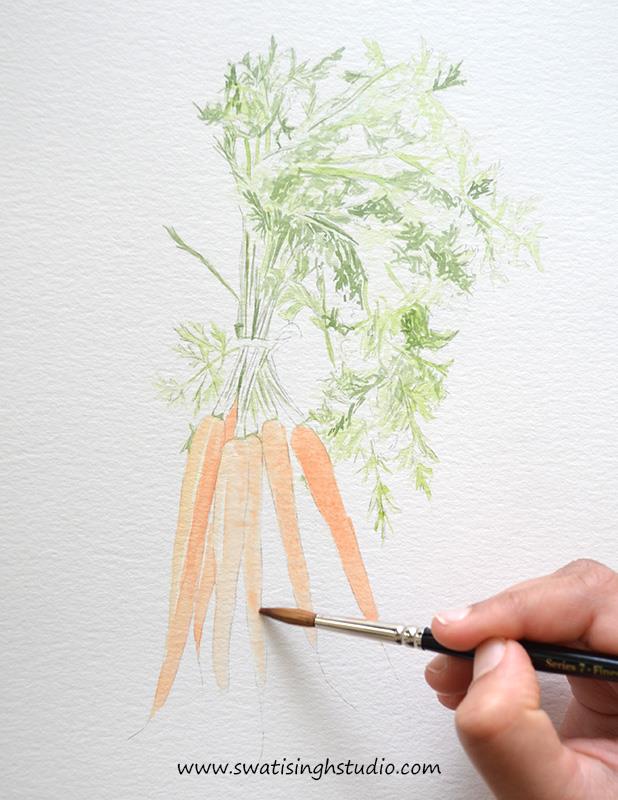
Tip: Leave a thin white streak of highlight untouched to get a more realistic look.
Step 5. Add a light wash of lemon yellow to the stems as they are brighter than the leaves.
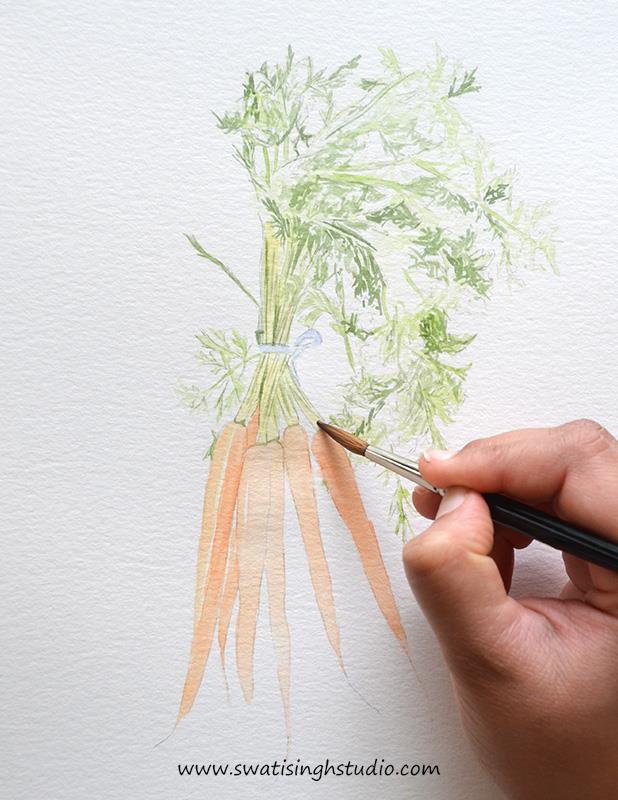
I also went ahead and added ultramarine blue to the band.
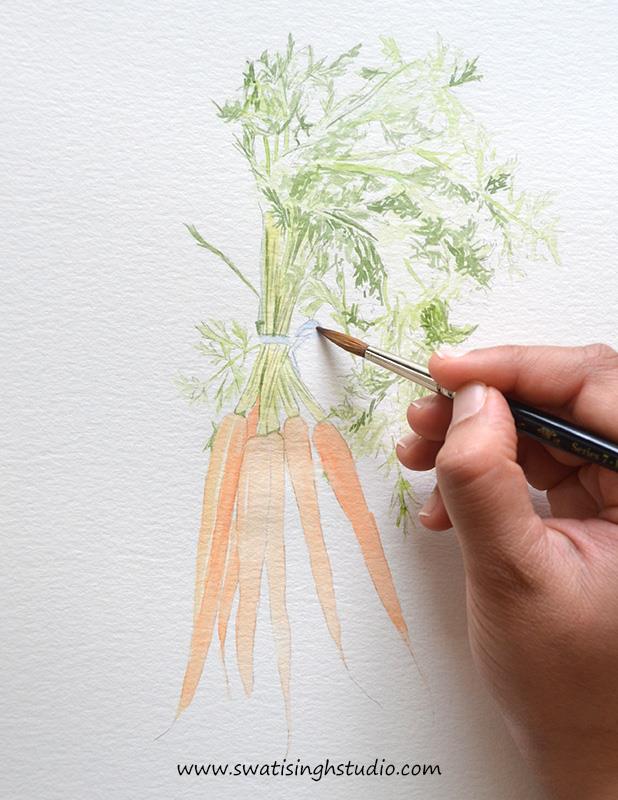
Step 6. Fill the leaves area with a wash of sap green. This will help them look dense.
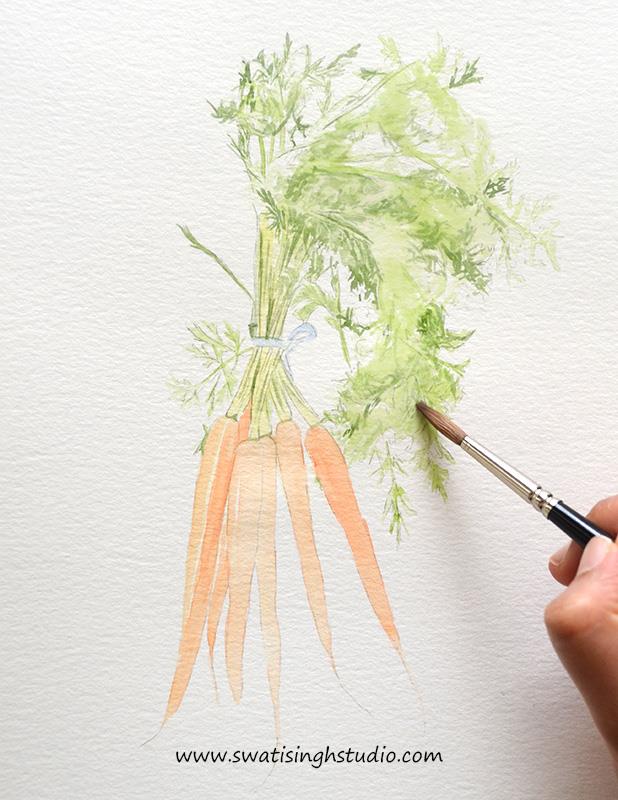
Step 7. Once the wash gets completely dried, paint the leaves with a fine brush on top. The wash will act as a background for the leaves.
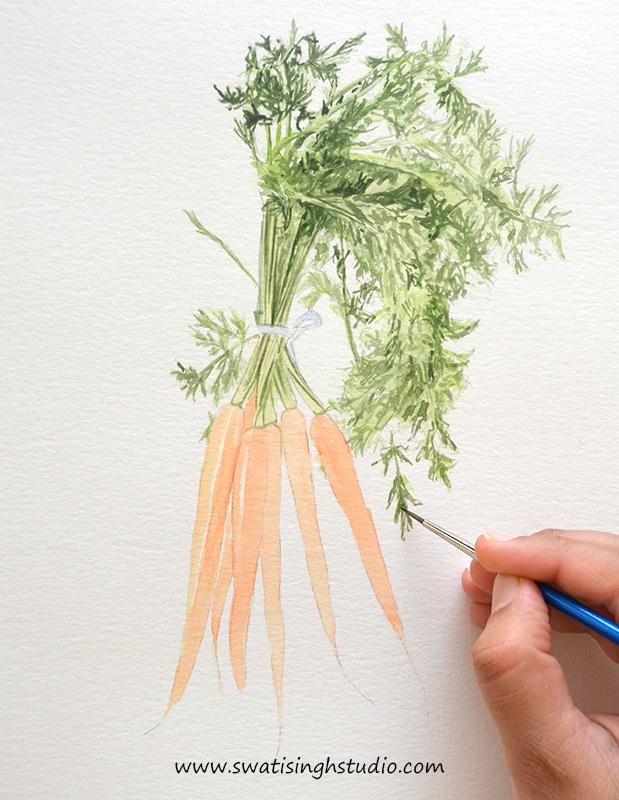
Step 8. Now simply repeat with a few more layers and you should be ready to feed your bunnies in the backyard!
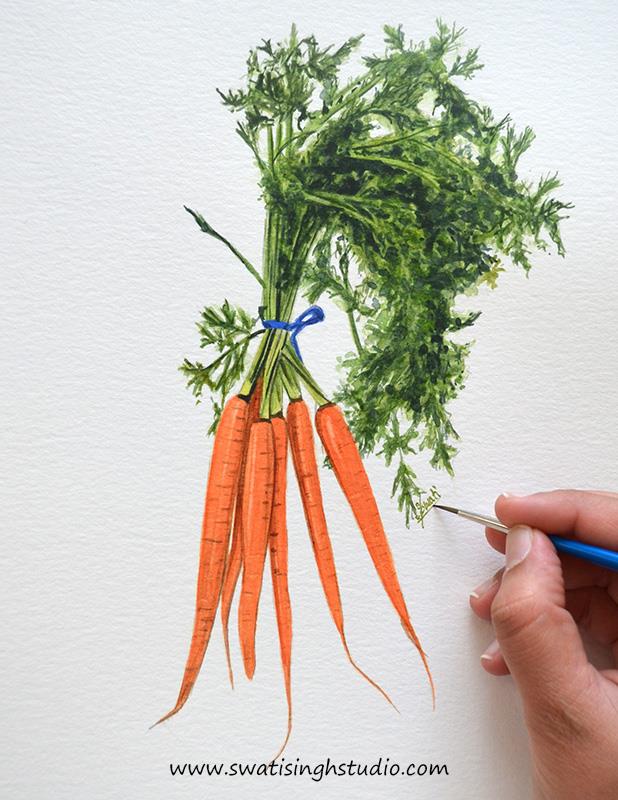
If you enjoyed this tutorial you may SUBSCRIBE to my blog and explore some of the previous sketches as well. Try painting these carrots at home and let me know the results. I will be back with the next sketch on coming Saturday.
Till then happy painting!
Swati