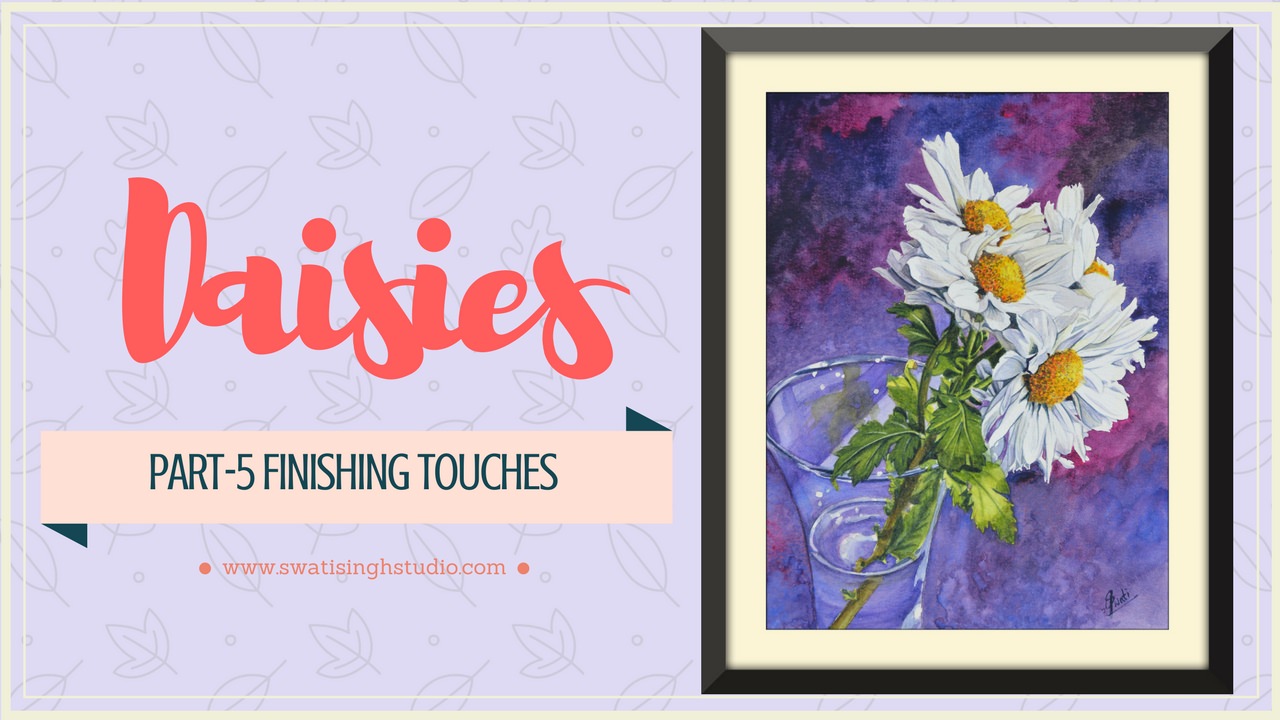
Hello, everyone! Welcome back to the daisy series. Today the series is finally coming to an end with some finishing touches. So are you ready to see the painting transform!
I am not using any new colors in the tutorial today. To know about all the color mixing charts used in this tutorial kindly refer to the previous parts in the series.
Part 1- White Petals
Part 2- Yellow Centers
Part 3- Vase and the background
Part 4- Leaves and stems
Our focus today will be on correcting the tonal value of each component in the composition by judging them against each other.
Let’s begin!
PART A- WHITE PETALS
Step 1. Add a layer or two of gray to the shadow areas on the petals to darken them.
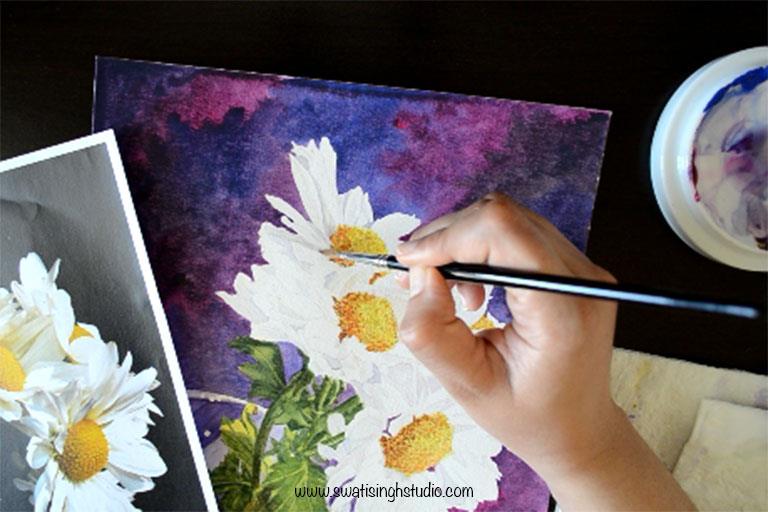
Step 2. Add a very thin layer of lemon yellow to the petals on the right side.
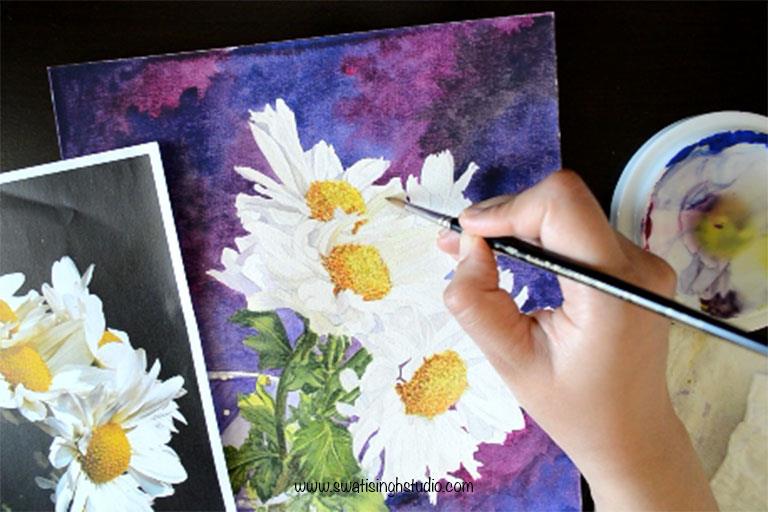
Step 3. Add some indigo blue to the mix to create a darker shade of gray and add it to the petals as shown below.
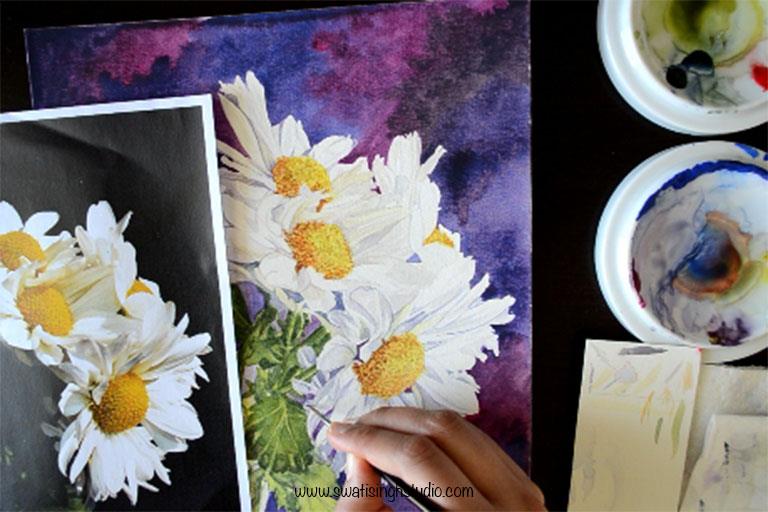
PART B- YELLOW CENTERS
Step 1. Start at the very bottom of the center by adding a dark brown mix with a fine brush.
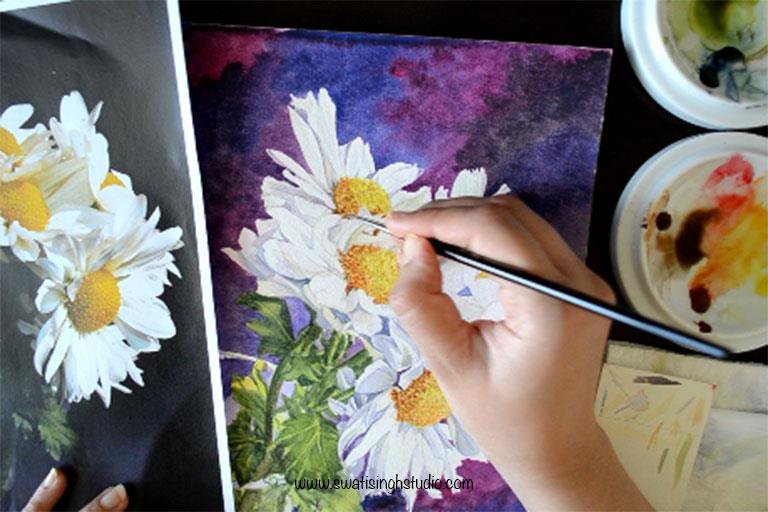
Step 2. Create texture with the same color mix by tapping the tip of the brush as shown below.
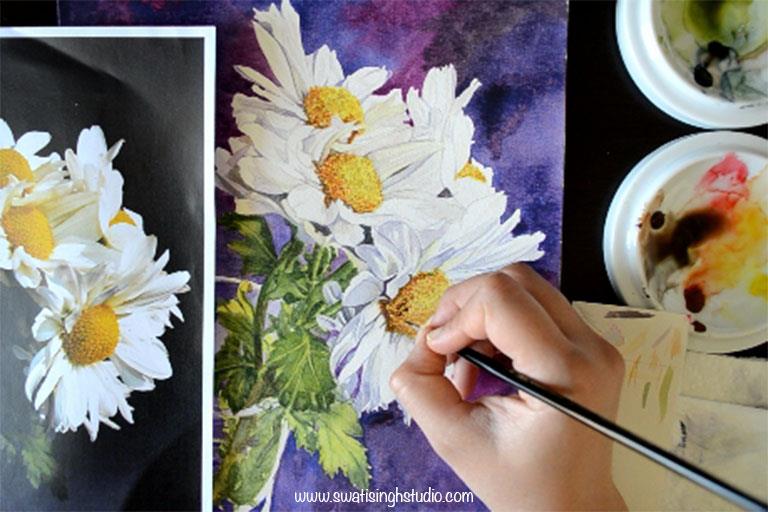
Step 3. Add a layer of lemon yellow and cadmium yellow all over the centers to brighten them up.
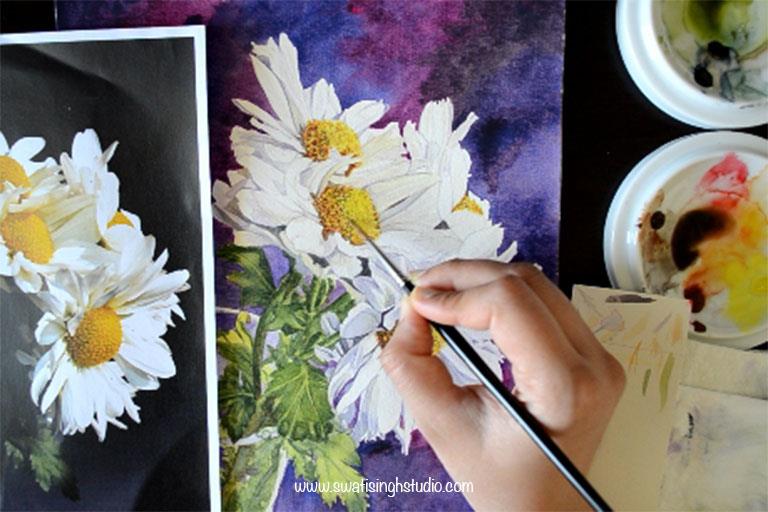
PART C- LEAVES AND STEMS
Part 1. Start by adding a layer of lemon yellow all over the leaves.
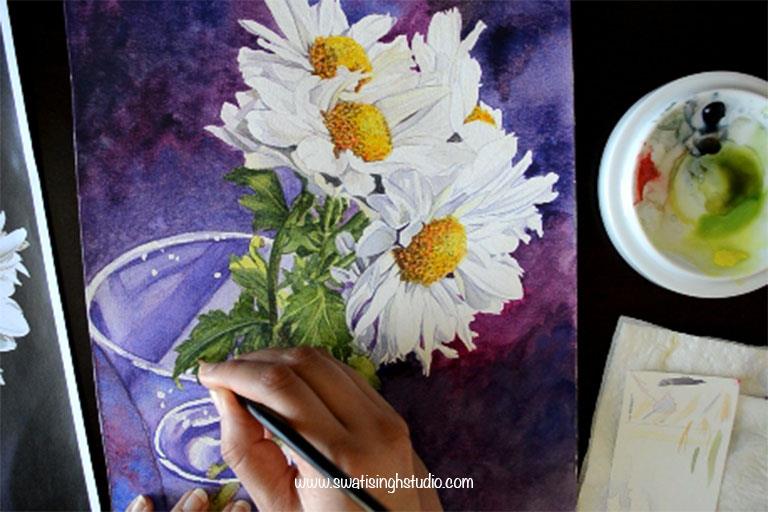
Step 2. Smooth out any hard color lines with a slightly damp brush.
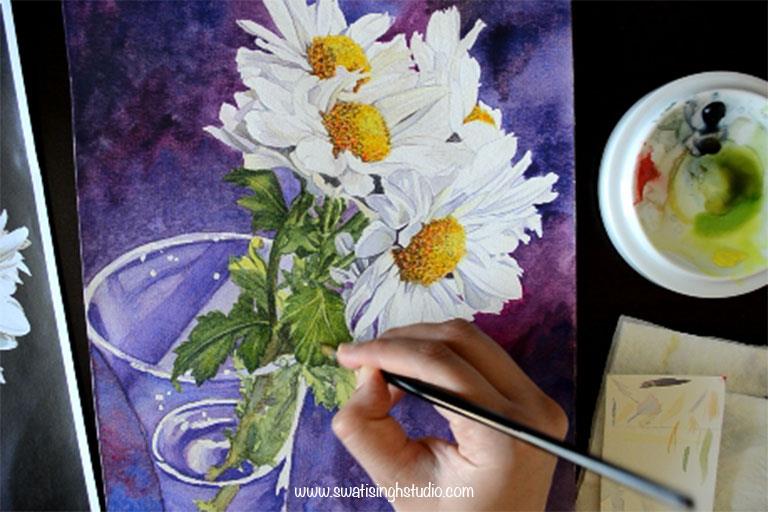
Step 3. Once the sheet is completely dry add a thin layer of sap green to the leaves.
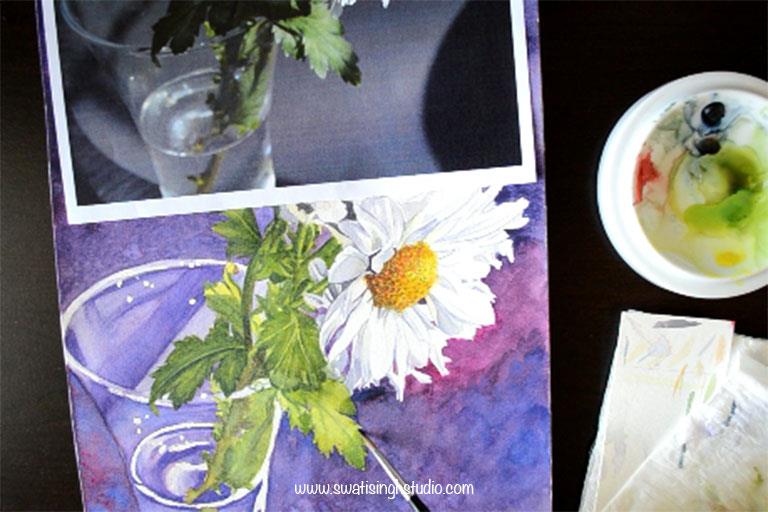
Step 4. Mix some indigo blue to cadmium red to prepare a brown shade for the stems.
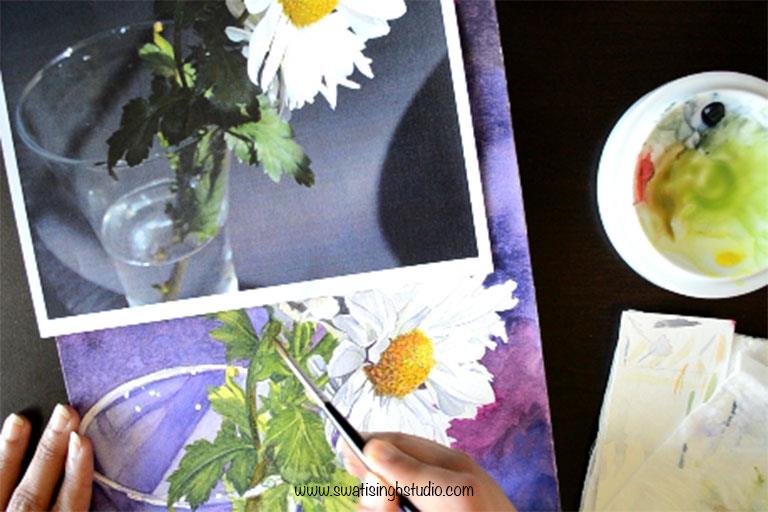
Step 5. Add some more indigo blue to sap green to prepare a darker shade of green for the shadows. This step will make the whole difference!
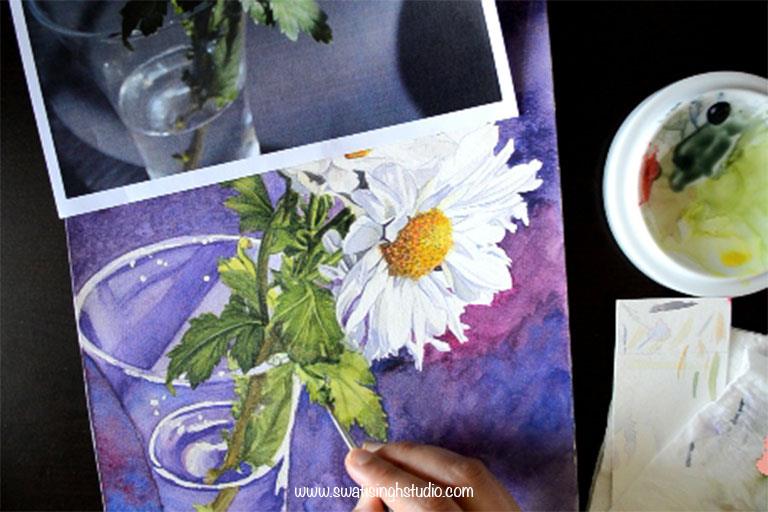
PART D- VASE
Step 1. Add a very light layer of gray on the rim of the vase to tone down the highlights a bit.
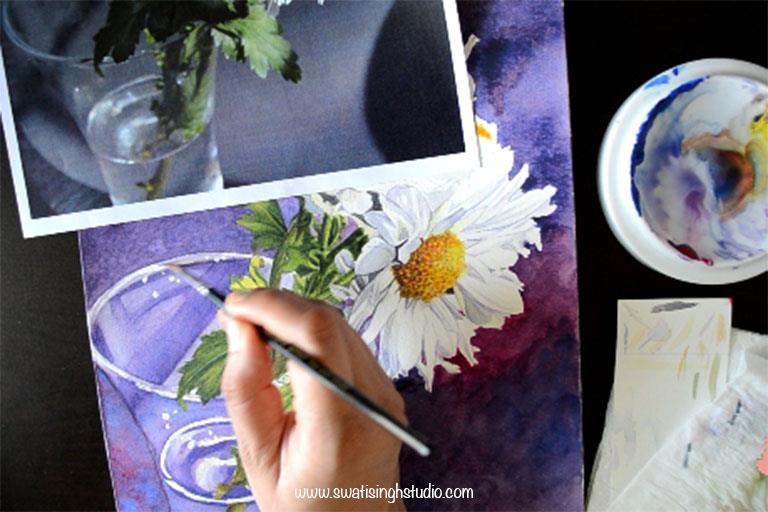
Step 2. Similarly, tone down the rest of the highlights falling on the bottom part of the vase and the water inside.
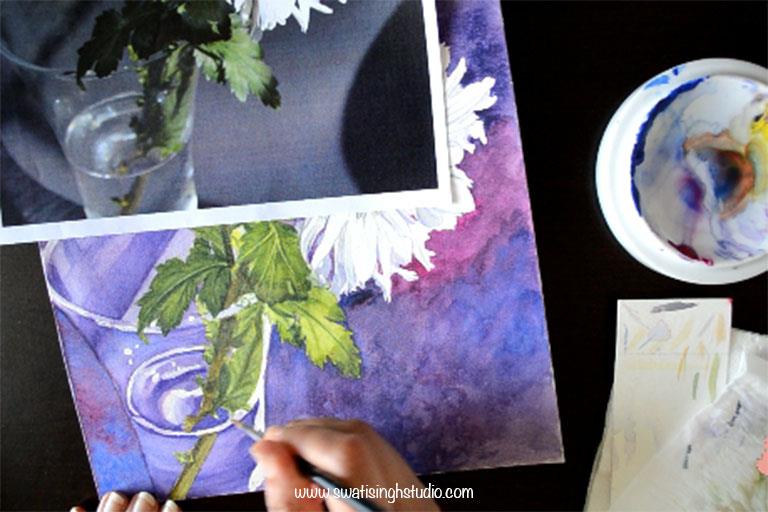
Step 3. Finally, add a touch of sap green on the vase to suggest the reflection of leaves falling on the glass.
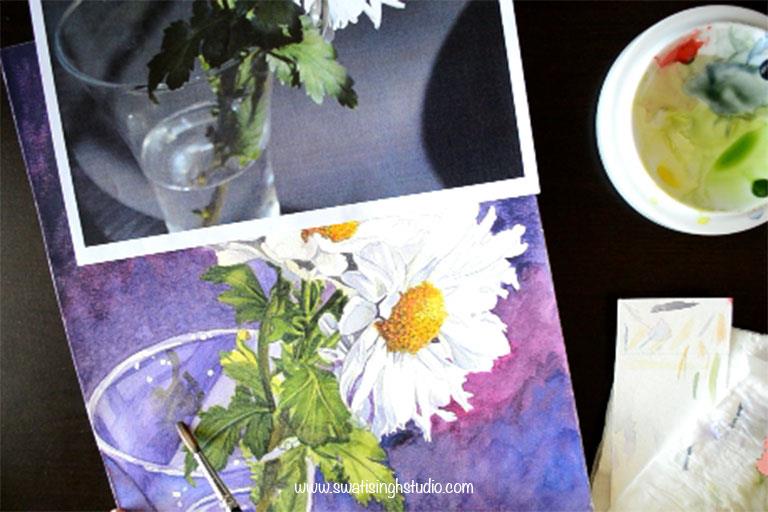
And we are done!
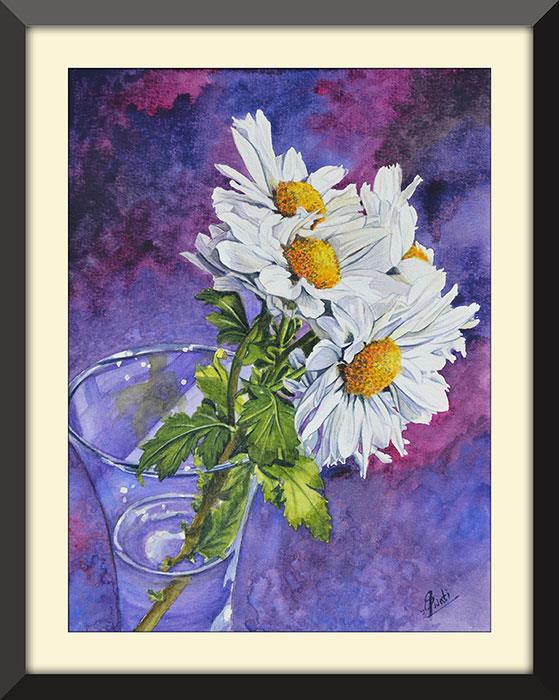
I loved painting these flowers to the fullest! I hope you enjoyed this series with me. Give these flowers a try and feel free to send me your artworks via e-mail. I would love to see them.
If you liked this tutorial do not forget to SUBSCRIBE to my blog and Youtube channel.
I will be back with another series soon. Till then enjoy painting!
Swati