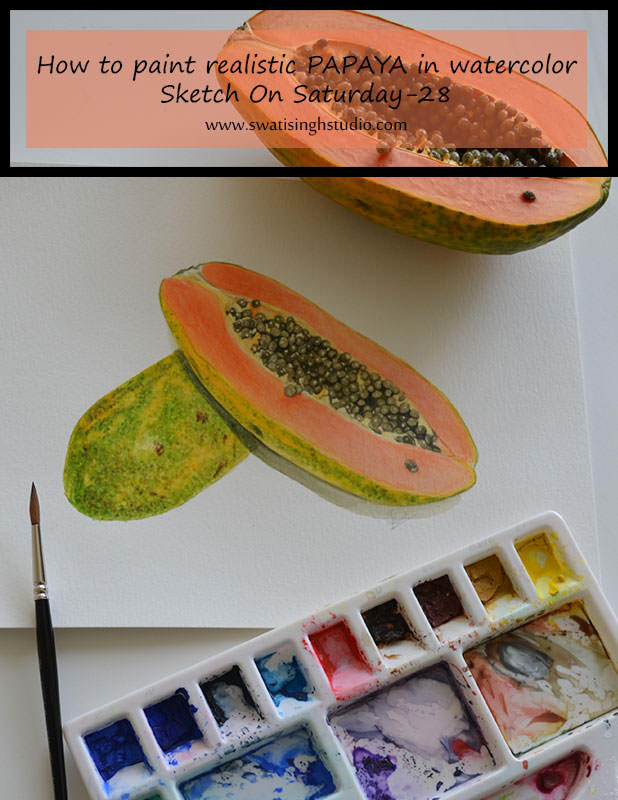
Welcome back, everyone! Hope you all are doing great. Today I have the eighth sketch in the “Fruit” series- Papaya
Did you know?
Papaya seeds are edible and have a sharp, spicy taste. They are sometimes ground and used as a substitute for black pepper.
Why did I choose this fruit to sketch?
As much as I wanted to paint the beautiful green and yellow pattern of the papaya skin, I also wanted to paint the beautiful shiny seeds inside.
Hence, here I am with the step-by-step demonstration of this beautiful fruit.
First let us check the direction of light in the reference photo I took. Since the light is falling direct on the fruit from the right direction the red flesh inside is somewhat lighter in color.
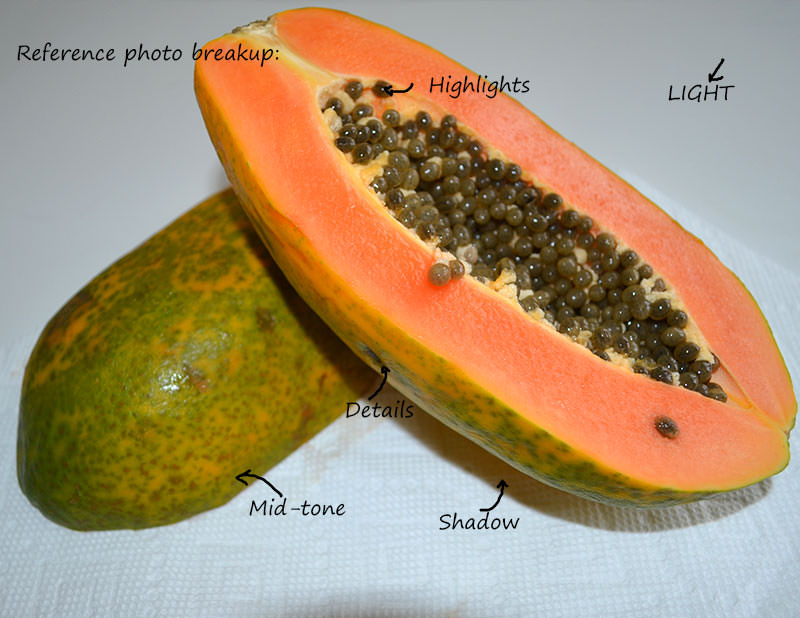
The colors I used in this sketch are as follows:
1. Lemon yellow
2. Cadmium yellow
3. Sap green
4.Cadmium red
5. Burnt umber
6. Indigo blue
Drawing is done using an HB pencil.
Let’s begin!
Step1: Apply a wash of clear water on the skin of the papaya using a number 6 brush.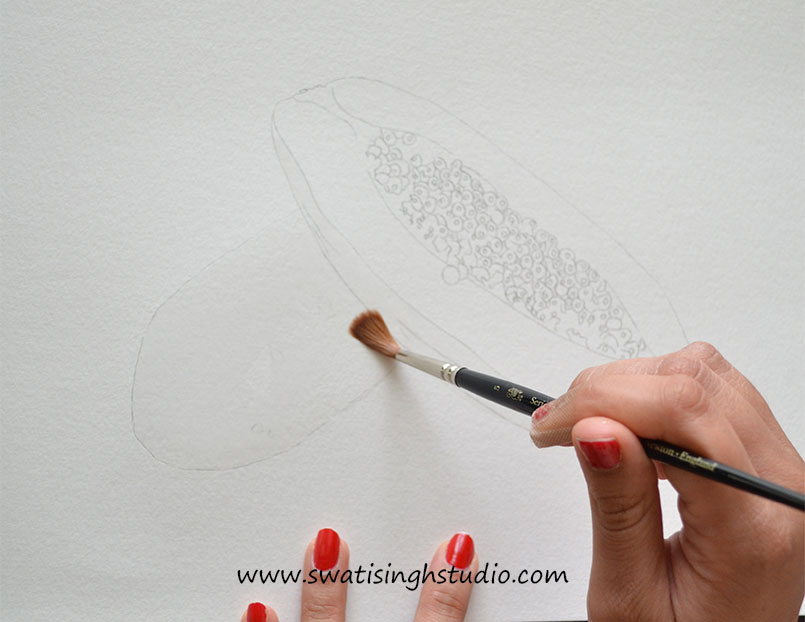
Step2: Now apply a wash of lemon yellow all over the skin area.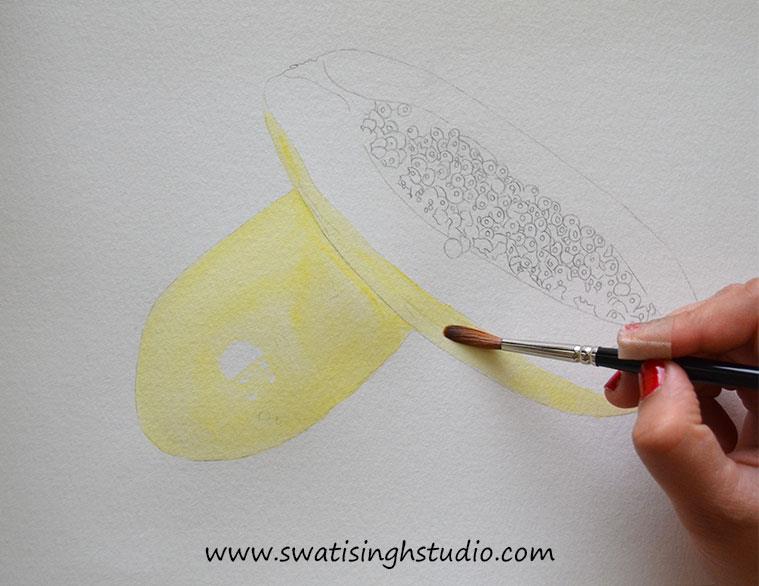
Step3: Now load your number 3 brush with sap green and drop it in to create the pattern on the skin. After creating the green spots dab in some cadmium yellow to brighten up the surface.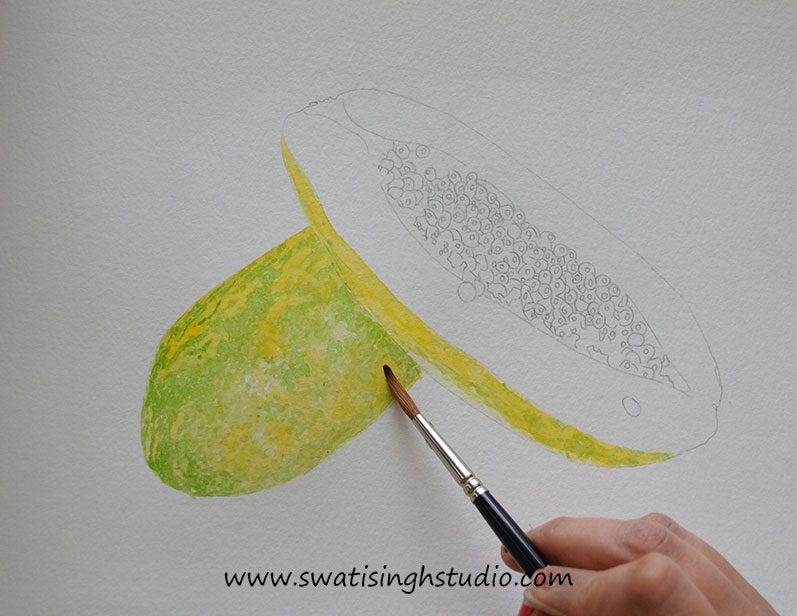
Pay close attention to the reference image and observe the pattern closely.
Step4: Apply clear water on the fruit area.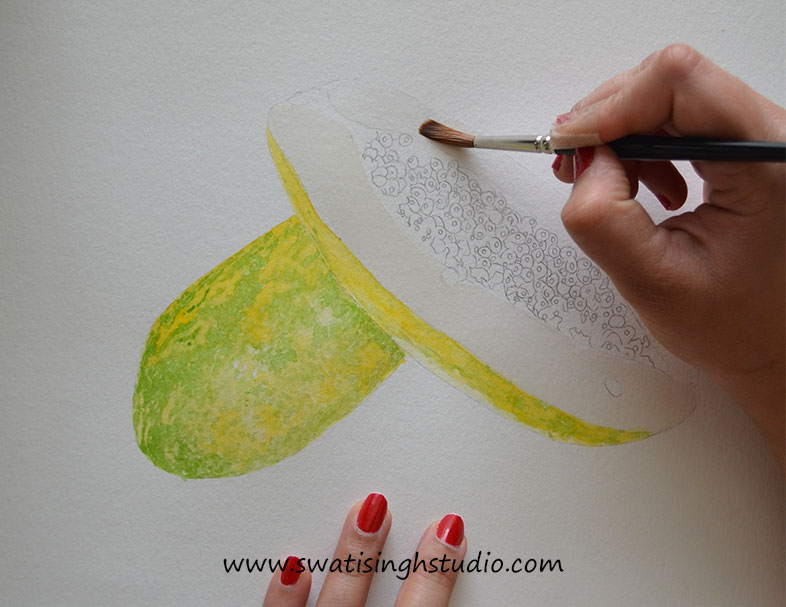
Step5: Mix a peach color using cadmium red and cadmium yellow.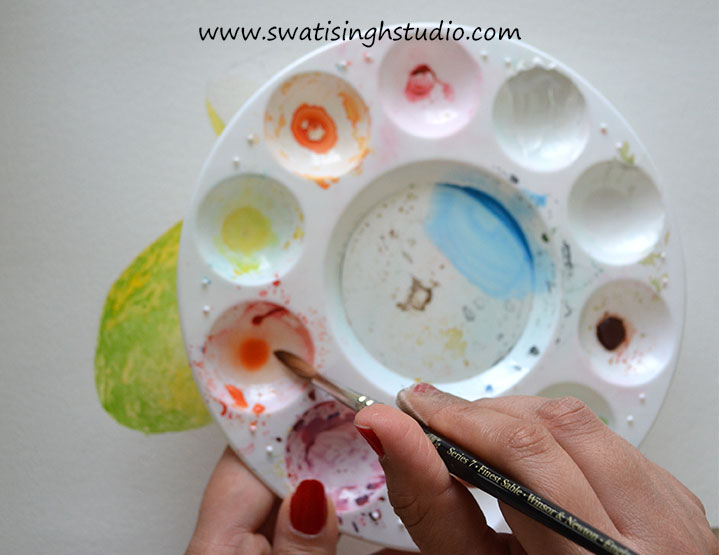
Apply this shade using a number 5 brush. Keep in mind the direction of light and add the color accordingly.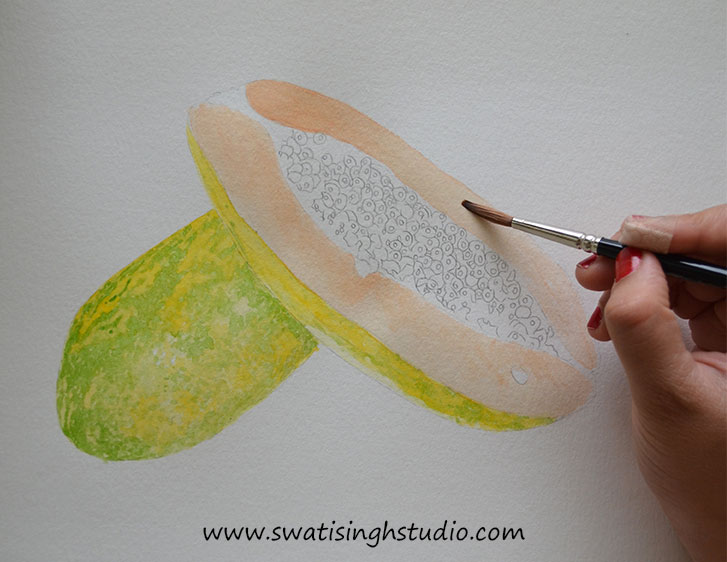
Step6: Moving on to the seeds now. As we see the seeds appear greenish black in color. For this mix some burnt umber, sap green and indigo blue with very little amount of lemon yellow.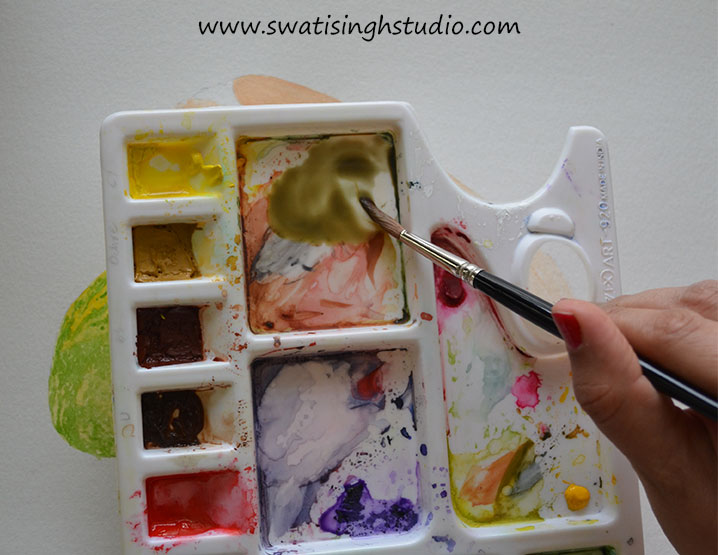
Apply a thin coat of this color using a number 3 brush.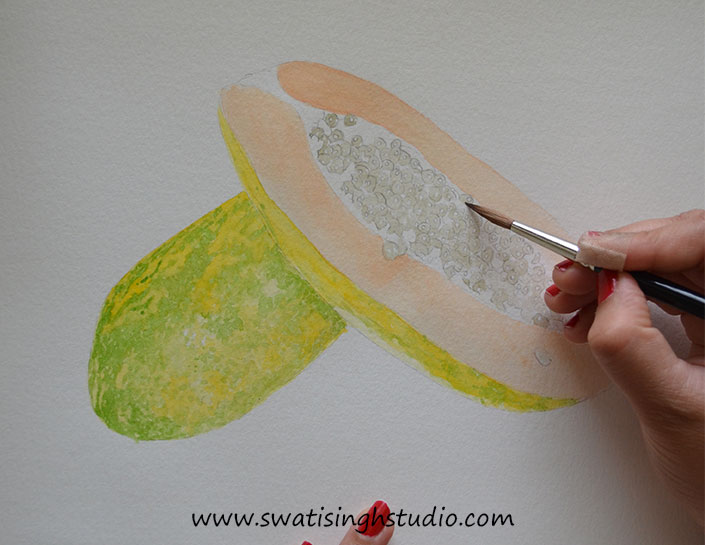
Important: Do not touch the highlights. Preserve the white of the paper.
Step7: Repeat with another layer of the same shade on the darker areas.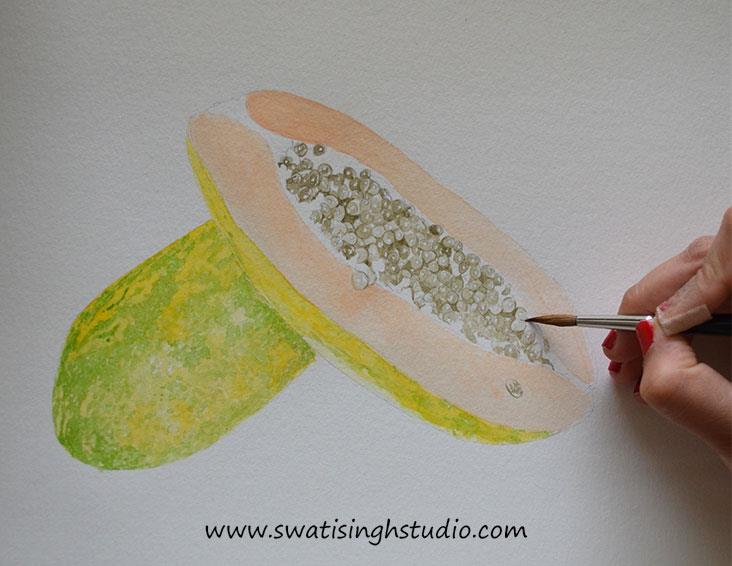
Step8: Add another layer on the darkest areas to create depth. Layers work together to strengthen the shade. We are keeping the highlights as it is.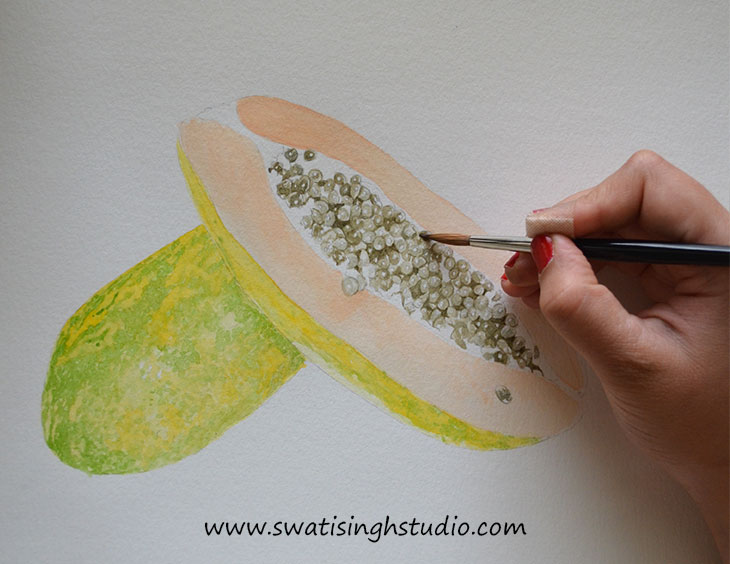
Step9: Apply a thin wash of lemon yellow on the fruit around the seeds.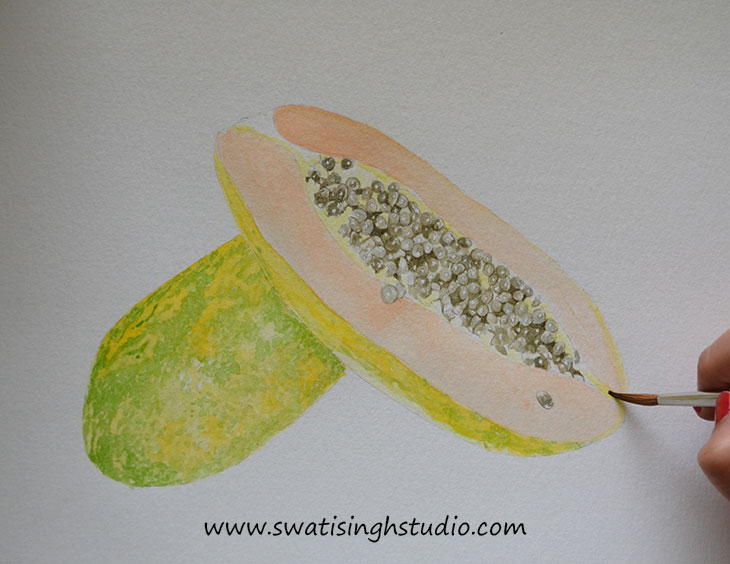
The color is very subtle hence keep it light.
Step10: Repeat the above steps and add more layers to make them saturated.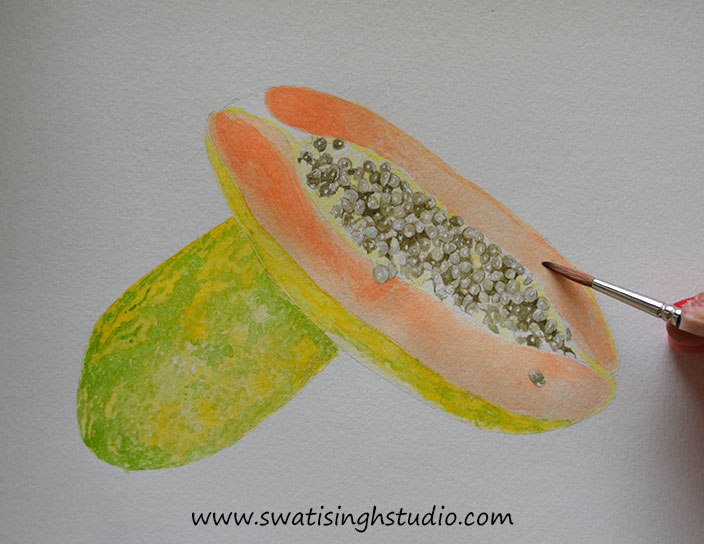
Step11: Add some fine details such as the brown marks on the skin using a number 0 brush.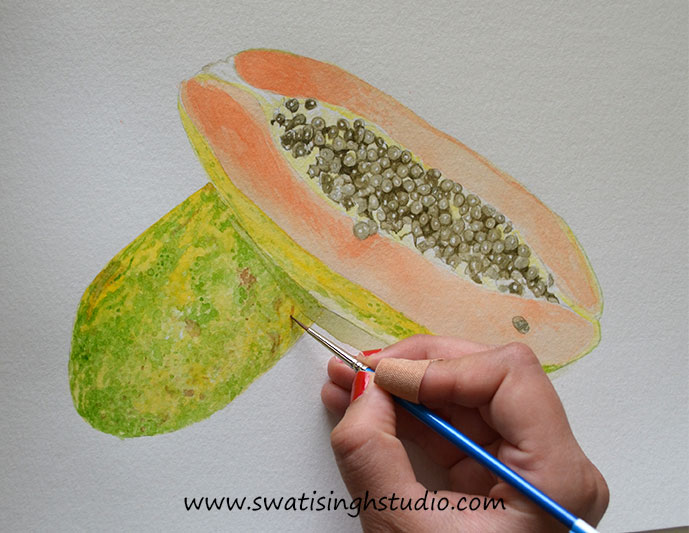
Step12: Keep adding the layers until you reach the desired saturation of color. Finish off with your beautiful signature!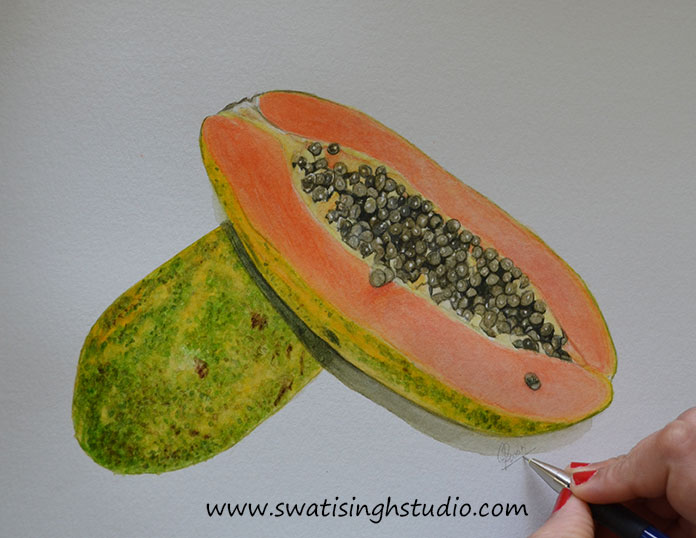
Hope you liked this sketch. Do try sketching this beautiful fruit in and out. Let me know how it came out in the comment section below.
The series is just about to end! If you are new here you may check the previous sketches in the gallery section of my website.
If you liked this post kindly “SUBSCRIBE” to my blog and stay updated on all the future posts.
I will be back next Saturday with the ninth sketch in the series, till then enjoy painting!
Swati