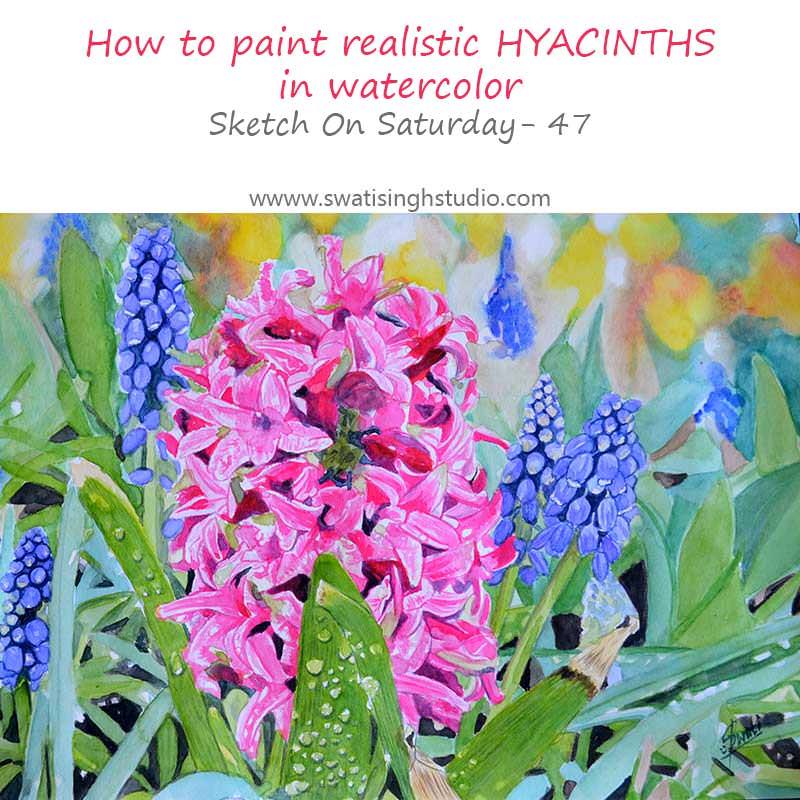
Welcome, everyone! Today, I have a beautiful hyacinth tutorial in watercolor. So are you ready for the last challenge in the Spring series? Welcome, rain drops!
Below is a photograph I took in a flower farm last week. The hyacinths are drenched in rain. The water droplets make them look so fresh and plump.
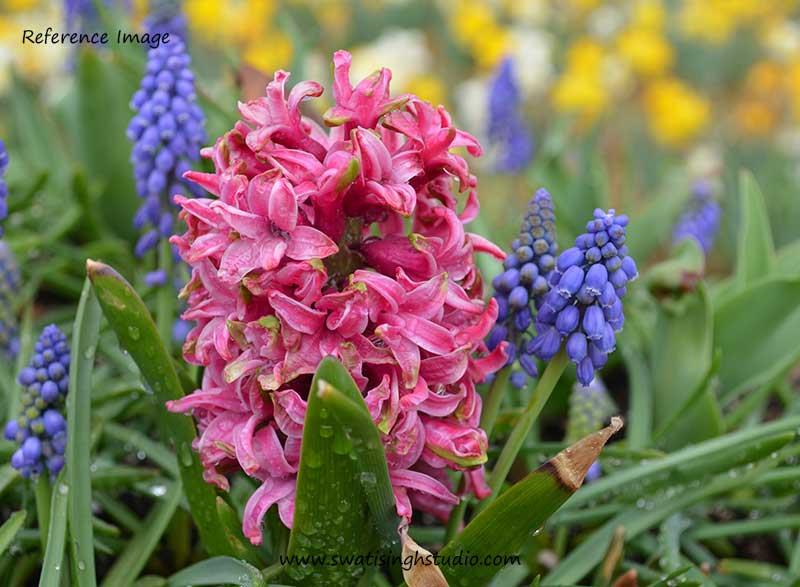
The composition has a few grape hycinths surrounding the star of today's painting . The overall composition looks interesting to me. So let’s get started.
I started with the background first. The tutorial is divided into three parts.
1. Grape hyacinths
2. Pink hyacinth
3. Leaves
The watercolors I used are following
1. Cobalt blue
2. Purple
3. Sap green
4. Olive green
5. Burnt umber
6. Indigo blue
7. Permanent rose
8. Thalo green
9. Yellow ochre
To know about other materials required you may refer to THIS post!
PART 1- Grape hyacinths
Step 1. Start by mixing different shades of blues with a hint of purple on a separate sheet of watercolor paper.
Below you can see some of my mixes. I feel the mix of cobalt blue and purple looks closest to the hyacinth blue.
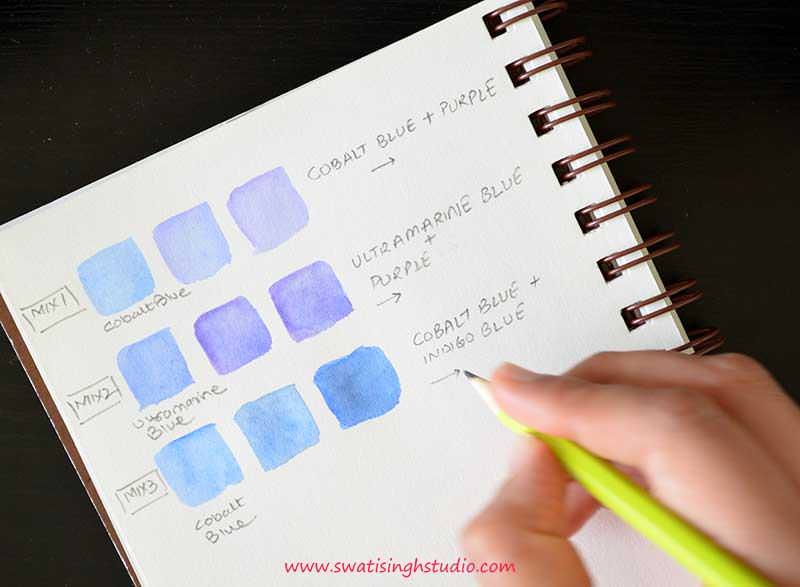
Note: Different brands have slightly different shades of the same color. Hence, it is important to try your own colors in rough to get the closest match.
Step 2. Once you are happy with your blue, start applying it to the outer edges of the flowers as shown below. I recommend using a number 1 brush here. Do not add a lot of color at this stage. Keep the wash very light.
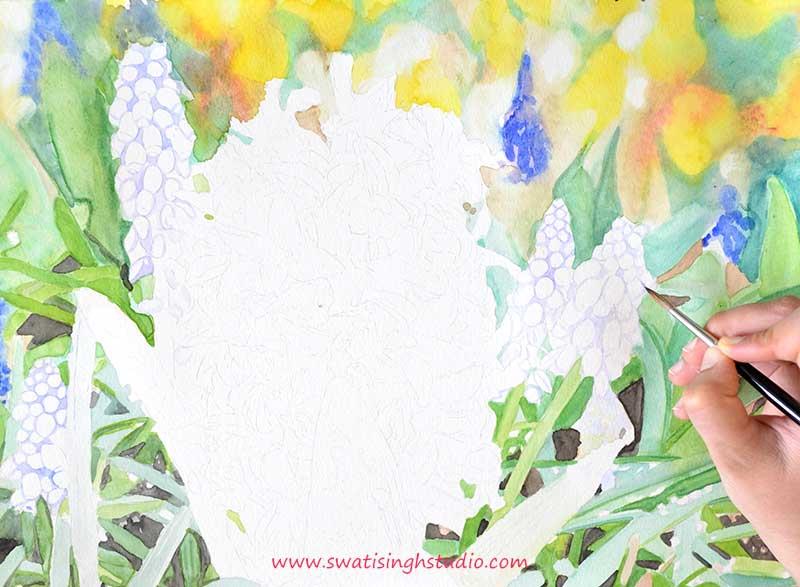
Painting these grape-like flowers reminds me of blackberries I painted last year in the fruit series. Both have a somewhat same approach when it comes to painting. You may refer to that tutorial for a better understanding of the subject.
Step 3. The tip of some of the flowers has a greenish or brownish tint. Hence, add a touch of sap green or burnt umber as required.
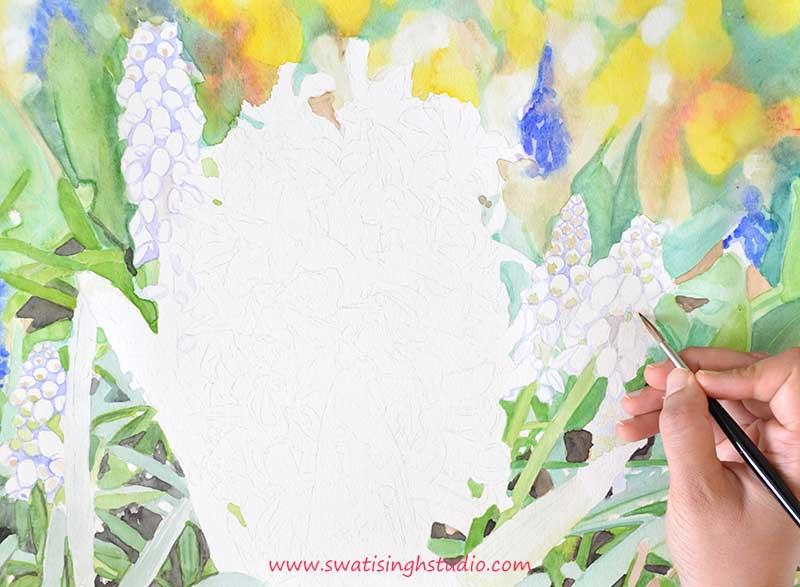
Step 4. Now apply a very thin glaze of blue (prepared in step 1) all over the flowers.
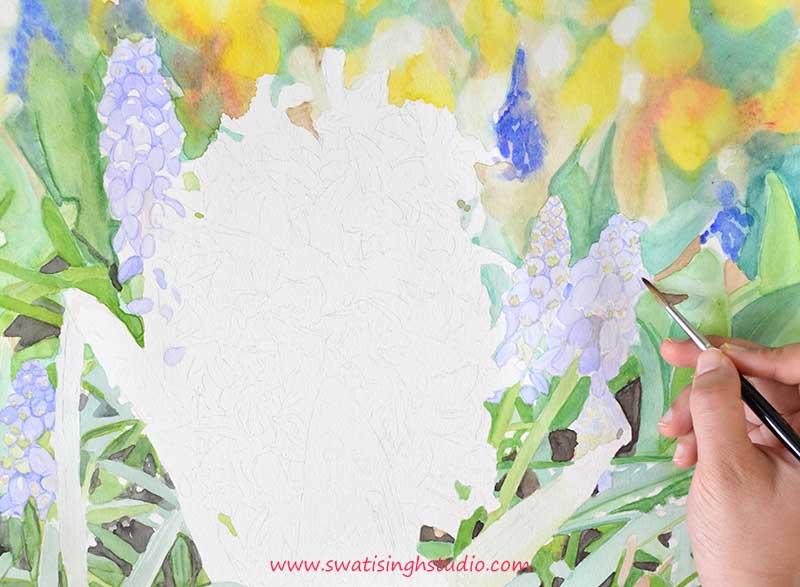
Step 5. Mix some indigo blue to cobalt blue and purple for the dark shadows. Fill in the gaps of the flowers using a number 1 brush as shown below.
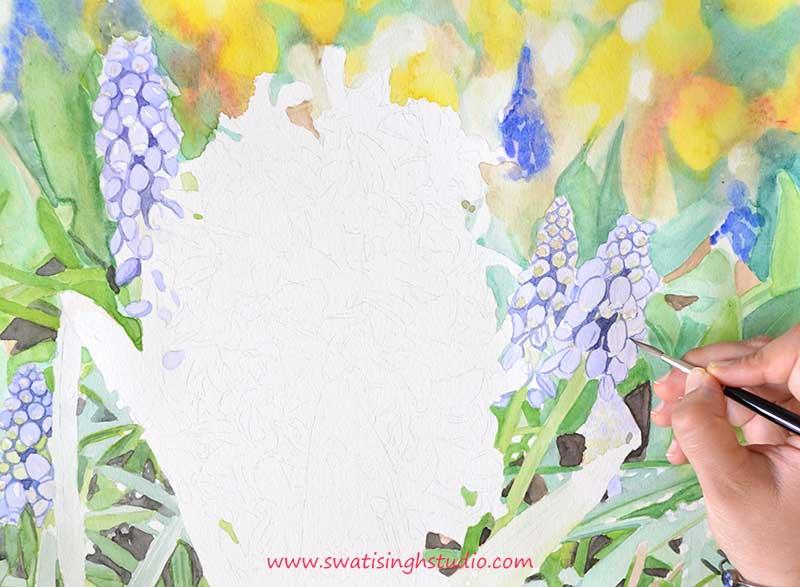
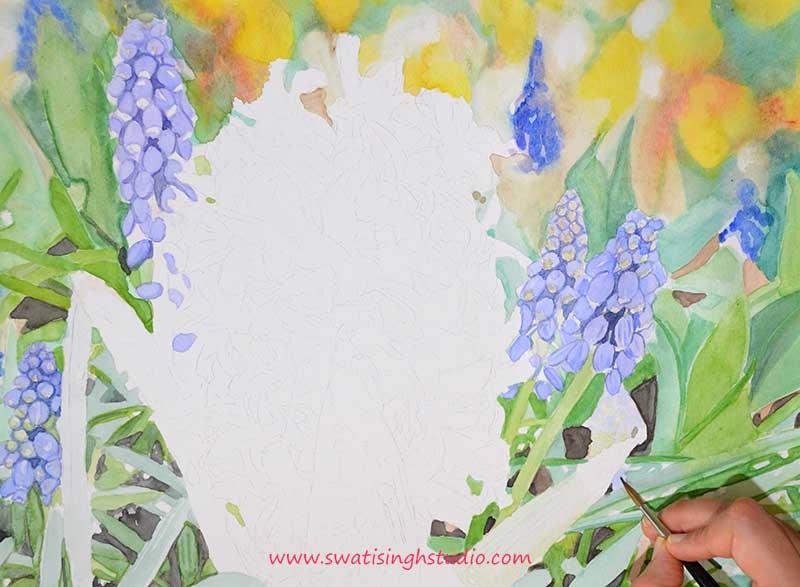
Step 6. Add another layer of blue to bring everything together.
PART 2- Pink hyacinth
Step 1. Believe it or not, this complicated flower does not require a complicated number of color mixes. All you need is permanent rose. Apply a very light glaze of this color to the delicate petals as shown below.
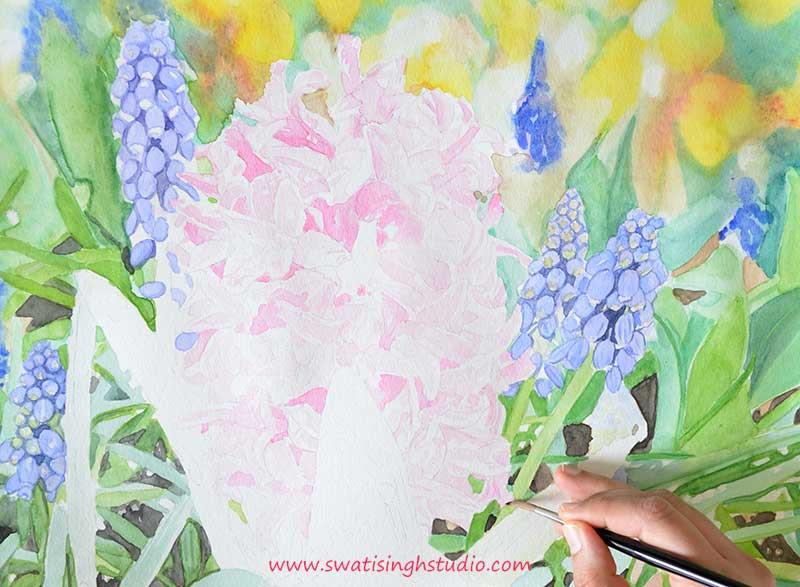
Important: Permanent rose is a very staining color hence, dilute it enough before applying.
Tip: 1. Every time you load your brush with fresh color, apply it to the dark shadow areas first and then move on to the light petals. This way you get a better control of the pigment.
2. Keep an eraser handy to remove any harsh pencil lines that might show through light pink petals. I recommend using a number 1 brush here.
Step 2. Now prepare a darker pink for the shadows by mixing some indigo blue with permanent rose. Apply it to all the shadows as shown below.
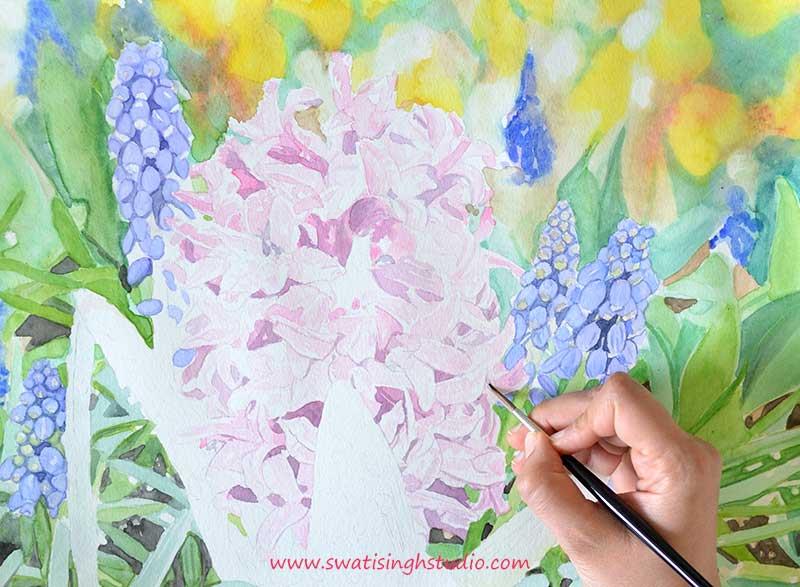
Step 3. The tips of some of the petals are light green in color. Apply a very light glaze of sap green to these areas.
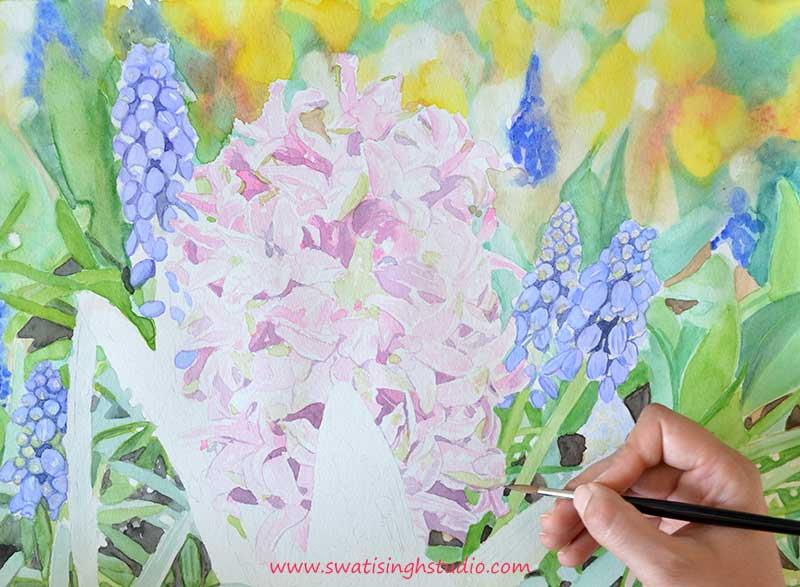
Step 4. Add another layer of permanent rose to all the petals.
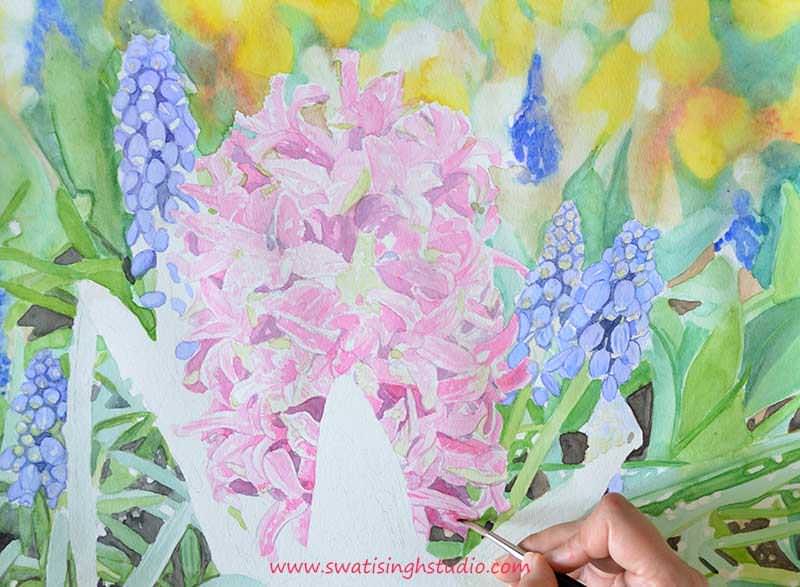
PART 3- Leaves
Step 1. Add a light glaze of sap green to the leaves as shown below. Do not paint on the water drops. Go around them carefully.
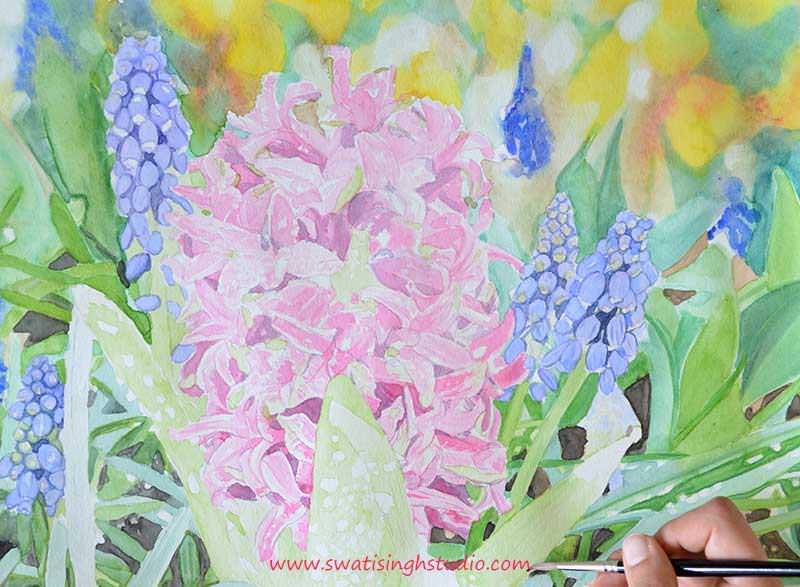
Step 2. Mix some indigo blue to Thalo green. Paint the fine veins of the leaves using a number 1 brush.
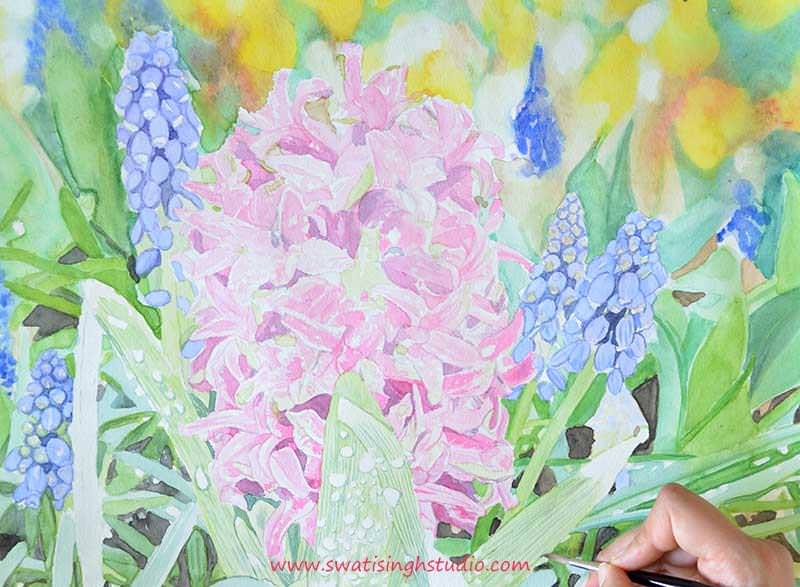
Step 3. Once the veins get completely dried add a thin glaze of sap green to all the leaves.
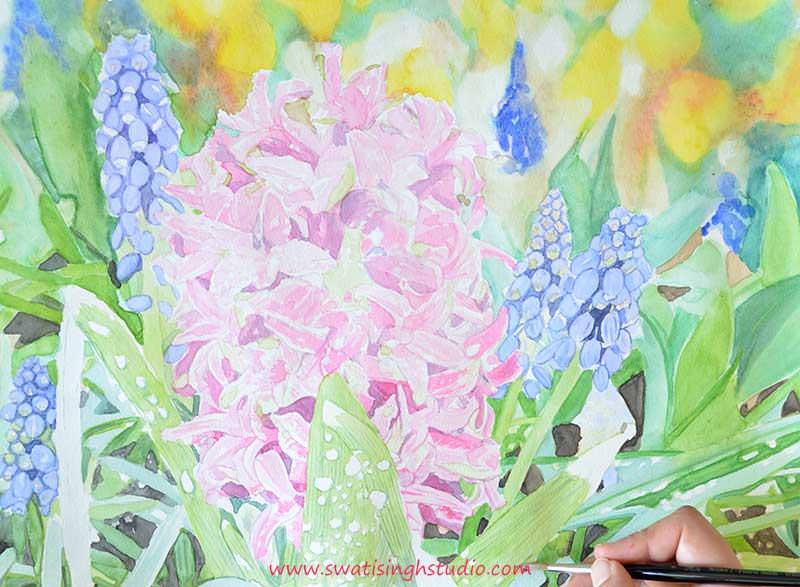
Step 4. Paint the dry parts of the leaves in yellow ochre and burnt umber.
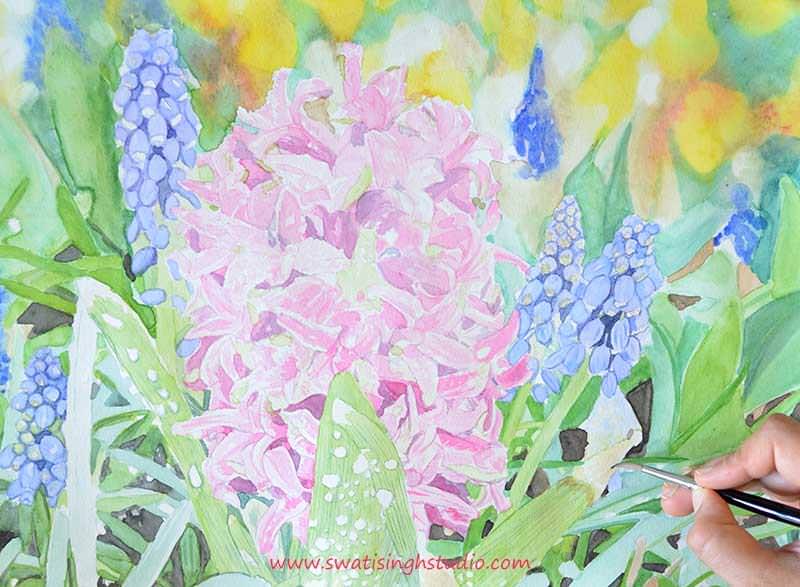
ADD MORE LAYERS!
After a few more layers this is what the flowers look like in the end! I toned down all the water drops by adding a thin glaze of sap green in the end. The thin glaze makes them stand out against the dark background.
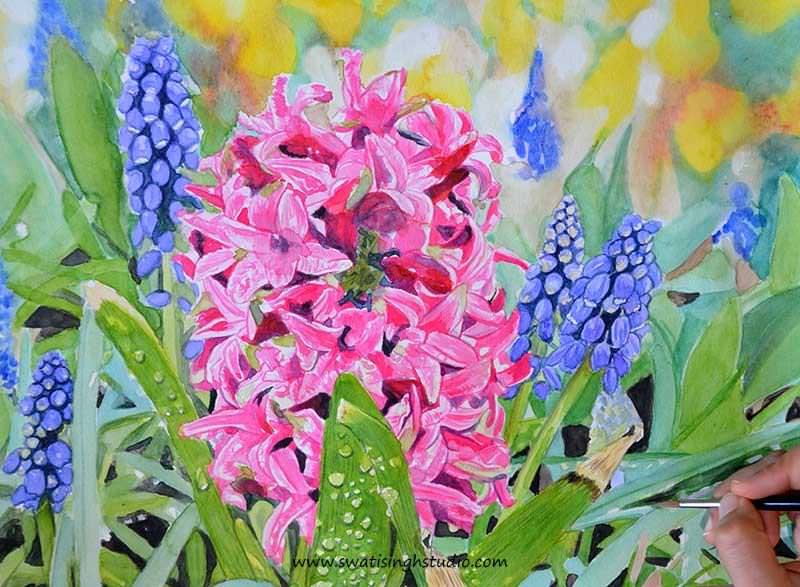
With these beautiful hyacinths, the Spring series has come to an end. Congratulations if you made it so far! I enjoyed painting these beautiful flowers to the fullest! They were all unique in their own way. I observed the beautiful nature up close and appreciated their presence more than ever. What an experience it has been!
I hope you enjoyed this series too! If you did, you may write your views in the comment section below. You may also SUBSCRIBE to my blog to stay updated on all the future paintings. This entire Spring collection will be available in my SHOP very soon! I will keep you posted on my future paintings.
I would love to see your spring artworks as well! You may e-mail me or post it on my FACEBOOK page.
Happy painting!
Swati