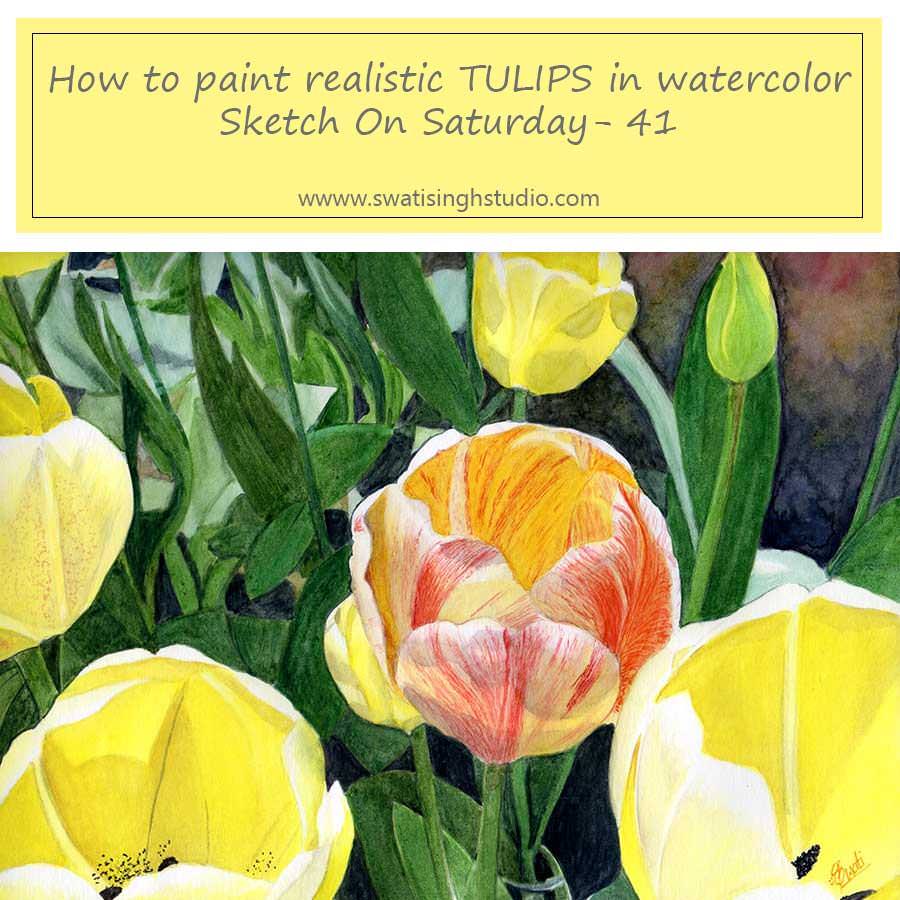
Tulips started to become highly prized in Holland in the 1600s.This led to a period from 1634 to 1637 known as "Tulip mania" when enthusiasm for the new flower started an economic frenzy and one of the world's first 'speculative bubbles'. The value of tulips shot up nearly overnight, they became the most expensive flower in the world, so expensive that they were treated as a form of currency.
Welcome back everyone! Today we are starting with a new series in watercolor- Celebrating Spring. If you are new to the blog you are welcome to join in the series. Please refer to this INTRODUCTORY blog post for further details.
The first sketch in the series is of a tulip. The beauty of tulips cannot be ignored in spring.
Below is a picture I took in New York last year! Tulips were blooming all around the Central Park.
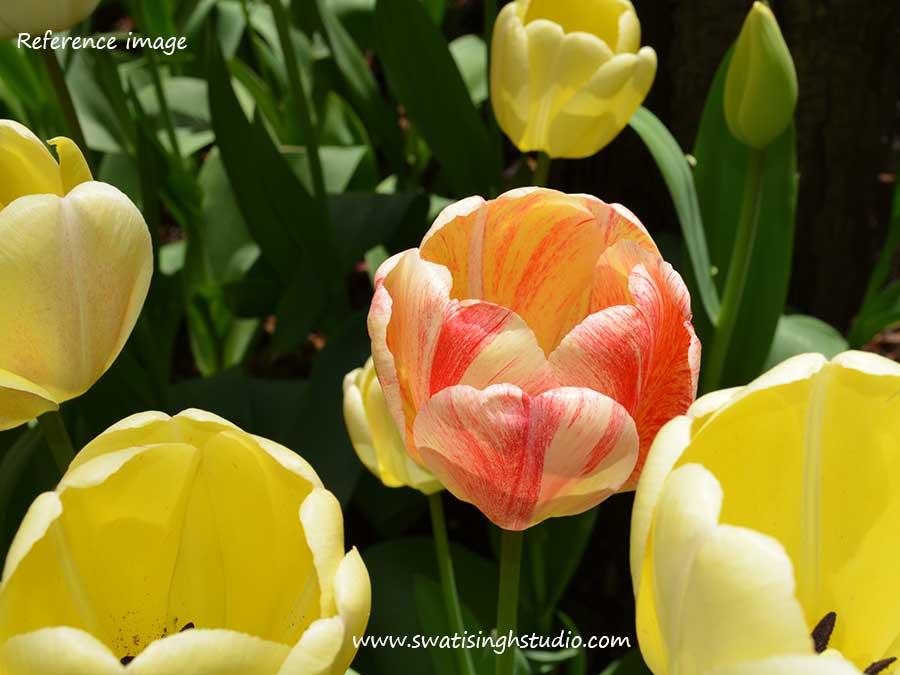
I love how different the tulip in the center is from others. The red markings make it even more beautiful. So the star of the painting today is the one in the center and I am showing you the step by step process of painting it in watercolors.
To know about the materials required kindly click HERE.
The watercolors used are
1. Cadmium red
2. Indigo blue
3. Lemon yellow
4. Cadmium yellow
5. Sap green
6. Ultramarine blue
7. Thalo green
Painting this tulip reminded me of an APPLE I painted in the FRUITS series. The markings and colors are almost same.
The drawing is done in HB pencil.
So let’s begin with the tulip first.
Step 1. We are going to paint the shadows first and then glaze it with lemon yellow later.
Gray is a mixture of yellow, red and blue. Not all grays are the same. If you look closely some grays have more of red or blue or yellow.
In our case, the gray has a slight hint of red. Hence prepare a mix of indigo blue, cadmium red and a little amount of lemon yellow to get the right shade of gray. Keep varying the proportions in the mix till you end up with the correct shade. Test it separately on a sheet of watercolor paper to be sure.
Once the gray color is ready, glaze the tulip petals in clear water as shown below.
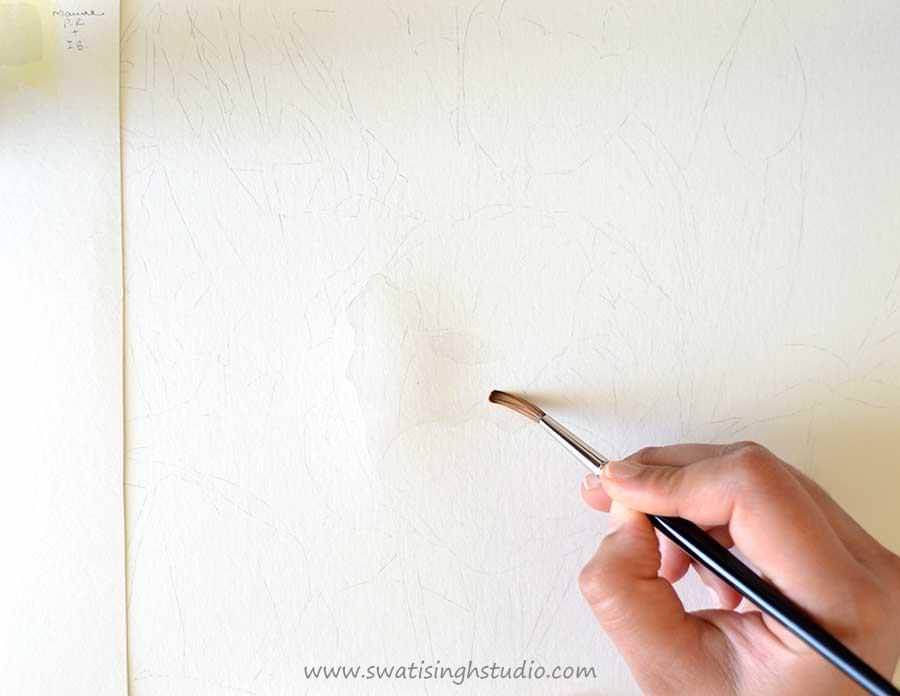
Step 2. Now apply this color to the individual petals while the sheet is somewhat half wet. This will result in smooth movement of the color.
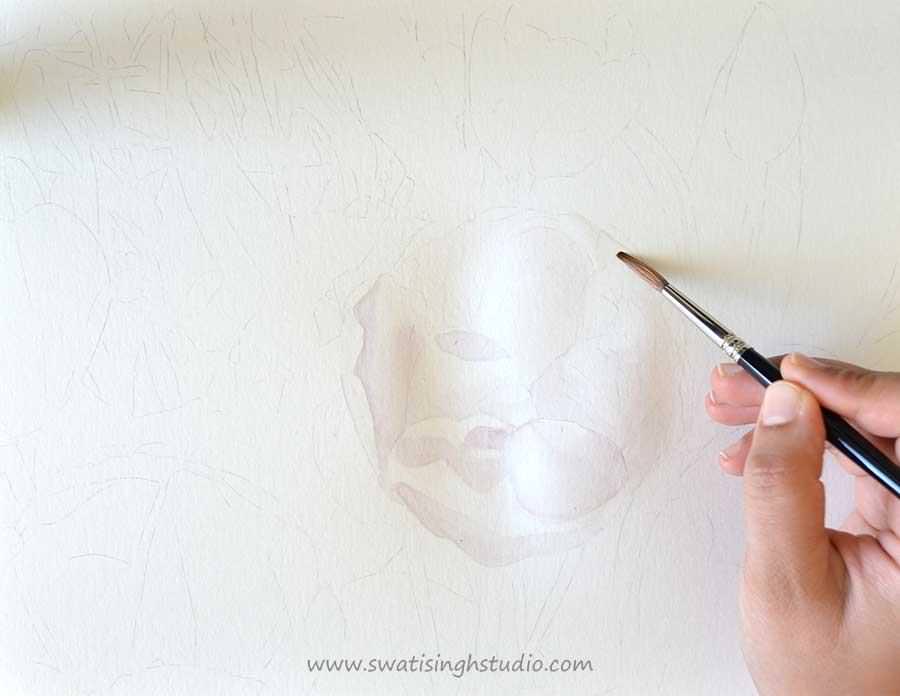
Tip: Control the color so that it doesn’t move to the parts of highlights. We want our white sheet to show where the highlights are. Hence, keep the amount of water just enough so that it doesn’t make the color run.
Important: Let the shadows completely dry before moving to the next step.
Step 3. Now glaze the petals with a very thin wash of lemon yellow as shown below. Keep the glaze very light.
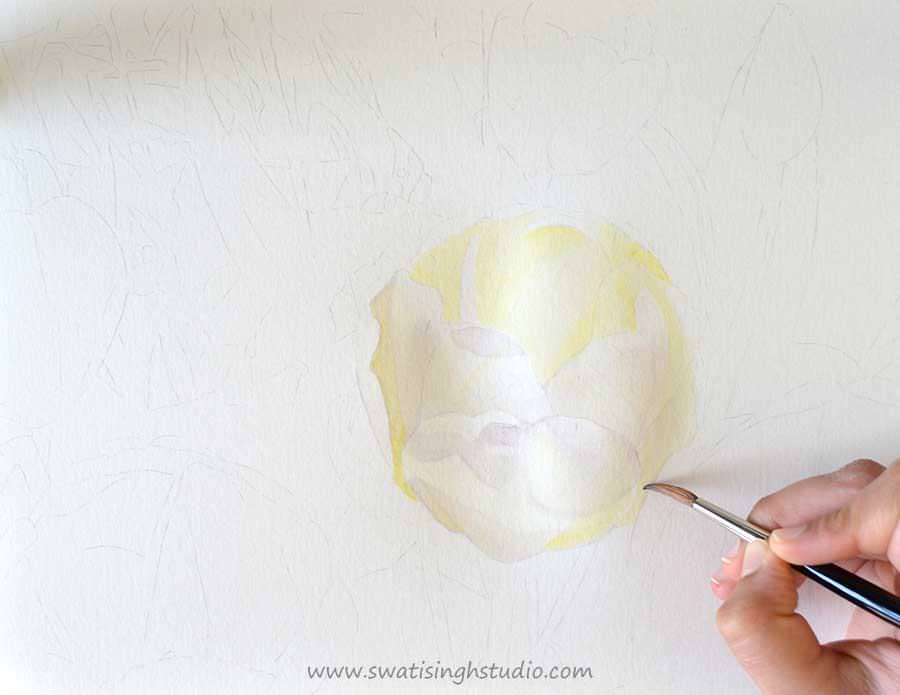
Important: Do not add a lot of lemon yellow at this stage or else the petals will not have that translucent effect.
Step 4. You may revisit the shadows once again after the sheet gets somewhat dry. Once you are satisfied with the overall tonal values practice some of the marks in rough. Here I have made the markings in cadmium red and then glazed it in cadmium yellow.
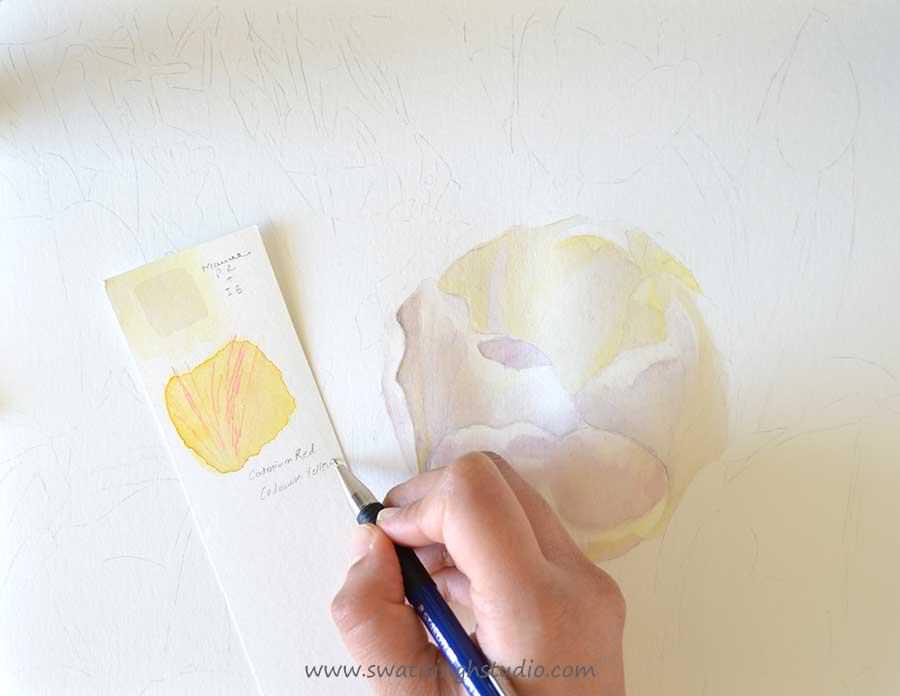
Step 5. Now simply draw the marks in cadmium red using a number 1 or 0 brush. Do not rush here and take your time. Just enjoy this process.
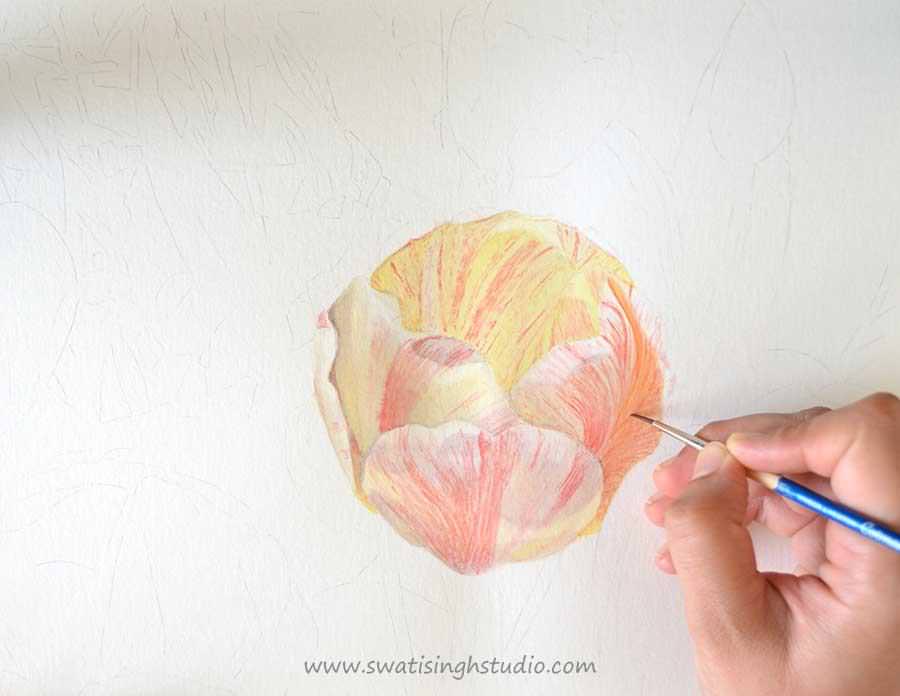
Tip: Keep the direction of petals in mind. The marks will help give form to the petals. Hence, the directions matter.
Step 6. Once the details get dried completely, add a thin layer of cadmium yellow to the petals as shown below.
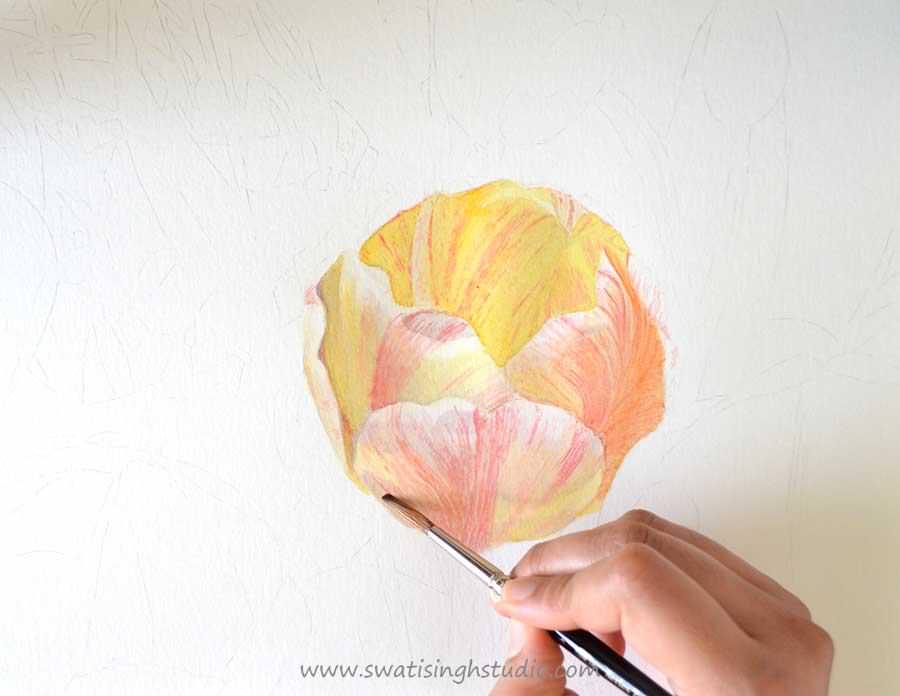
Let’s move the greens now.
Step 7. Add a thin layer of sap green to the stem and the leaves.
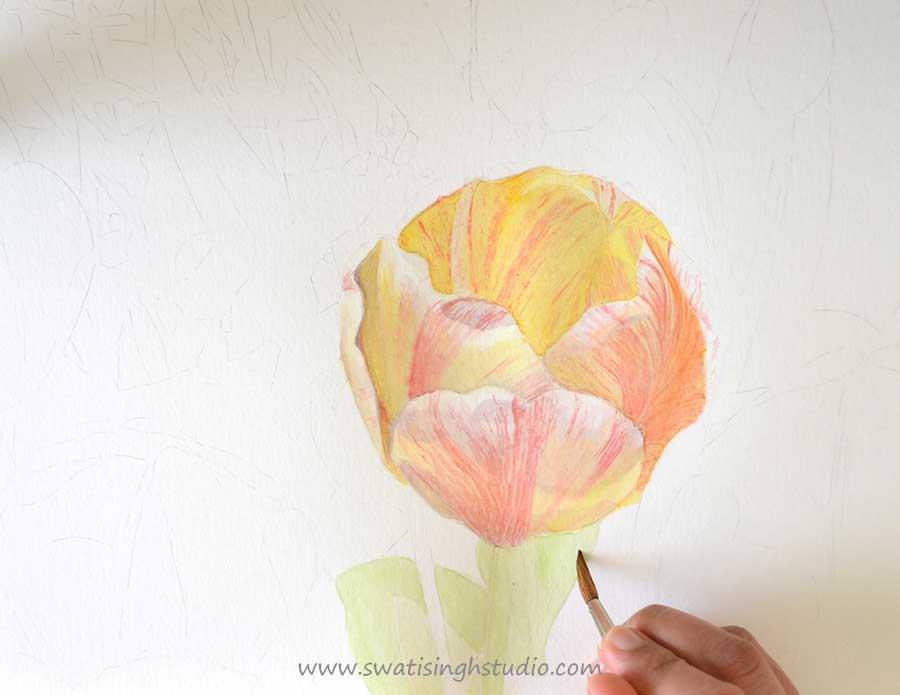
Step 8. Now prepare a mix of sap green and a little amount of ultramarine blue for a slightly darker shade of green.
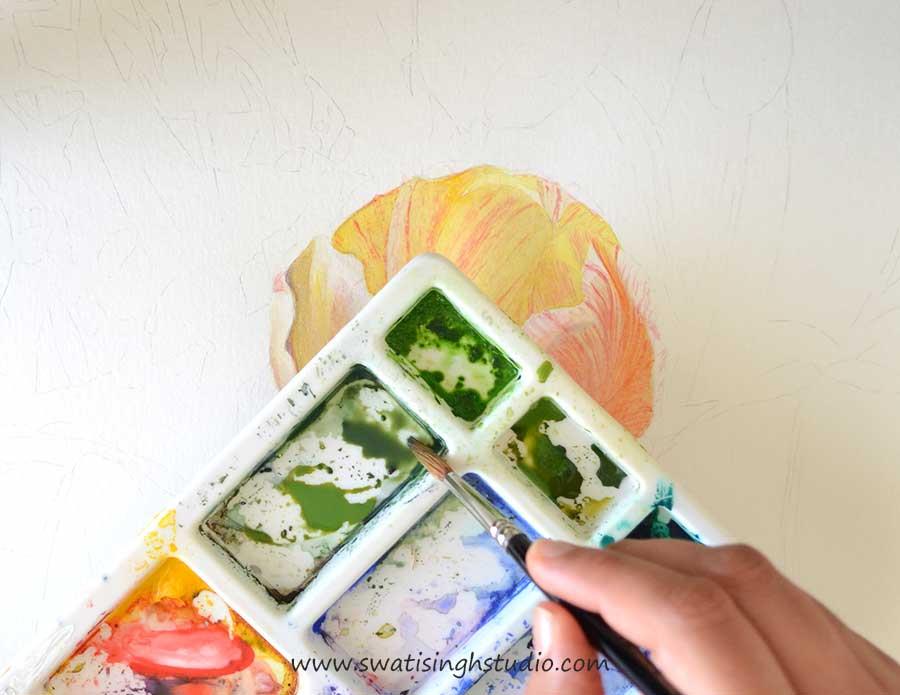
Apply this color to the shadow areas of the leaves to give it a three-dimensional look. Smooth out any hard edge lines to make it look smooth.
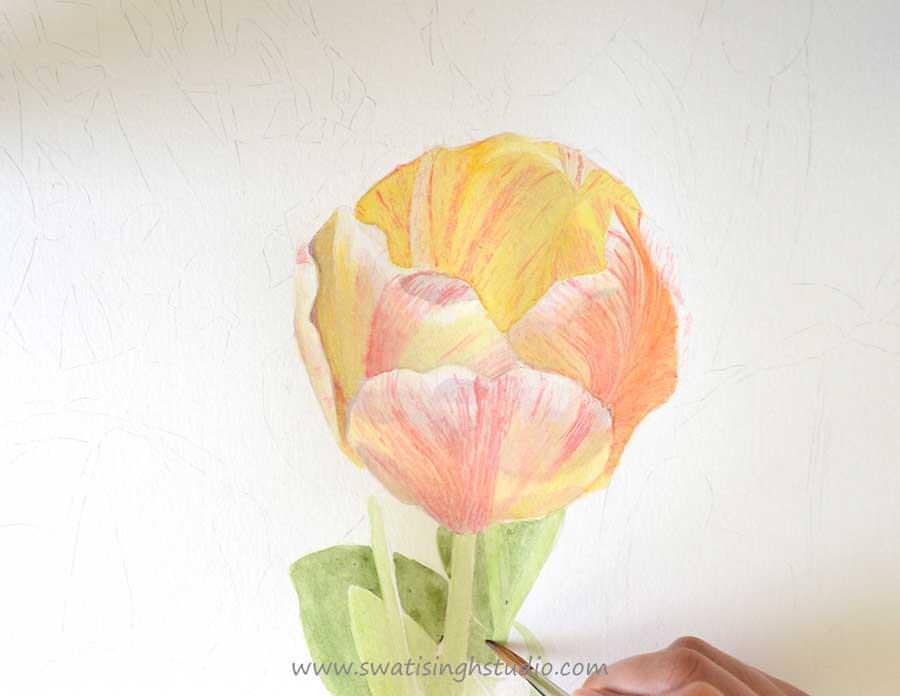
Step 9. Now prepare a mix of sap green, indigo blue and a little amount of cadmium red. This will result in a very dark color that almost looks like black.
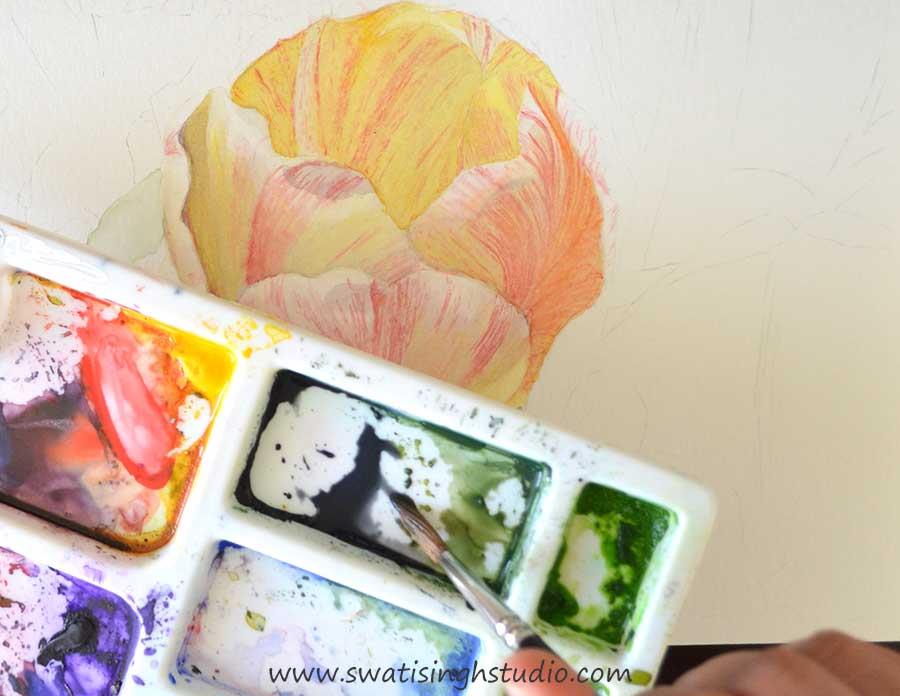
Apply this color to the darkest areas of the leaves.
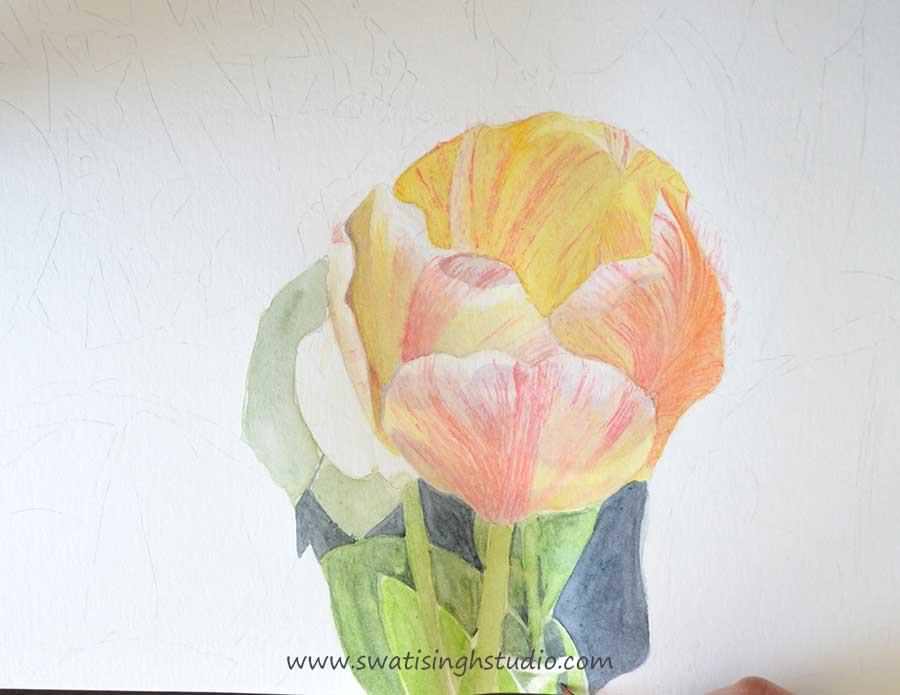
Step 10. Add another glaze of sap green for a brighter look.
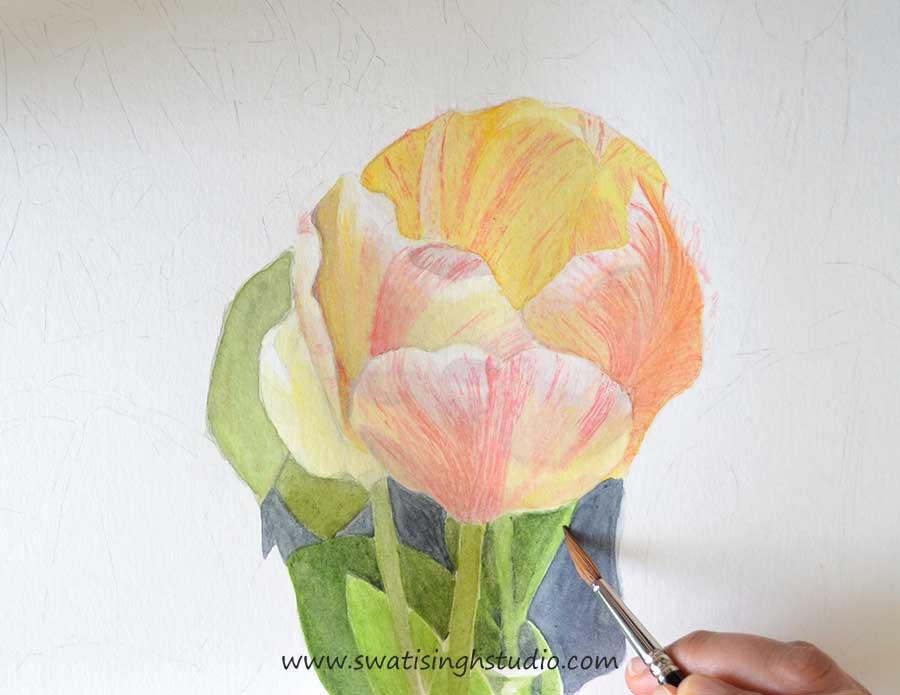
Step 11. After a few more layers the tulip is ready!
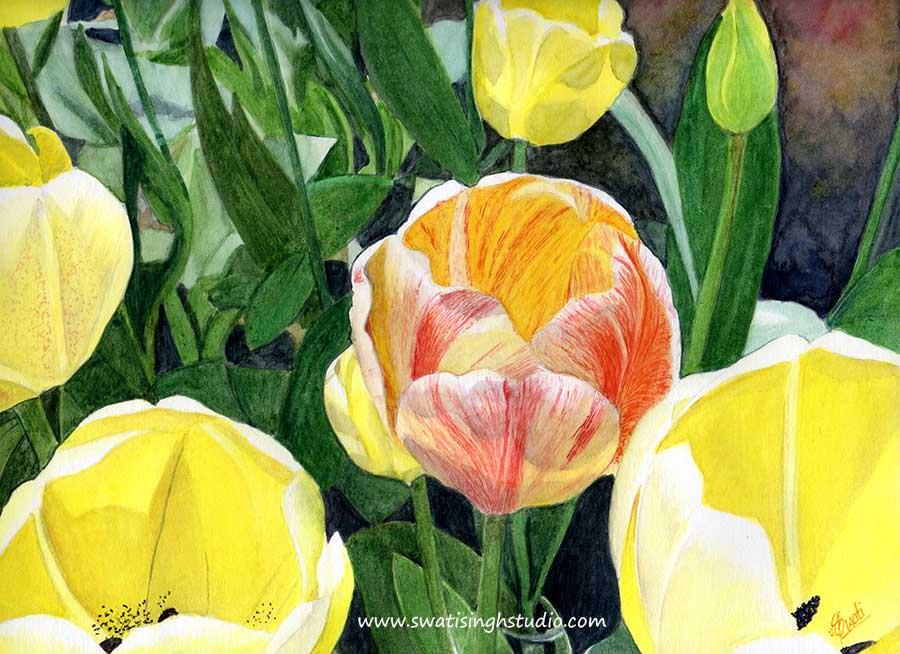
I also added a hint of Thalo green to some parts of the painting. It adds variety and brightness to the leaves.
I hope you enjoyed the first sketch in the Spring series! You may SUBSCRIBE to my blog for future posts. I will be back with another sketch next Saturday. Till then enjoy painting
Swati