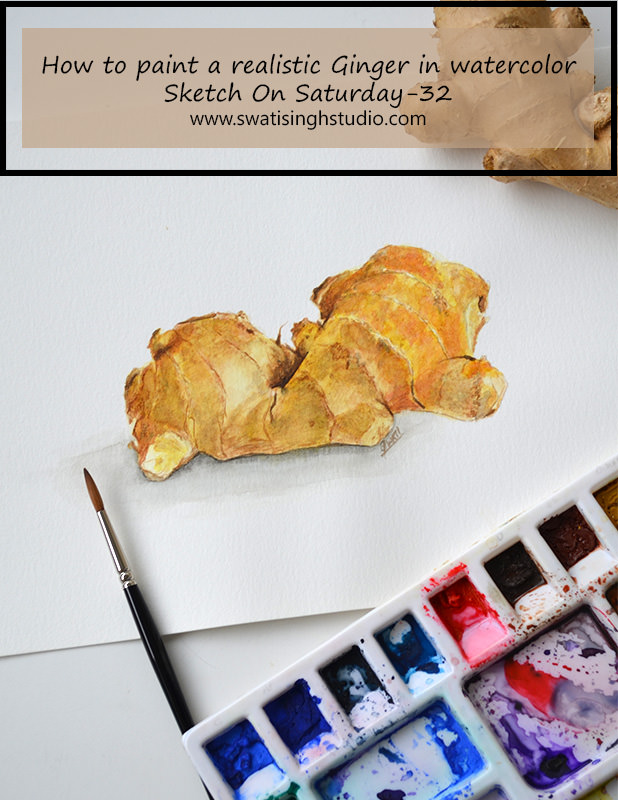
Welcome back everyone to yet another sketch in the Vegetable series. Last week we did garlic and onion study in watercolors and this week we are studying ginger.
Why did I chose this subject?
Being an Indian, ginger tea is my favorite! He he, no I am kidding. There is something more to it.
I believe ginger is a very beautiful vegetable (or root for that matter) to start the series with. Firstly, it does not have a lot of color competing with each other. We can learn how to give form in a single color.
Secondly, it is a subject with great textures!
So without delaying further let us start painting this beautiful Ginger.
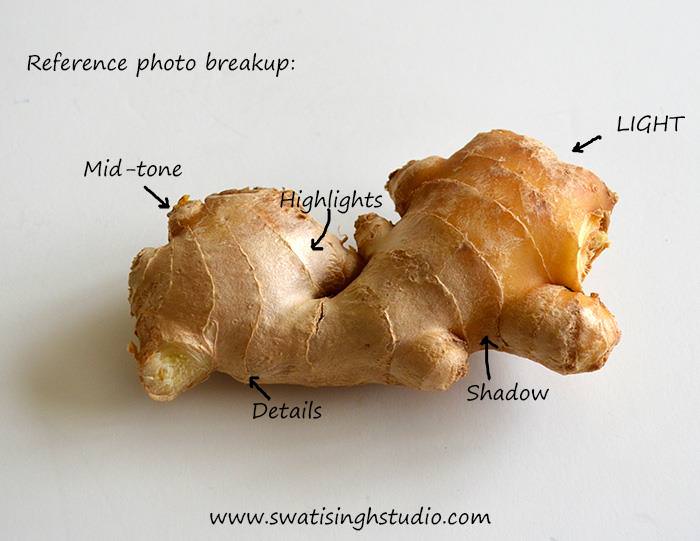
Below you can see the photo of the model I used. Pretty isnt't it!
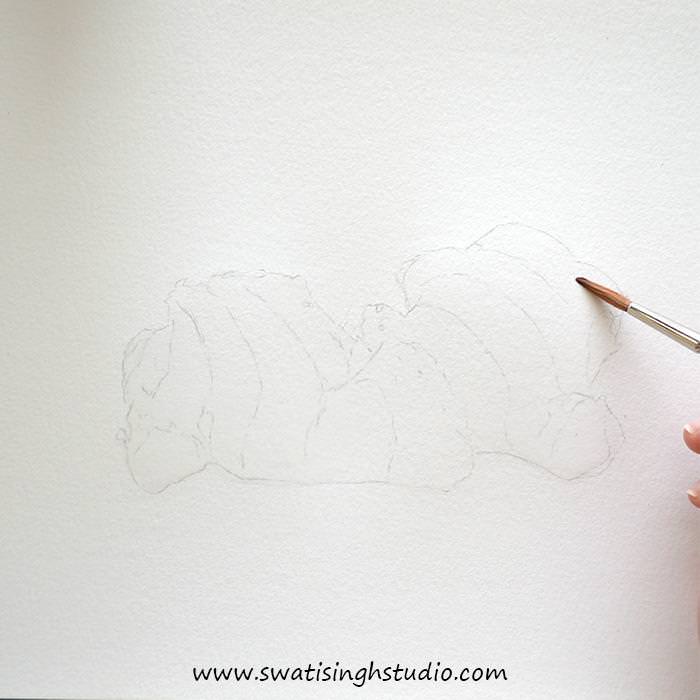
I did the drawing using an HB pencil. Since the color of ginger is light it is advisable to also keep the outlines light.
The watercolors required are
1. Lemon yellow
2. Yellow ochre
3. Burnt umber
4. Indigo blue
5. Burnt Sienna
To know about other materials required click HERE.
Step 1. Apply water inside the outline.
Step 2. Starting with the lightest tone give the first wash with lemon yellow. The water applied earlier will help even it out.
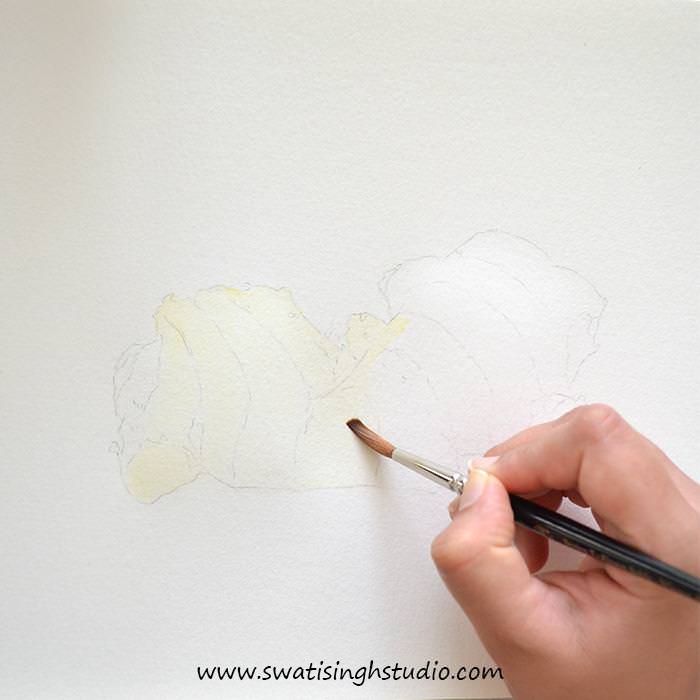
Step 3. For mid-tones apply yellow ochre while the sheet is still wet. This helps the colors to blend smoothly.
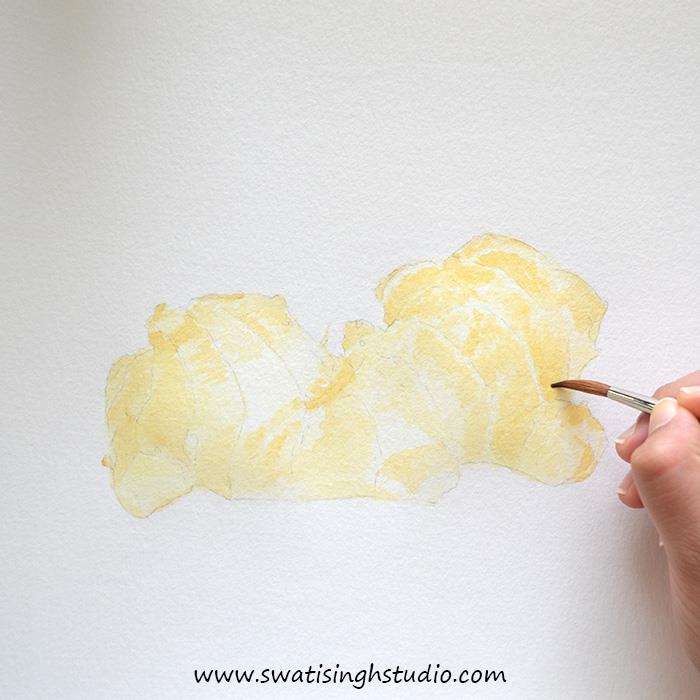
Step 4. With burnt umber create fine texture (lines and marks) on the surface using a number 0 brush. Keep it very gentle.
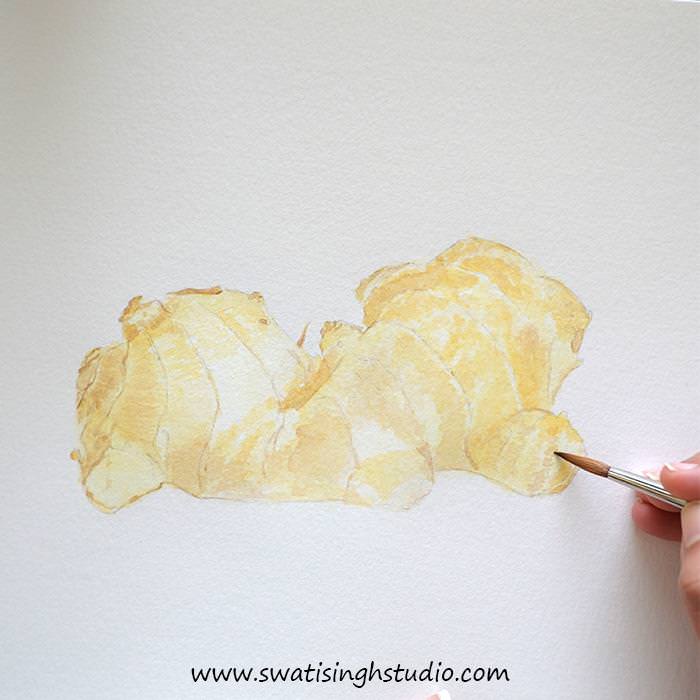
Step 5. Once the details have dried completely add another layer of lemon yellow all over the ginger.
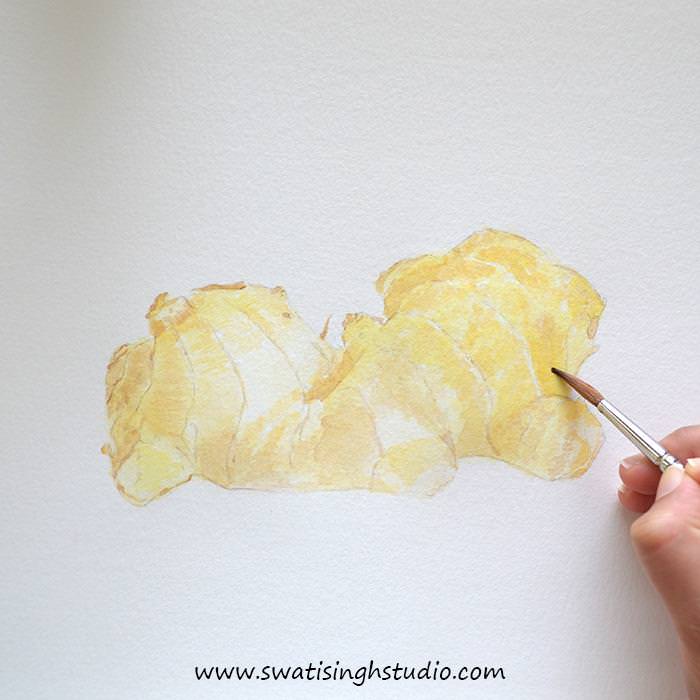
Step 6. Add another layer of burnt umber as we did in Step 4. Go ahead and add on areas where you see mid-tones as well.
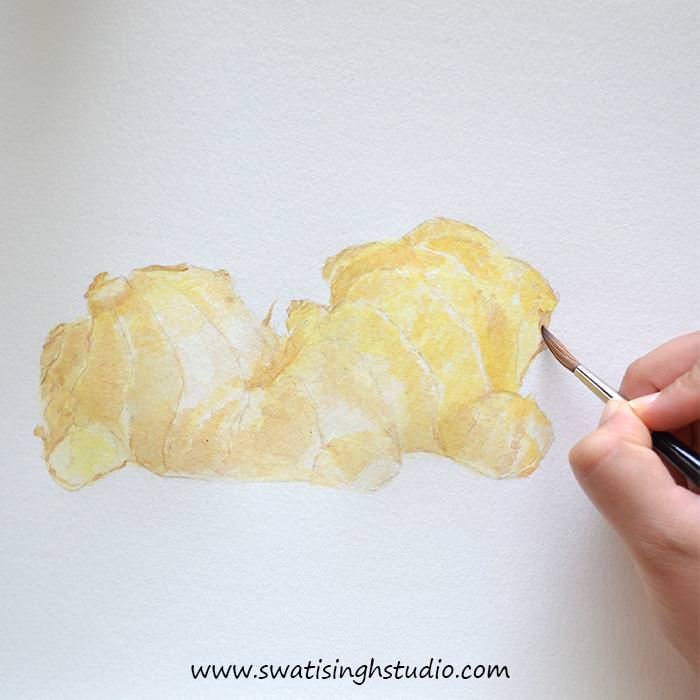
Step 7. Once the sheet has dried completely apply another layer of burnt umber as shown below. Keep the consistency of color thicker than before and add fine details with a number 0 brush.
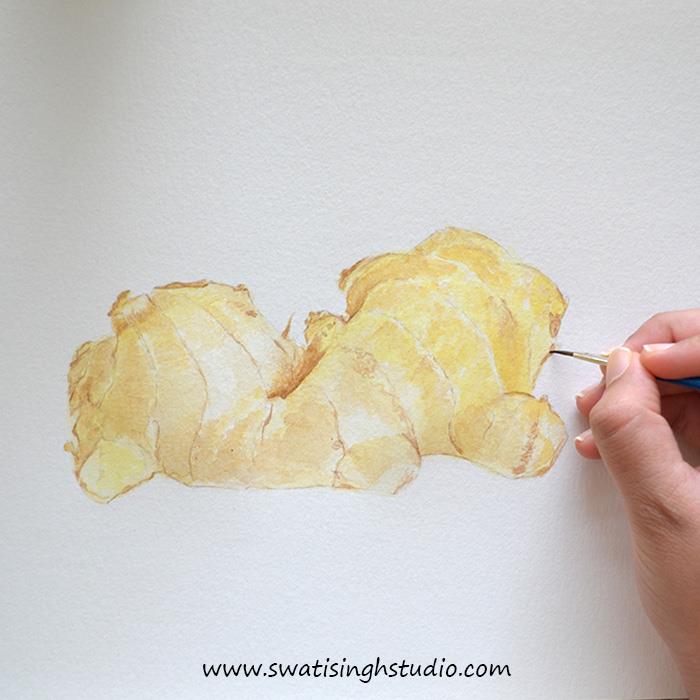
Step 8. To add some shadow beneath the ginger simply add a little amount of indigo blue to burnt umber. Apply water to the shadow area first and drop in little amount of color under the ginger. Water will help smooth out the color without leaving any hard lines.
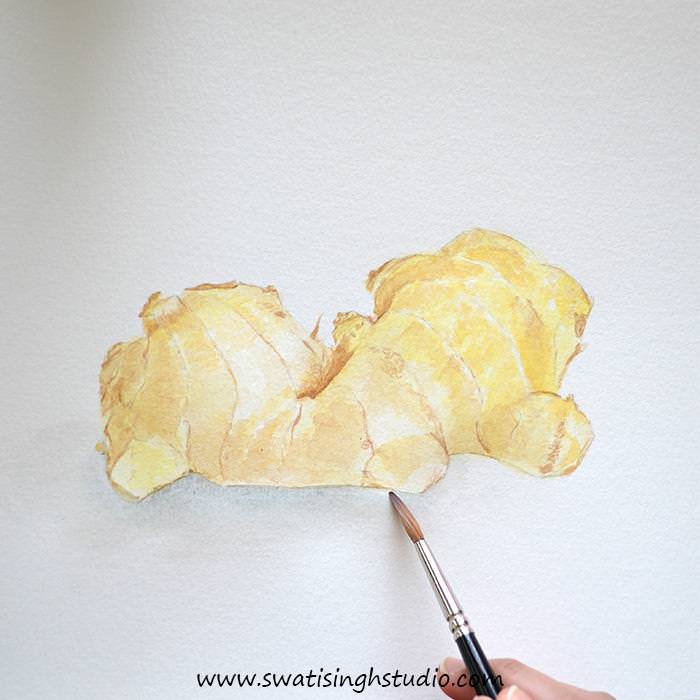
Step 9. Just repeat the above steps and add some more layers to achieve the desired saturation. I also went ahead and added some burnt sienna in the process to give some reddish tint on the right side.
Sign off with your glorious signature!
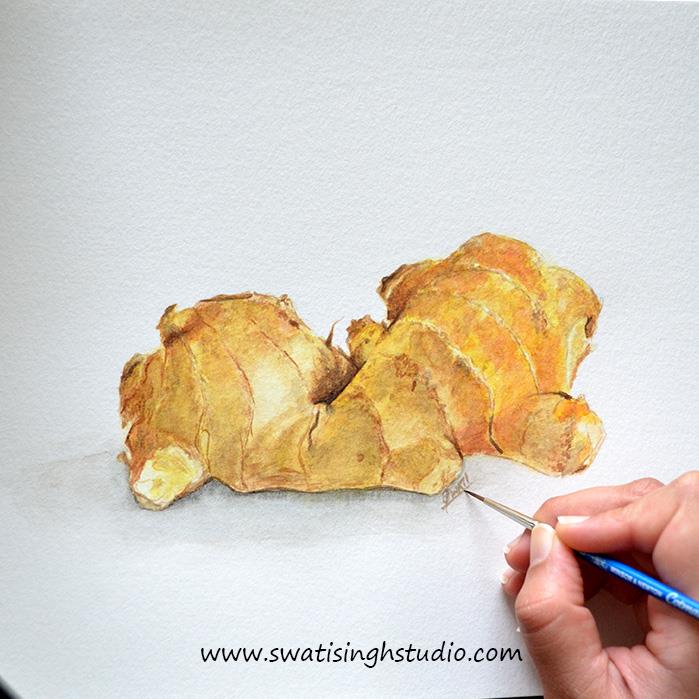
I hope you liked this tutorial. For more such tutorials kindly SUBSCRIBE to my blog.
Practice this at home and let me know how it turned out.
Will meet next weekend with another vegetable study, till then enjoy painting!
Swati