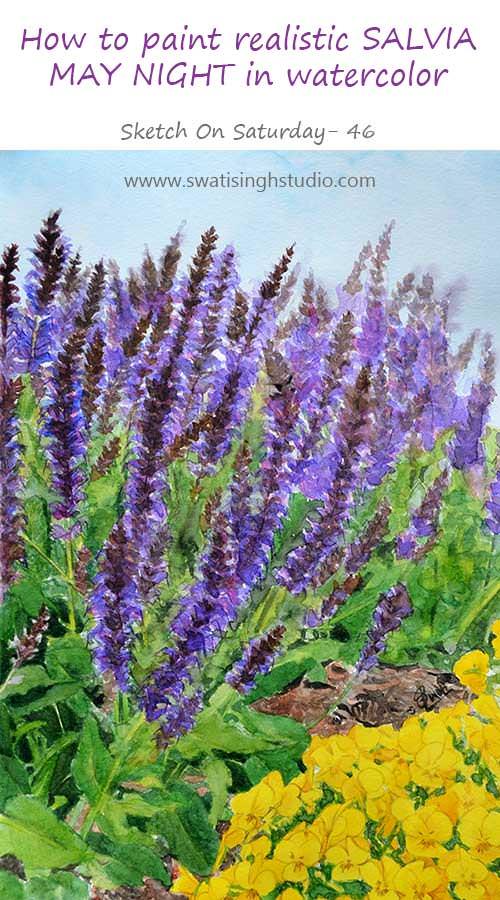
Today I am sharing a very quick and easy method of painting Salvia May Night in watercolors. Painting individual petals in a plant like this can become very daunting. So an easy method is to suggest these petals with different brush strokes.
May Night is an outstanding perennial with excellent cold hardiness, vigor, and tolerance to heavy clay soils. Blooming in late spring with a profusion of deep purple flower spikes, it blooms again later in the summer when deadheaded.
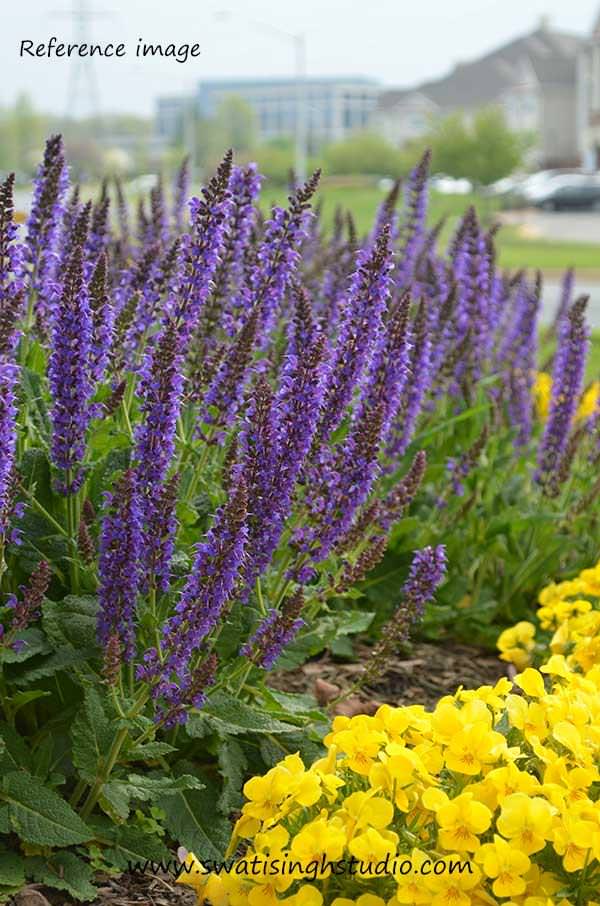
Below is a photograph I took of this beautiful plant along with some violas. The yellow of the violas create a beautiful contrast with the rich purple of the salvia.
The watercolors I used are following
1. Lemon yellow
2. Olive green
3. Thalo green
4. Purple
5. Ultramarine blue
6. Permanent rose
7. Indigo blue
8. Burnt sienna
I did the drawing in HB pencil. You do not need to draw individual petals, just roughly outline the individual flower spikes for reference.
I went ahead and painted the pansies and the sky first. You may refer to the post- How to paint realistic violas in watercolor to paint the yellow flowers.
Tip: With a composition so complex, you may find it really hard to find individual parts of the flowers and leaves. I call such a composition a game of puzzle. All we need to do is color the parts in the right order and the puzzle will fall into place.
Hence, trust me and follow along to achieve the desired results.
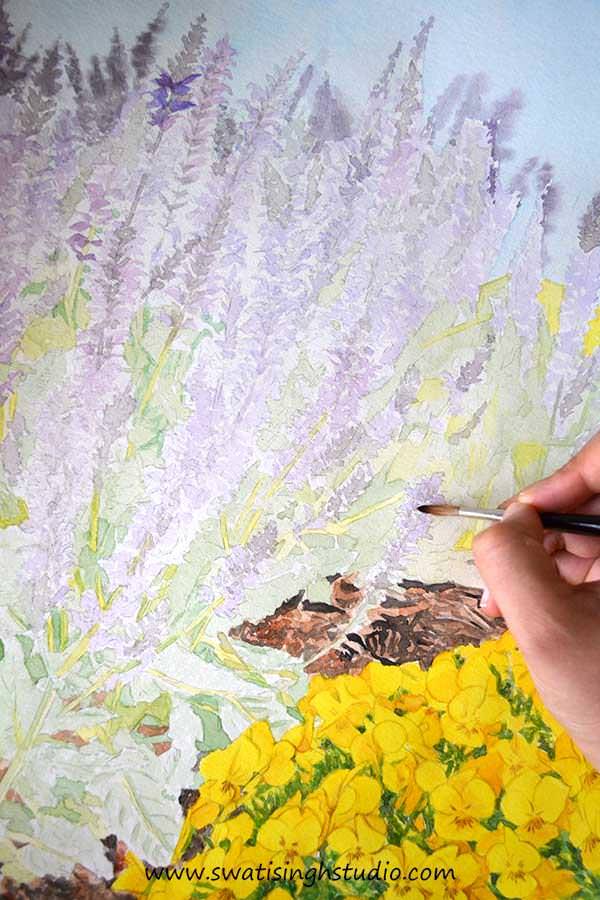
Step 1. Hunt down all the stems and veins of the leaves and lightly color them in lemon yellow as shown below. Use a number 1 brush.
Go ahead and add a touch of lemon yellow to any obvious light green leaves as well.

Step 2. Now apply a very light wash of olive green to the leaves.
Tip: Keep the glaze very light at this stage. This will help us easily rectify any mistakes that we might make while painting.

You can see how the yellow under wash we did in the previous step is making the leaves look interesting.
Step 3. Mix some olive green and purple together. Now tap your brush against the paper to make small marks at the tip of all the spikes as shown below.

Step 4. If you carefully observe the flowers they are not just purple in color. You will find a touch of pink and blues here and there. Hence, lay out ultramarine blue, purple and permanent rose side by side.
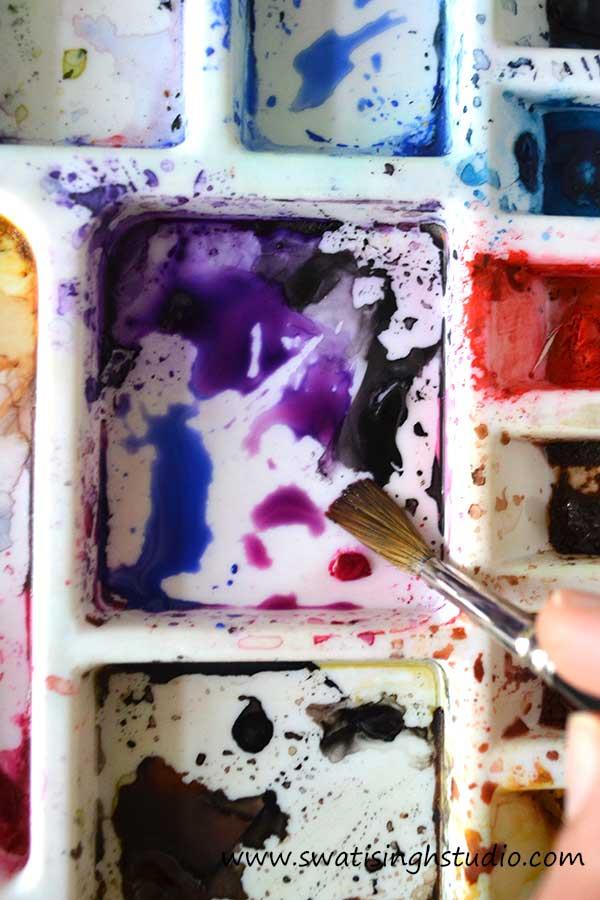
Simply vary the amount of each color while you paint. Play with the colors and see how they mix together to create beautiful shades of purple.
Apply the colors very lightly as shown below.
Step 5. Now with all the parts of the puzzle in place you can start building new layers on top.
Lay olive green, thalo green and indigo blue side by side for the greens and use the following formulas for various shades.
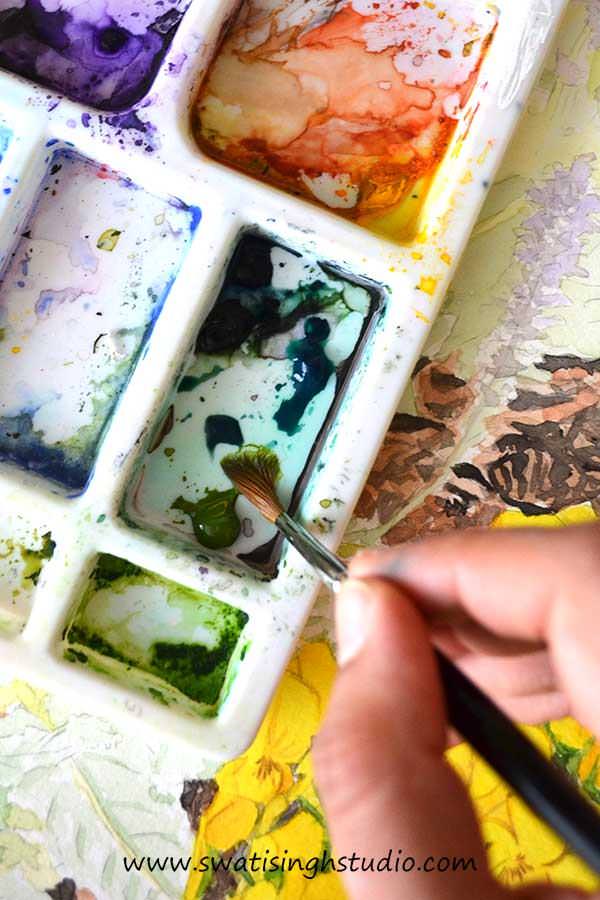
For bright leaves- Olive green + Thalo green
For dark leaves- Olive green + Thalo green + Indigo blue
This is how the leaves look after the first layer of greens.

Step 6. Repeat step 5 and add a few more layers of greens. Below you can see how the layers are developing.
Second layer
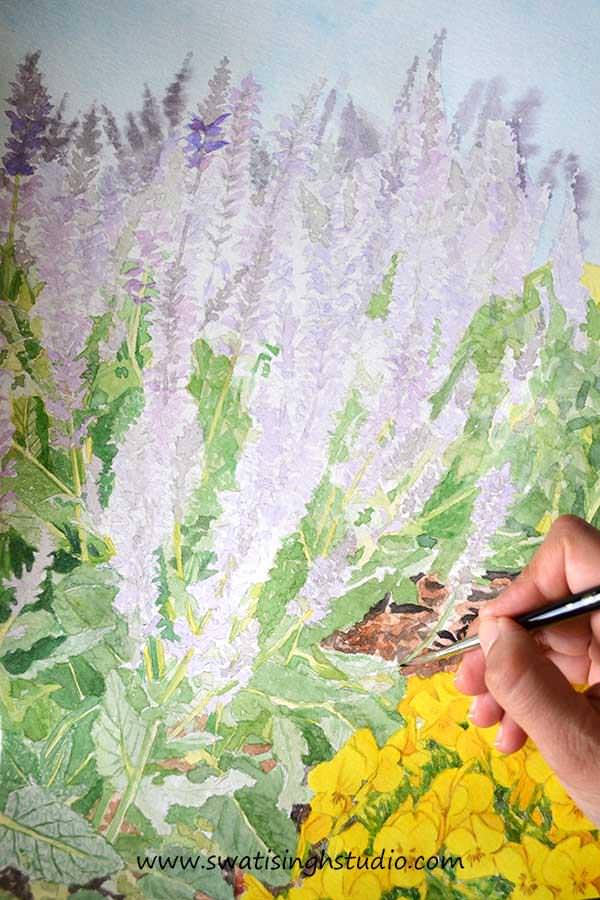
Third layer

Step 7. Add a little amount of burnt sienna to purple and add to the tip of the spikes. Just tap your brush against the paper!
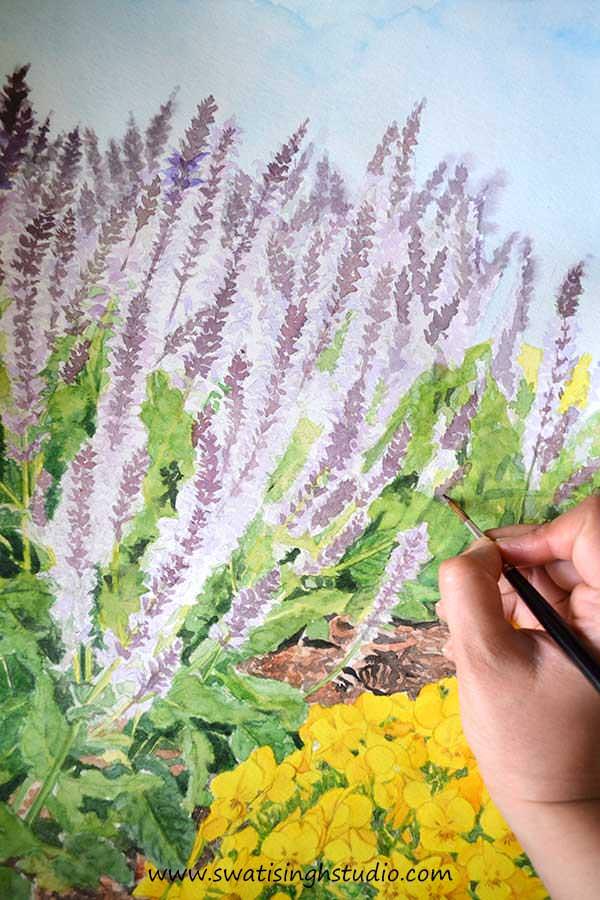
Step 8. Add a few more layers of purple as explained in Step 4. Below are the results of consecutive layers.
First layer
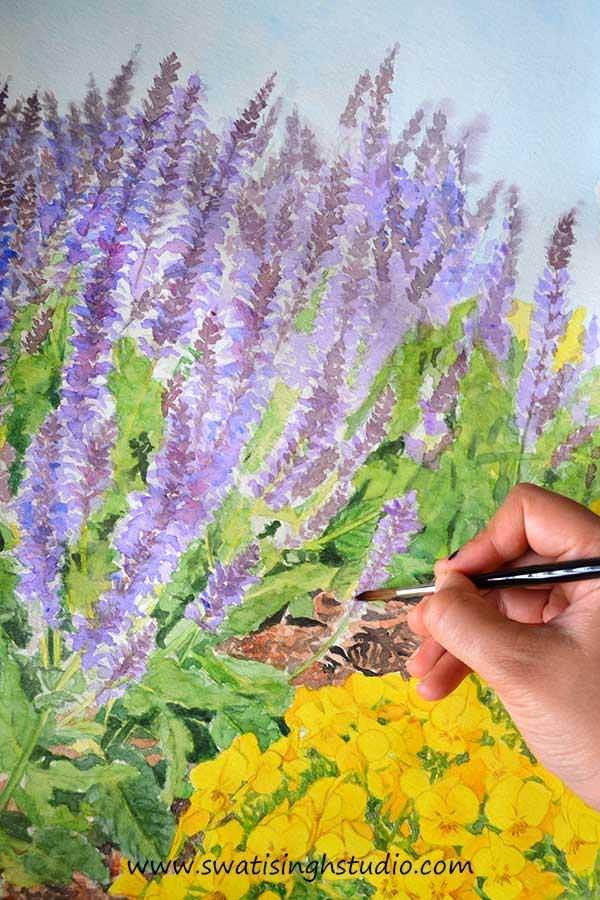
Second layer
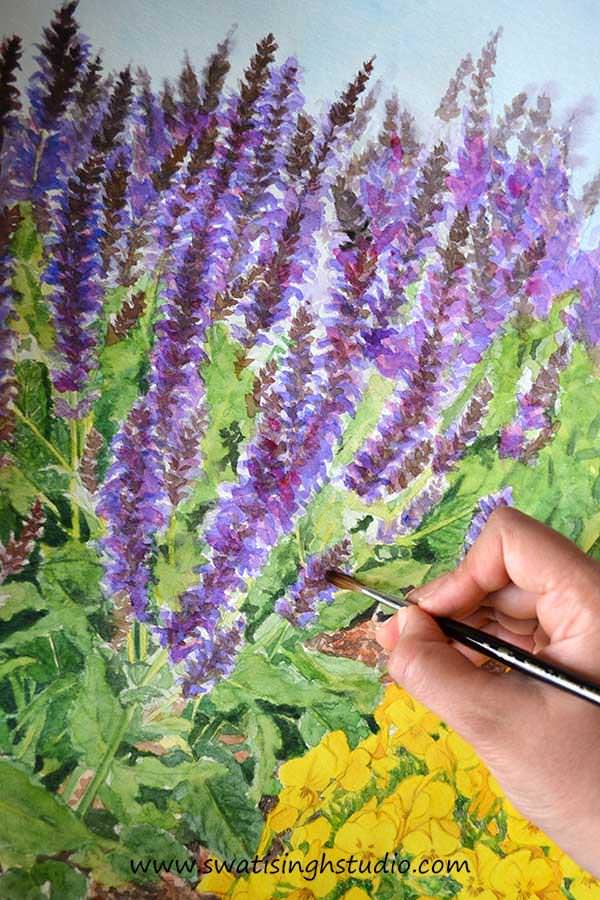
Step 9. Fill in any white gaps you see around the flowers with green color. This is what it looks like in the end.
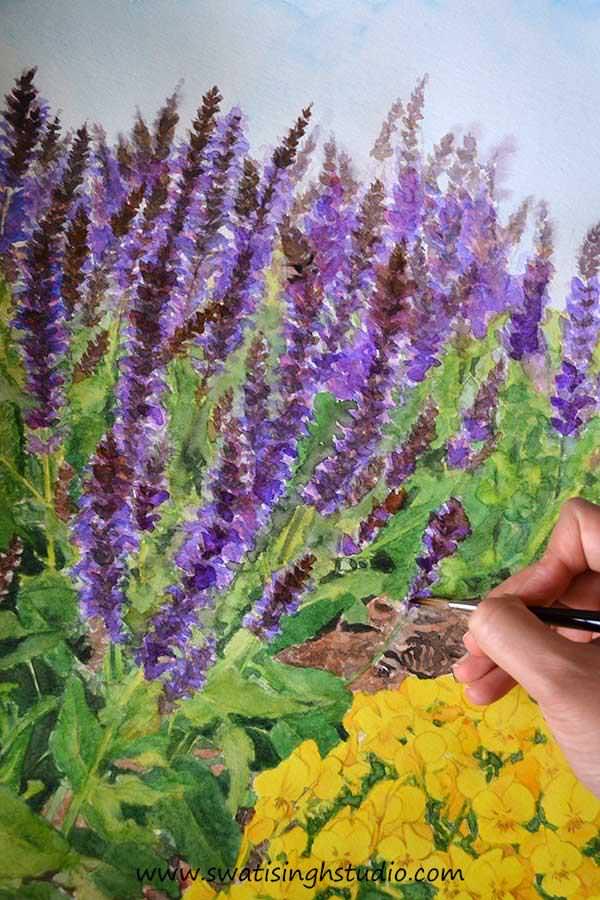
I hope this tutorial was helpful to you guys. It is interesting to see how a few brush marks can make a painting look real. It is all about building each layer with the right color. These overlapping layers of colors create the desired result in the end.
The spring series is about to get completed now. The last tutorial will be posted on 14th May 2016.
I wish you all a very happy Mother’s Day in advance. May you all enjoy the day with your loved ones!
Keep enjoying the spring season and stay beautiful. If you liked this tutorial and want to stay updated on all the future posts you may SUBSCRIBE to my blog.
So while I start working on the next tutorial for you all, you may explore painting these beautiful flowers at home!
Happy painting!
Swati